As an Amazon Associate, we earn from qualifying purchases. Some links on this site are affiliate links at no extra cost to you. Our recommendations are based on thorough research and editorial judgment.

Installing a Backup Camera: What to Check Before You Wire Anything

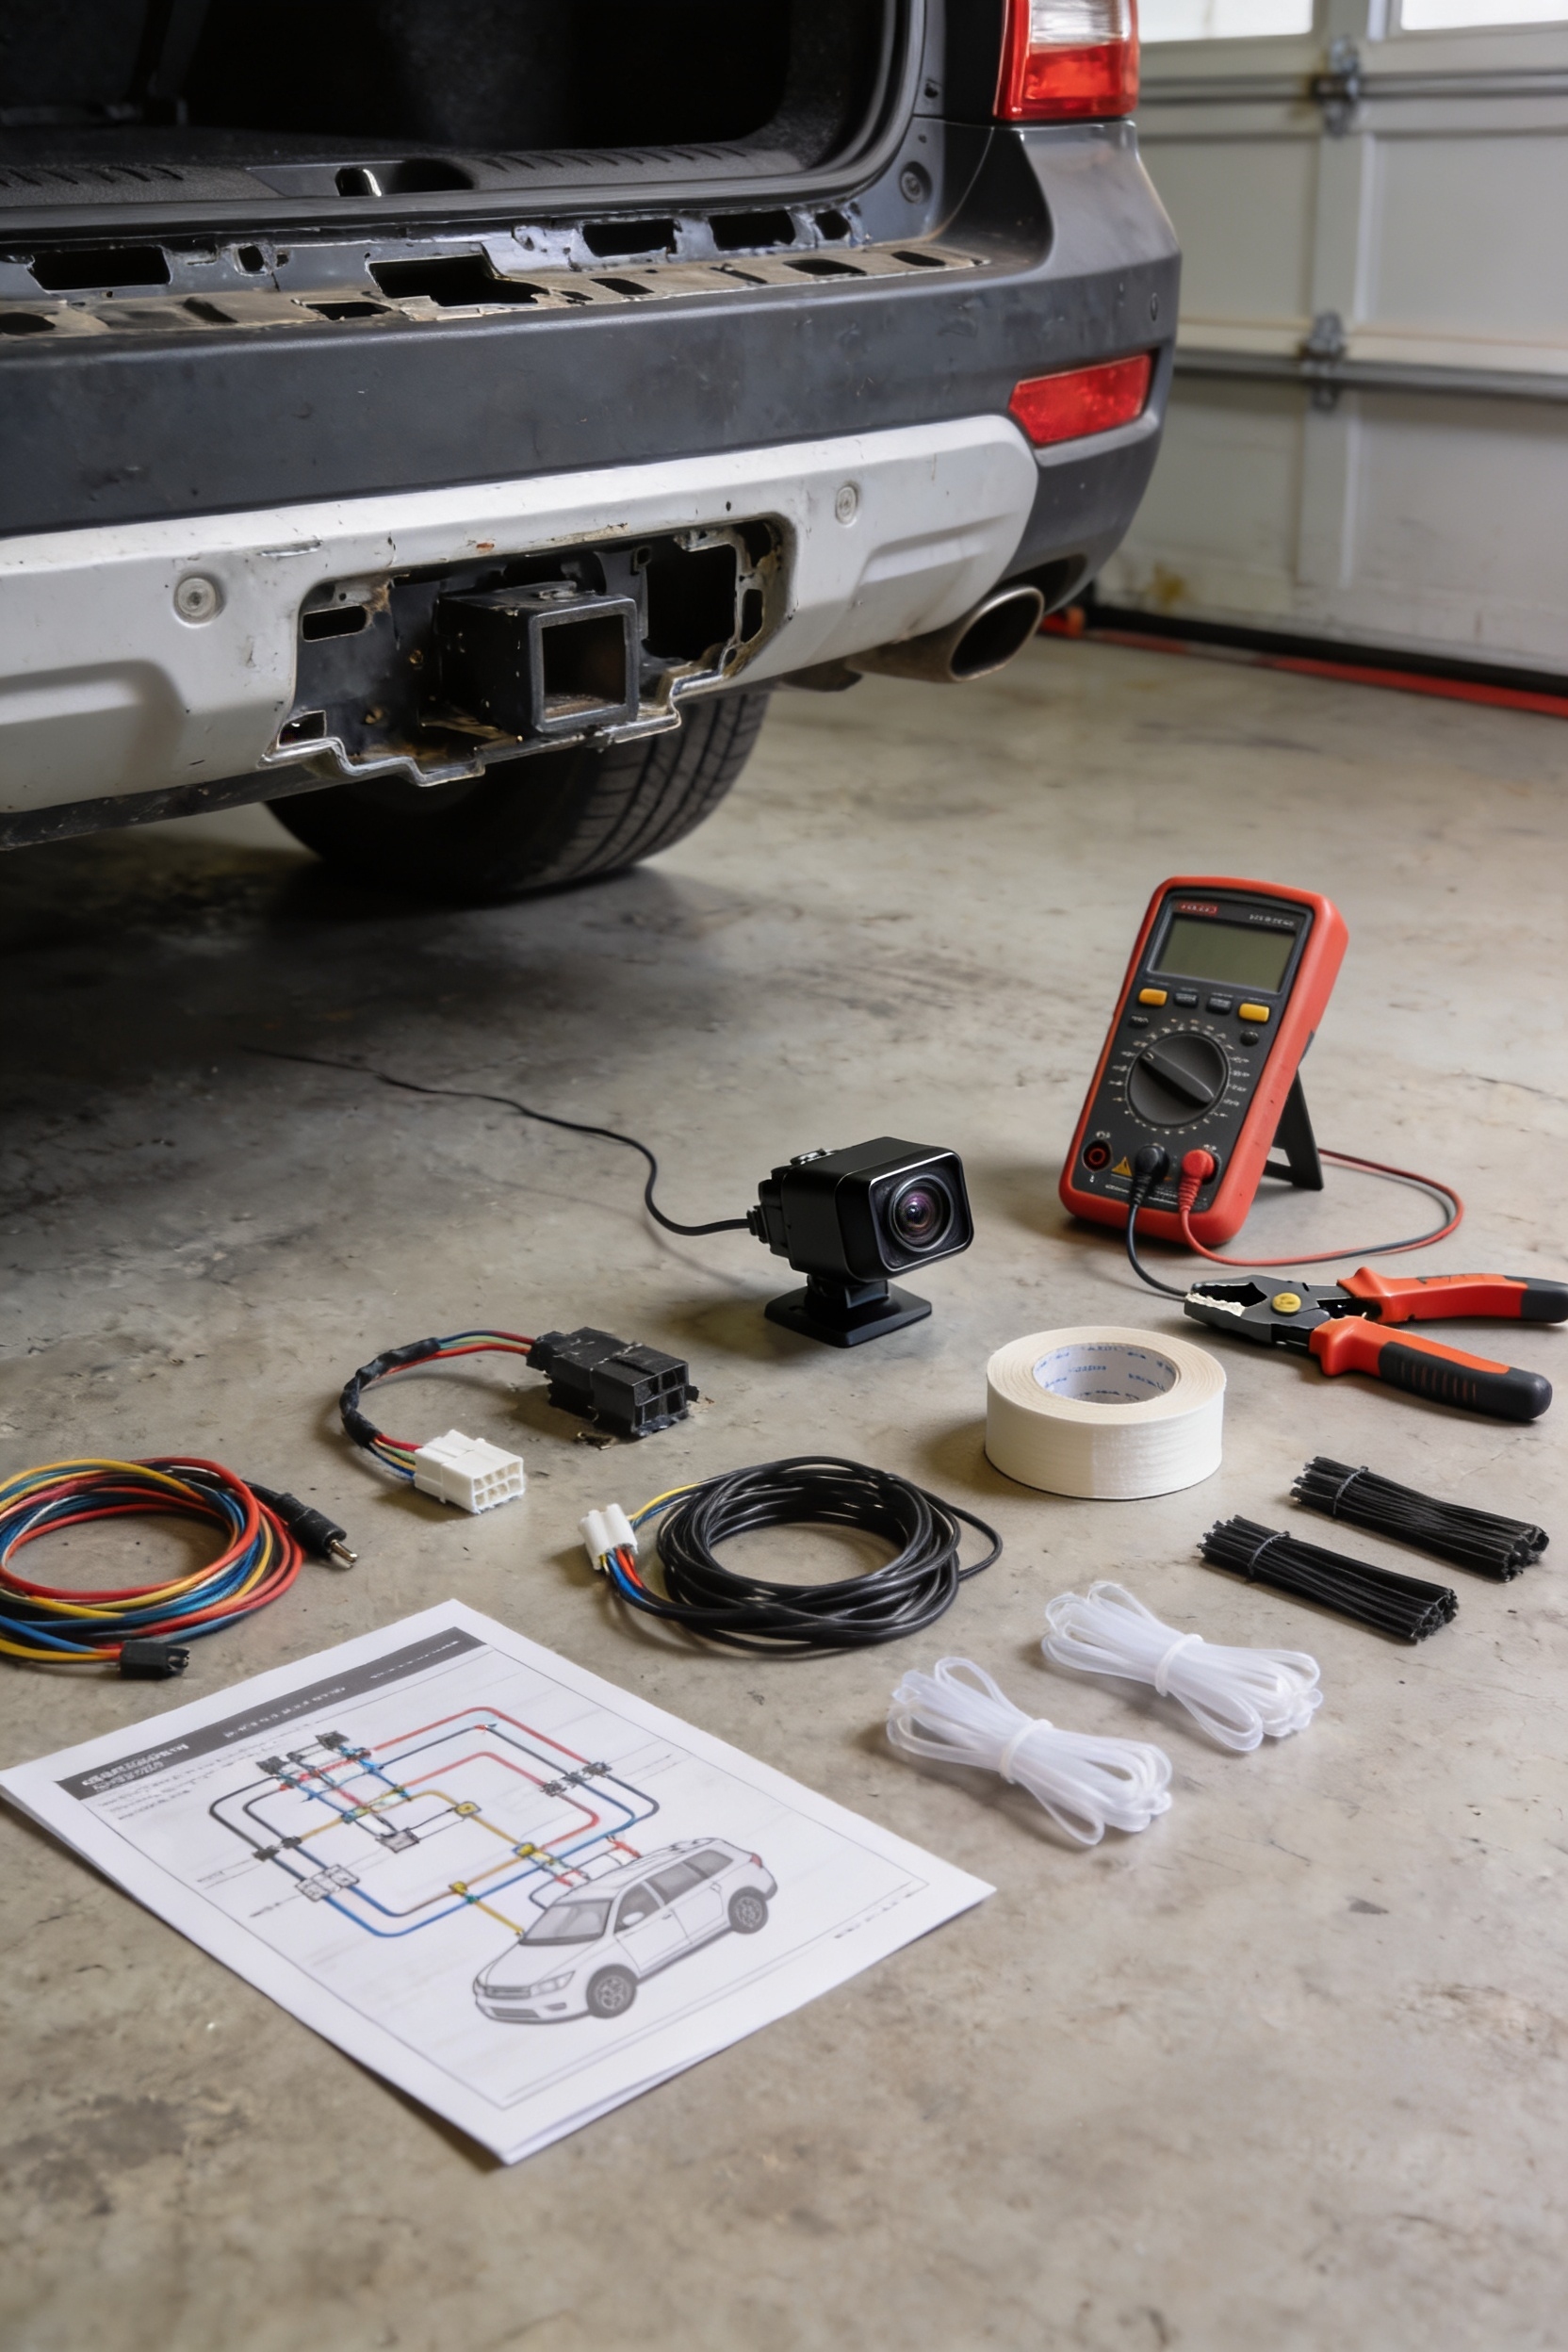
Before you wire anything, you’ve got to confirm your camera’s power setup—is it wired or wireless, and does it only activate in reverse? Then check that your camera and monitor actually speak the same language with compatible connectors. Next, find the best mounting spot, usually above your license plate for that perfect straight-on view. Map out your cable route to avoid heat sources and tight spots that’ll damage wires. Finally, test everything before closing up your ride—put it in reverse and verify that crystal-clear image appears. Stick around to discover the exact steps that’ll make your installation bulletproof.
Key Takeaways
- Verify camera power type (wired or wireless) and confirm voltage compatibility with your vehicle’s electrical system.
- Ensure camera and monitor connectors match (RCA vs proprietary) and check for CANbus adapter requirements.
- Select mounting location above license plate with clear rear visibility and no obstructions blocking the camera view.
- Map cable routing from rear camera to dashboard, avoiding exhaust heat and planning protective grommet placement.
- Test camera display and image quality before final reassembly by putting vehicle in reverse and power cycling.
Confirm Your Camera and Power Setup Before Starting
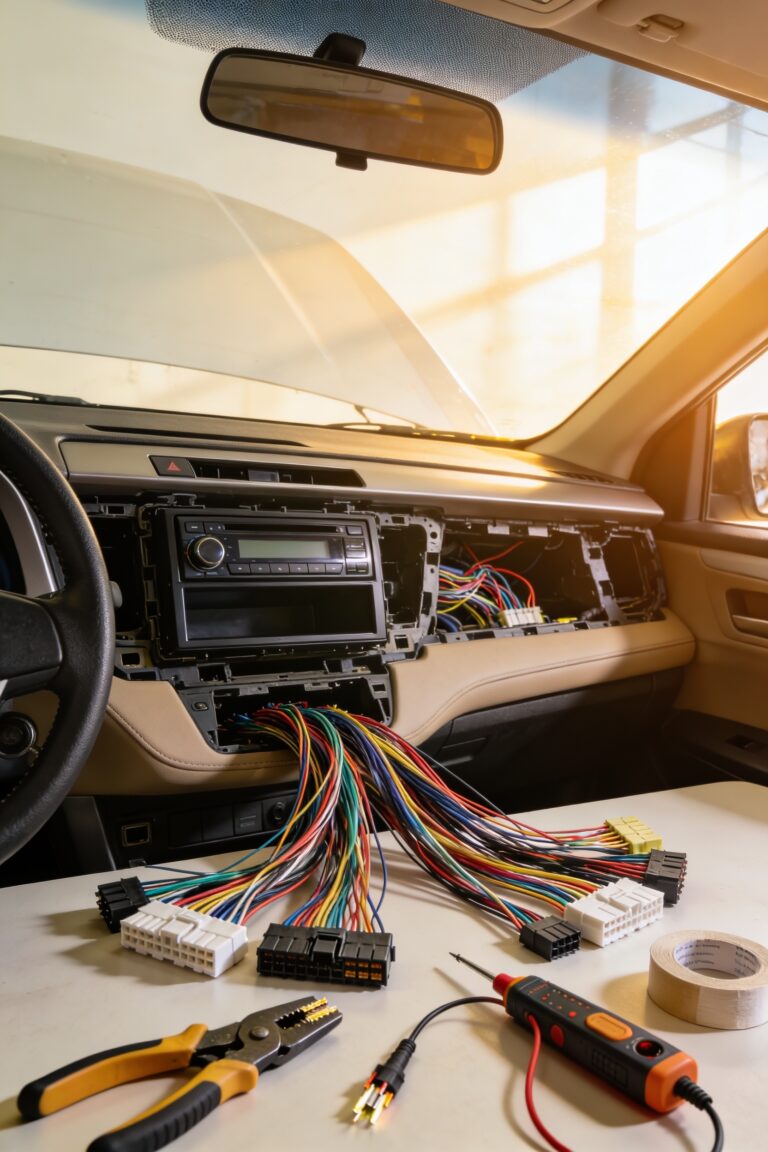
Before you grab a drill or start yanking wires under your car’s dashboard, you’ve got to do some homework—and I know that sounds boring, but trust me, it saves you from a lot of frustration later. First, figure out what you’re actually working with. Is your camera wired or wireless? Does it need constant power, or does it only turn on when you shift into reverse? That matters because your power source changes everything. Next, grab that wiring diagram from the manual—seriously, don’t skip this. It shows you exactly which wires do what and prevents you from accidentally cutting something important. You’ll also want to confirm your camera’s voltage matches your vehicle’s system. Make sure your backup camera connections use protective covers or housing to protect connections from dust and accidental contact. Now you’re ready to actually start.
Check Compatibility With Your Vehicle and Display
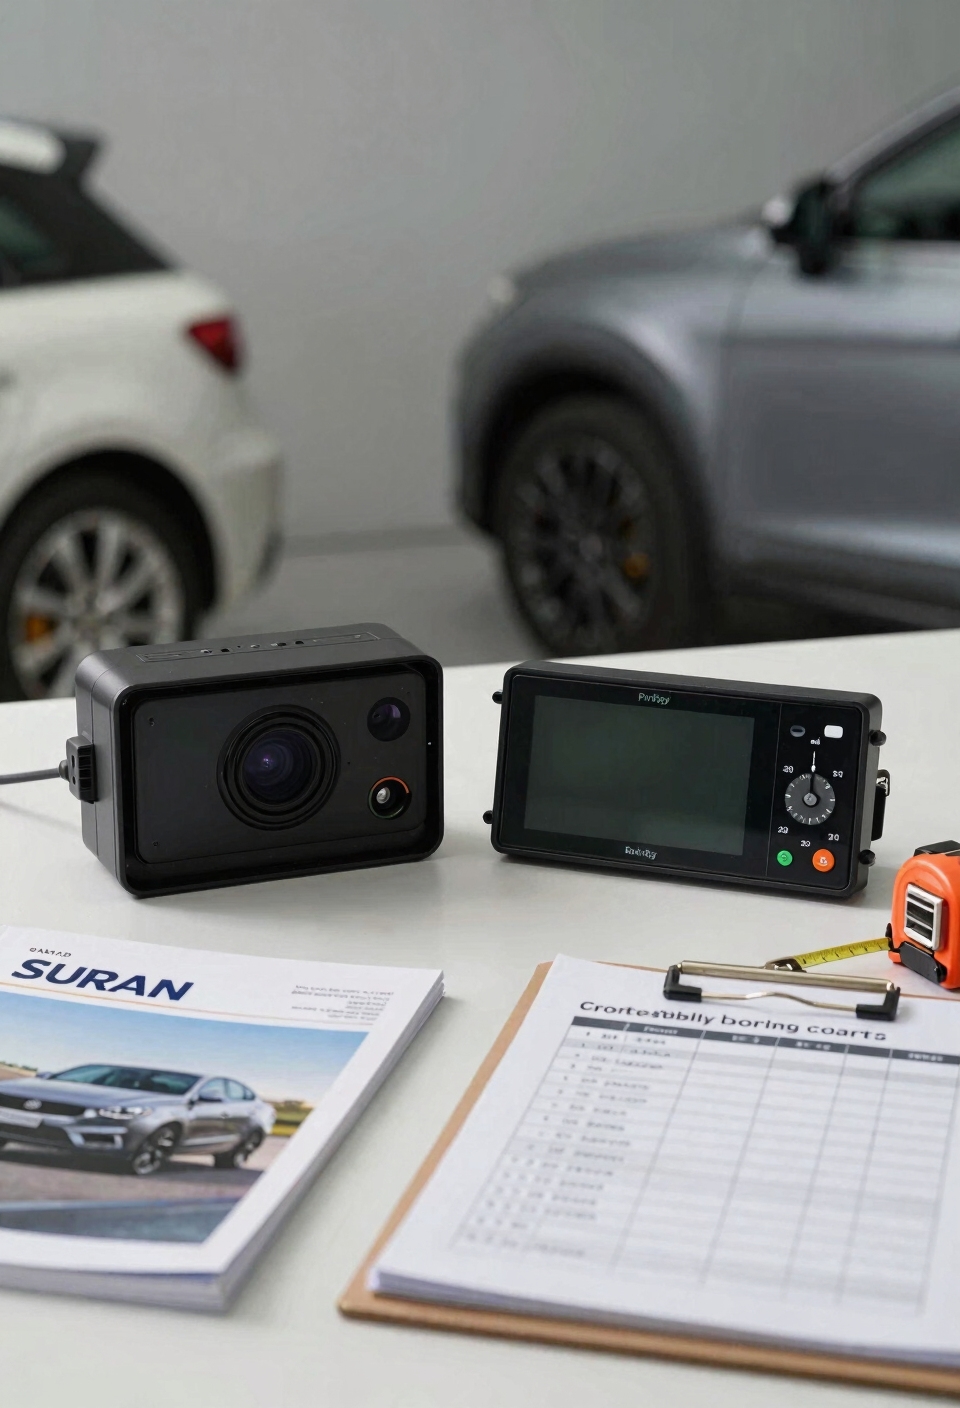
Once you’ve got your camera and power plan locked down, you need to make sure everything actually works together—and I mean *everything*. Here’s the thing: your camera and monitor have to speak the same language, basically. Some aftermarket monitors accept RCA cables, while others use proprietary connectors. I’m sure you’ve thought about this—compatibility matters.
Check your vehicle’s year and model because newer cars often have CANbus systems that need adapters to recognize the reverse signal. All right, also verify that your camera’s signal formats match your display’s input type. Don’t just assume they’ll work together. Pull out both manuals and confirm the video inputs line up. For vehicles with integrated factory radios, you may need antenna adapters and camera detection cables to ensure complete functionality with your backup camera system. Trust me, catching mismatches now beats frustration later when nothing displays on your screen.
Choose Your Mounting Location for Best Rear Visibility
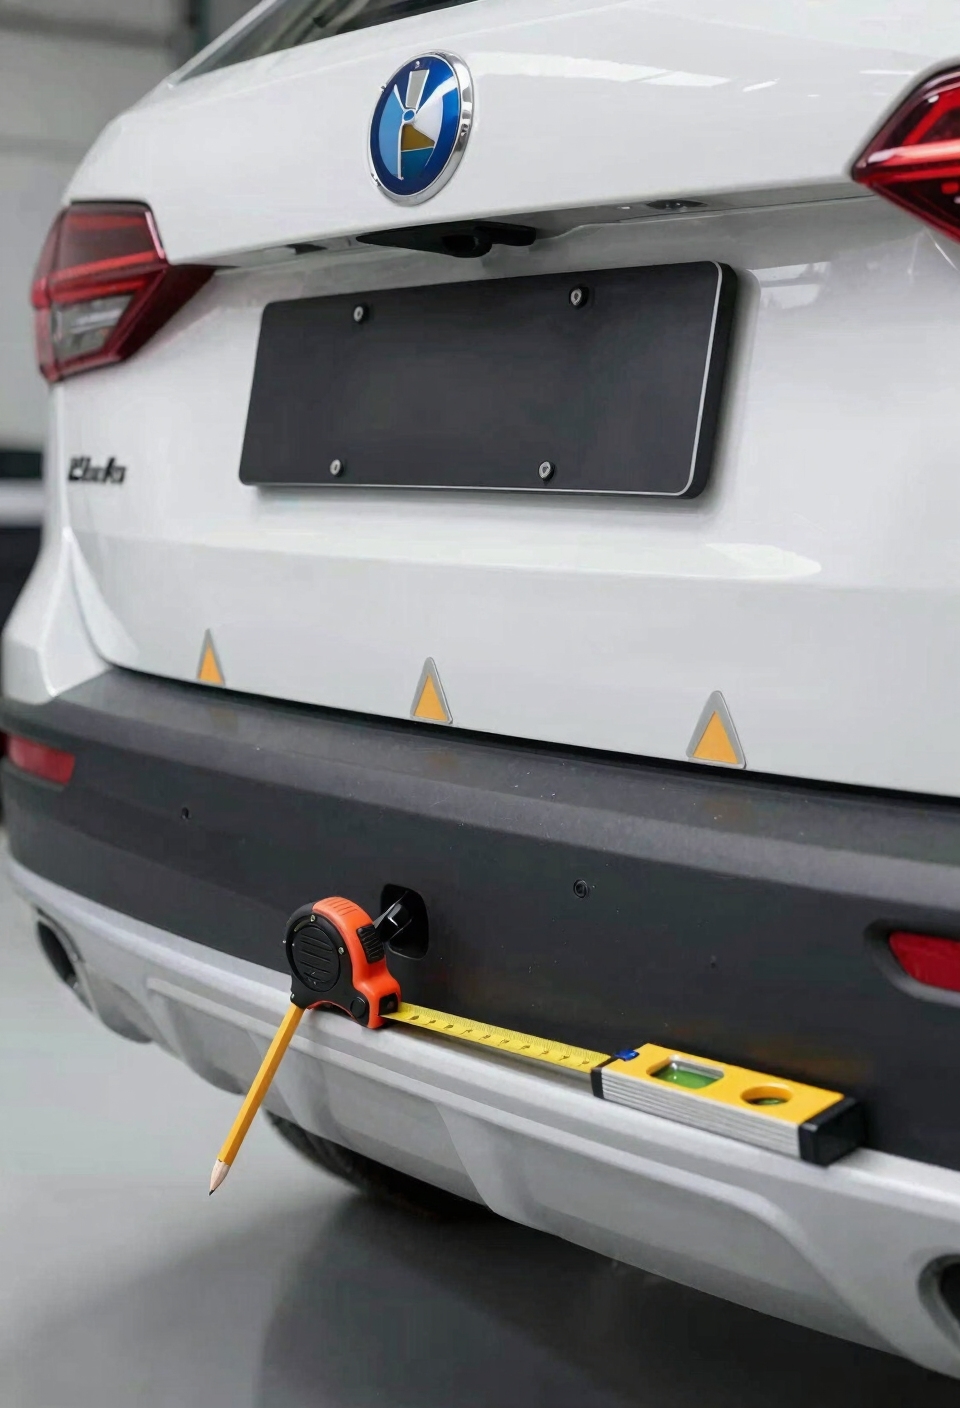
Now that you’ve confirmed your camera and monitor are compatible, it’s time to figure out where to actually put the thing. I’m sure you’ve thought about how a poorly placed camera basically becomes useless—it’s like having a rearview mirror pointed at the sky.
The spot above your license plate is usually your best bet. You’ll get solid height clearance and a straight-on view of what’s behind you. Just make sure nothing’s blocking it—cargo racks, spare tires, or trim pieces can wreck your visibility fast. A roof rack cross bars setup or other roof-mounted carriers can particularly obstruct your camera’s field of view, so plan accordingly if you use those accessories.
Consider glare reduction too. You don’t want sun reflection washing out your monitor screen. A slight angle downward helps catch what matters most: the road and obstacles behind you. Test the view temporarily before drilling anything permanent.
Plan Your Installation Route to Avoid Cable Damage
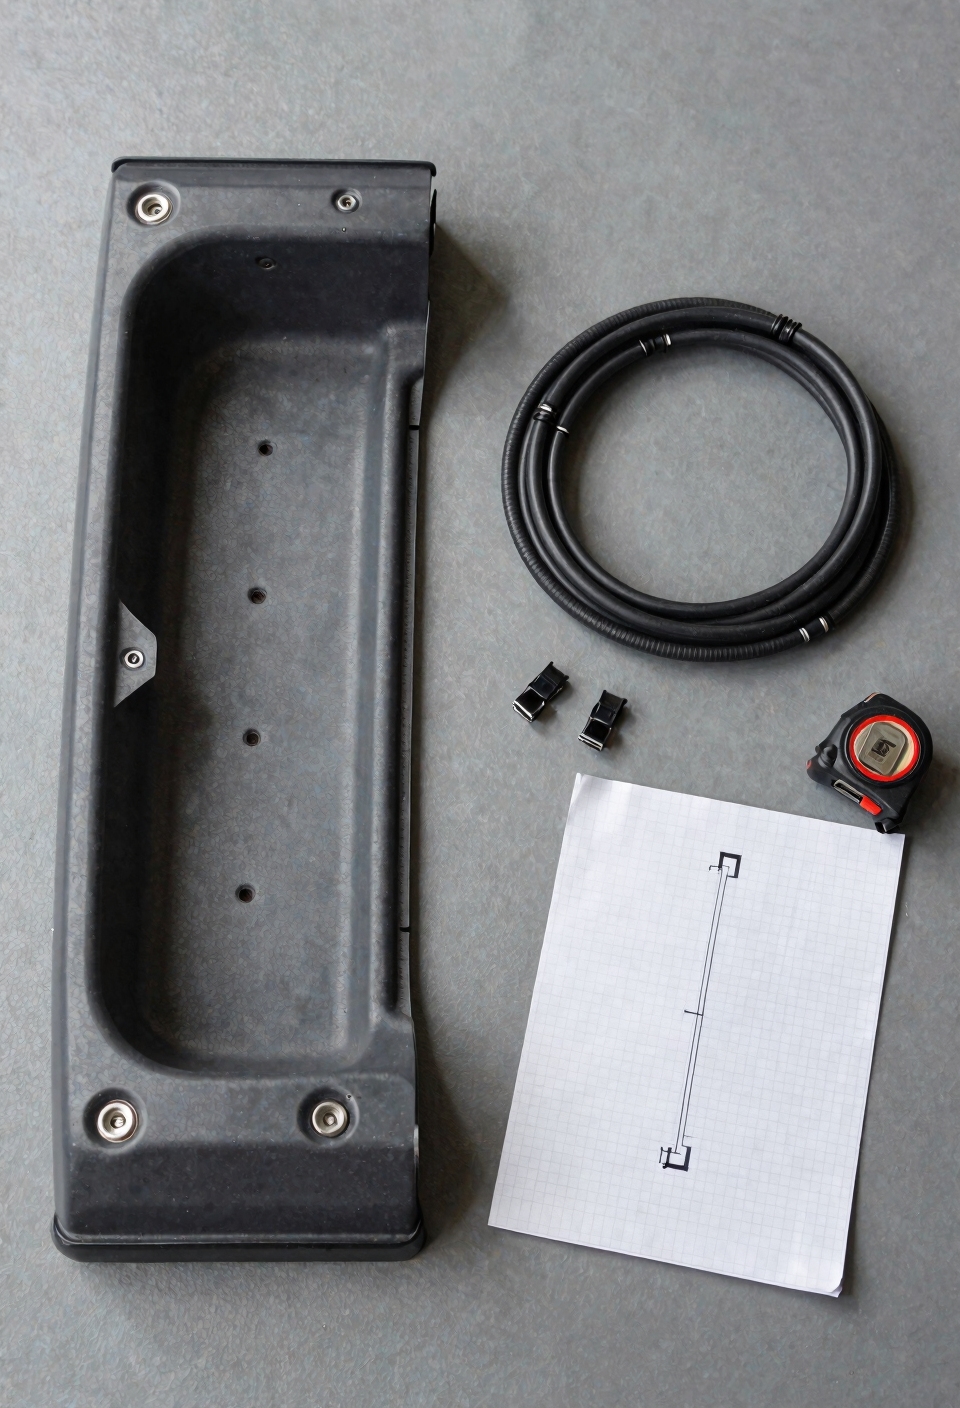
Through your vehicle’s interior and along its frame, your backup camera cable is basically running a gauntlet—and you’ve got to set it up so it doesn’t get destroyed before you even turn the ignition. I’m serious: one sharp metal edge or a pinched wire, and you’re looking at a dead camera before installation’s even done.
Here’s what I do. I map out the entire route from your rear camera to the dashboard before touching anything. Look for protected paths under trim, carpet, and door sills. Avoid exhaust components and heat sources. Use protective grommets wherever the cable passes through tight spots, and secure fastening keeps tension off the wire. Leave slack so nothing pulls tight—especially important in larger vehicles. Consider using waterproof PET material or similar protective coverings for exposed sections to prevent moisture damage and degradation. Take your time planning this part, and you’ll save yourself serious headaches later.
Test and Troubleshoot Before You Close Everything Up
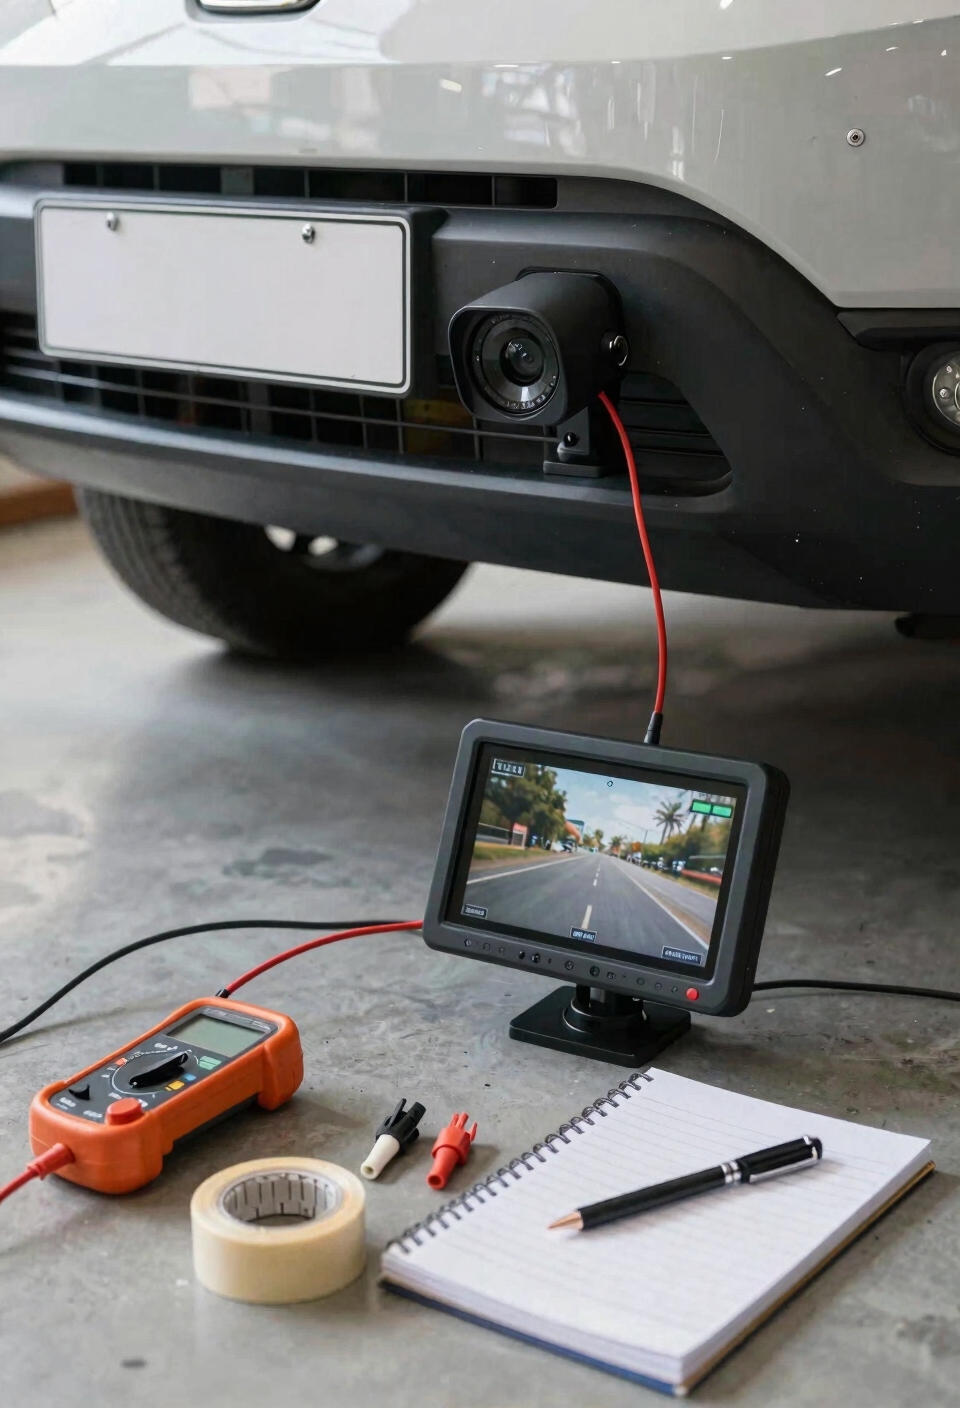
After you’ve carefully routed that cable through your vehicle without a scratch on it, you’re not done yet—and I know it’s tempting to just slap everything back together and call it a day. Don’t do that. Here’s where testing saves you from serious headaches later.
First, reconnect your battery and fire up the engine. Put the car in reverse and check if your camera display actually shows up on your monitor. You’re looking for a clear image with no weird lag or signal latency that makes everything feel delayed.
Next, try power cycling the whole system—kill the engine, wait thirty seconds, then start it again. Does everything boot up properly? If your image is fuzzy, connections are loose, or nothing displays at all, you’ll catch it now instead of discovering problems down the road. Trust me, testing first beats troubleshooting later. Consider storing your backup camera documentation and care instructions in a dry, ventilated area to ensure you can reference proper maintenance guidance whenever needed.
Frequently Asked Questions
Can I Install a Backup Camera Myself, or Do I Need Professional Help?
You can install it yourself if you’ve got basic electrical skills, but I’d warn you about DIY risks like improper wiring or compatibility issues. If you’re uncertain, professional help’s worth the investment.
What Is the Cost Difference Between Wired and Wireless Backup Camera Systems?
Wireless systems typically cost 20–40% more than wired alternatives, but you’ll dodge installation headaches. I’d factor in signal interference risks that might require professional troubleshooting, potentially offsetting savings.
How Do I Know Which Camera Resolution or Image Quality Is Best for Me?
You’ll want to balance resolution trade-offs against your budget and vehicle size. I’d prioritize low light performance if you park at night frequently. Higher resolution helps with detail, but it shouldn’t compromise nighttime visibility or increase costs unnecessarily.
Will Installing a Backup Camera Void My Vehicle’s Manufacturer Warranty?
I’ll tell you: it depends on your manufacturer’s policy and whether you’ve notified your dealer. Many warranties aren’t voided by aftermarket cameras if you haven’t damaged factory components. Check your warranty transferability terms and inform your dealer about modifications for clarity.
What Are the Legal Requirements for Backup Cameras in My State or Country?
I’d recommend checking your local DMV or transportation authority website, as backup camera requirements vary by region. Some areas have government mandates for new vehicles, while others don’t regulate aftermarket installations. Privacy concerns rarely apply to personal vehicle cameras.
Conclusion
You’ve built a bridge between what you can’t see and total peace of mind. That backup camera isn’t just a gadget—it’s your safety net, your second set of eyes watching over everything behind you. You’ve checked, planned, and tested like a pro. Now you’re ready to back up with confidence, knowing you’ve done the work right. That’s what smart driving looks like.