As an Amazon Associate, we earn from qualifying purchases. Some links on this site are affiliate links at no extra cost to you. Our recommendations are based on thorough research and editorial judgment.

Vinyl Roof Wrap DIY: The Temperature Window That Determines Success

your roof wrap’s success hinges entirely on temperature. You need your shop between 20–25°C to keep vinyl manageable, heat it to 40–60°C for shaping around curves, then blast it to 90–100°C for post-heat to lock everything down permanently. Skip any phase and you’re looking at shrinkage, ripples, or edges peeling off within months. Temperature literally controls whether your wrap stays pristine for years or becomes a expensive mistake. Get this part right, and everything else falls into place.
Key Takeaways
- Maintain workshop ambient temperature at 20–25°C for optimal vinyl manageability and installation success throughout the process.
- Heat vinyl to 40–60°C during shaping for smooth pliability around curves without rippling or distortion.
- Post-heat vinyl to 90–100°C to lock material memory, adhesives, and prevent future shrink-back or edge lifting.
- Let vinyl acclimate flat for 24 hours before use and store away from direct sunlight exposure.
- Use infrared thermometer to monitor accurate surface temperatures and heat gun for controlled, even heating during installation.
The Temperature Window That Makes or Breaks Your Roof Wrap
If you’ve ever tried putting a sticker on your phone case during winter and it just wouldn’t stick right, you’ve basically run into the same problem that kills most DIY roof wraps before they even get started. Temperature is everything when you’re wrapping your roof, and I’m not exaggerating. You need your workspace sitting between 20–25°C (68–77°F)—that sweet spot where vinyl actually cooperates with you. Too cold, and the material gets brittle and refuses to conform smoothly. Too hot, and it stretches way too easily, which messes up your whole wrap. Before you even start, proper surface prep and edge sealing matter, but none of that works if your vinyl’s throwing a fit because of temperature. Proper maintenance and following care instructions extend accessory lifespan and performance, so store your vinyl and application tools in a cool, dry place away from direct sunlight before beginning your project. Get the climate right first, and everything else falls into place.
How Vinyl Responds at Shop, Shaping, and Memory-Lock Temperatures
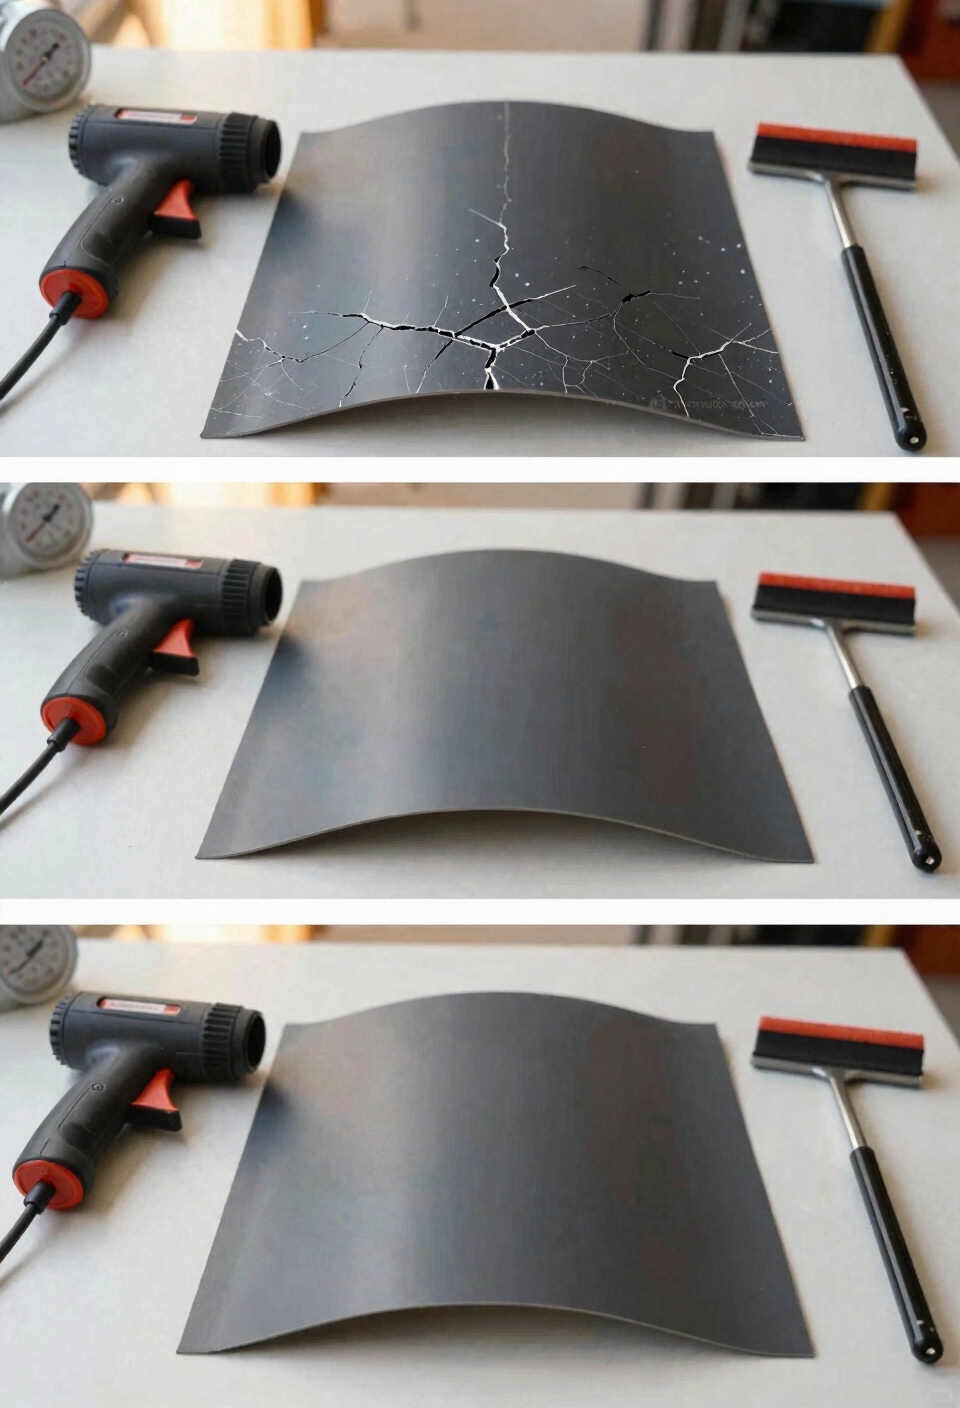
Once you’ve got your workspace dialed in at that perfect 20–25°C range, you’re ready to understand the real magic—and the real challenge—of how vinyl actually transforms under different heat levels. When you warm vinyl to 40–60°C during shaping, it becomes seriously pliable. Around 50°C, you can form it around curves without fighting ripples. But here’s the thing: too much heat damages the material’s structure. Then comes memory-lock territory at 90–100°C. That’s when thermal relaxation happens—basically, the vinyl “forgets” where it was stretched from. Skip this step, and you’ll watch your wrap shrink back and lift at edges. Just as heat-resistant components are critical in automotive electrical systems to prevent overheating during heavy use, proper temperature management during vinyl application ensures your wrap maintains its integrity and longevity. I mean, temperature aging is real, and respecting these zones separates a perfect wrap from a disappointing one.
Setting Up Your Climate-Controlled Workspace
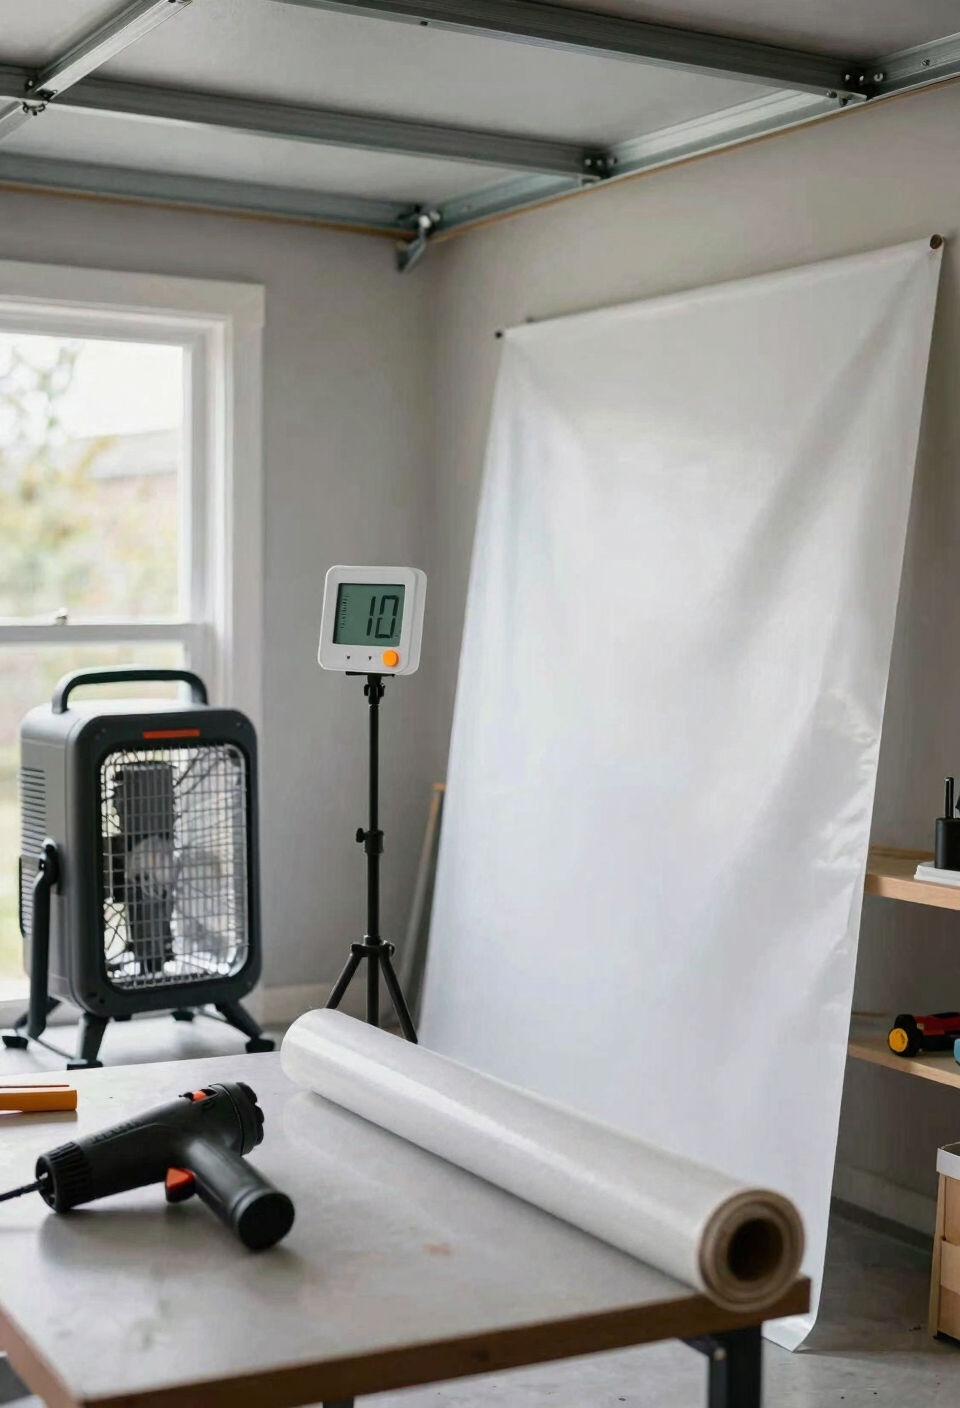
Getting your workspace temperature just right is honestly the difference between nailing your vinyl roof wrap and falling victim to a project disaster. I’m talking about finding that sweet spot between 20–25°C where vinyl actually cooperates with you instead of fighting back.
Here’s the thing: you’ll want a space where you can control the temperature consistently. That means thinking about ventilation planning so heat doesn’t spike randomly, and considering material storage in a corner that stays stable. No direct sunlight blasting through windows—that’ll soften your vinyl before you’re ready. If your garage gets chilly, grab a space heater. Too hot? A portable AC unit works wonders. Basically, you’re creating conditions where your vinyl stays predictable and manageable the entire time you’re working. Similar to how protective gear assists with paint preservation in vehicles, maintaining stable environmental conditions protects your vinyl materials from degradation during the application process.
Acclimate Your Vinyl Before You Start
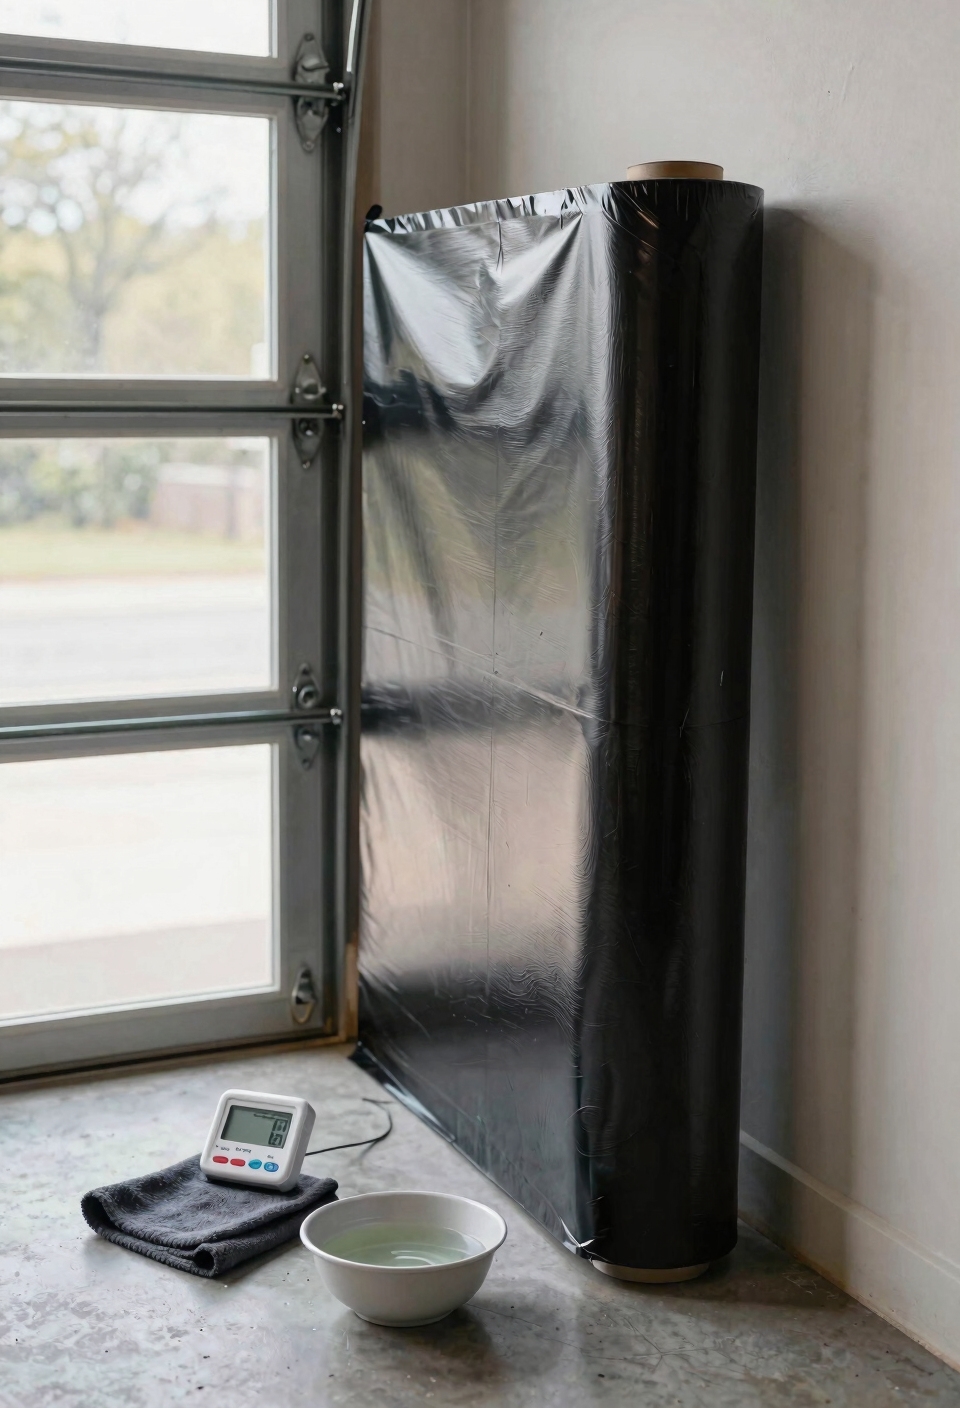
Material acclimation sounds fancy, but it’s simple: vinyl’s been sitting in a truck or warehouse at who-knows-what temperature. When you bring it inside, it needs time to match your room’s climate. I’m talking at least 24 hours. This isn’t just patience—it’s strategy.
Cold vinyl is stiff and cranky. Warm vinyl straight from storage? It’ll behave unpredictably during installation. Try storage rotation too: let rolls sit flat so they acclimate evenly, not just on one side. Similar to how reflective materials require proper temperature conditions for adhesive backing application, vinyl wraps perform best when given adequate time to adjust to ambient conditions before installation. Your future self installing that wrap will absolutely thank you.
The Three Critical Temperature Phases During Installation
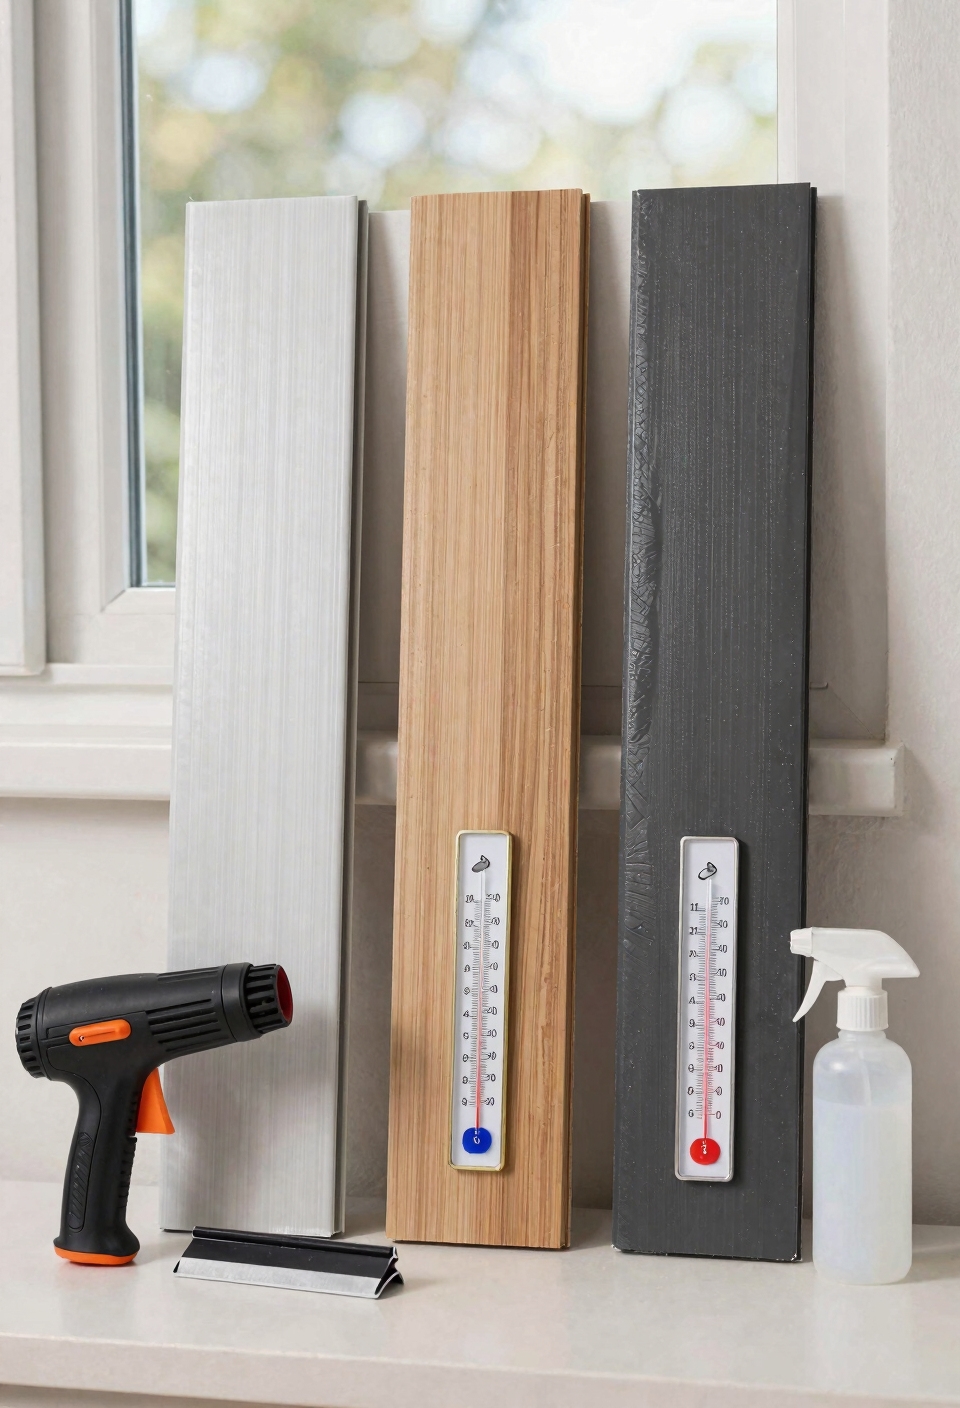
Now that your vinyl’s finally acclimated and ready to go, here’s the thing—temperature doesn’t just matter once during installation. You’ve got three distinct phases, and nailing each one is what separates a flawless wrap from a disaster.
First, you’re working in that 20–25°C ambient tolerance—your shop temperature. This keeps the vinyl manageable and forgiving. Next comes the heating phase around 40–60°C, where thermal gradients across your roof help the vinyl stretch smoothly around curves without rippling. Finally, you’re hitting that post-heat at 90–100°C to lock everything in permanently.
Skip any phase, and your wrap shrinks back or lifts at the edges. I mean, that’s the whole game right there. Just like premium carbon fiber accessories require UV-resistant clear coats to maintain appearance and prevent sun-related damage, your vinyl wrap needs each temperature phase to ensure lasting adhesion and prevent deterioration.
Heating Tools You’ll Need and How to Use Them
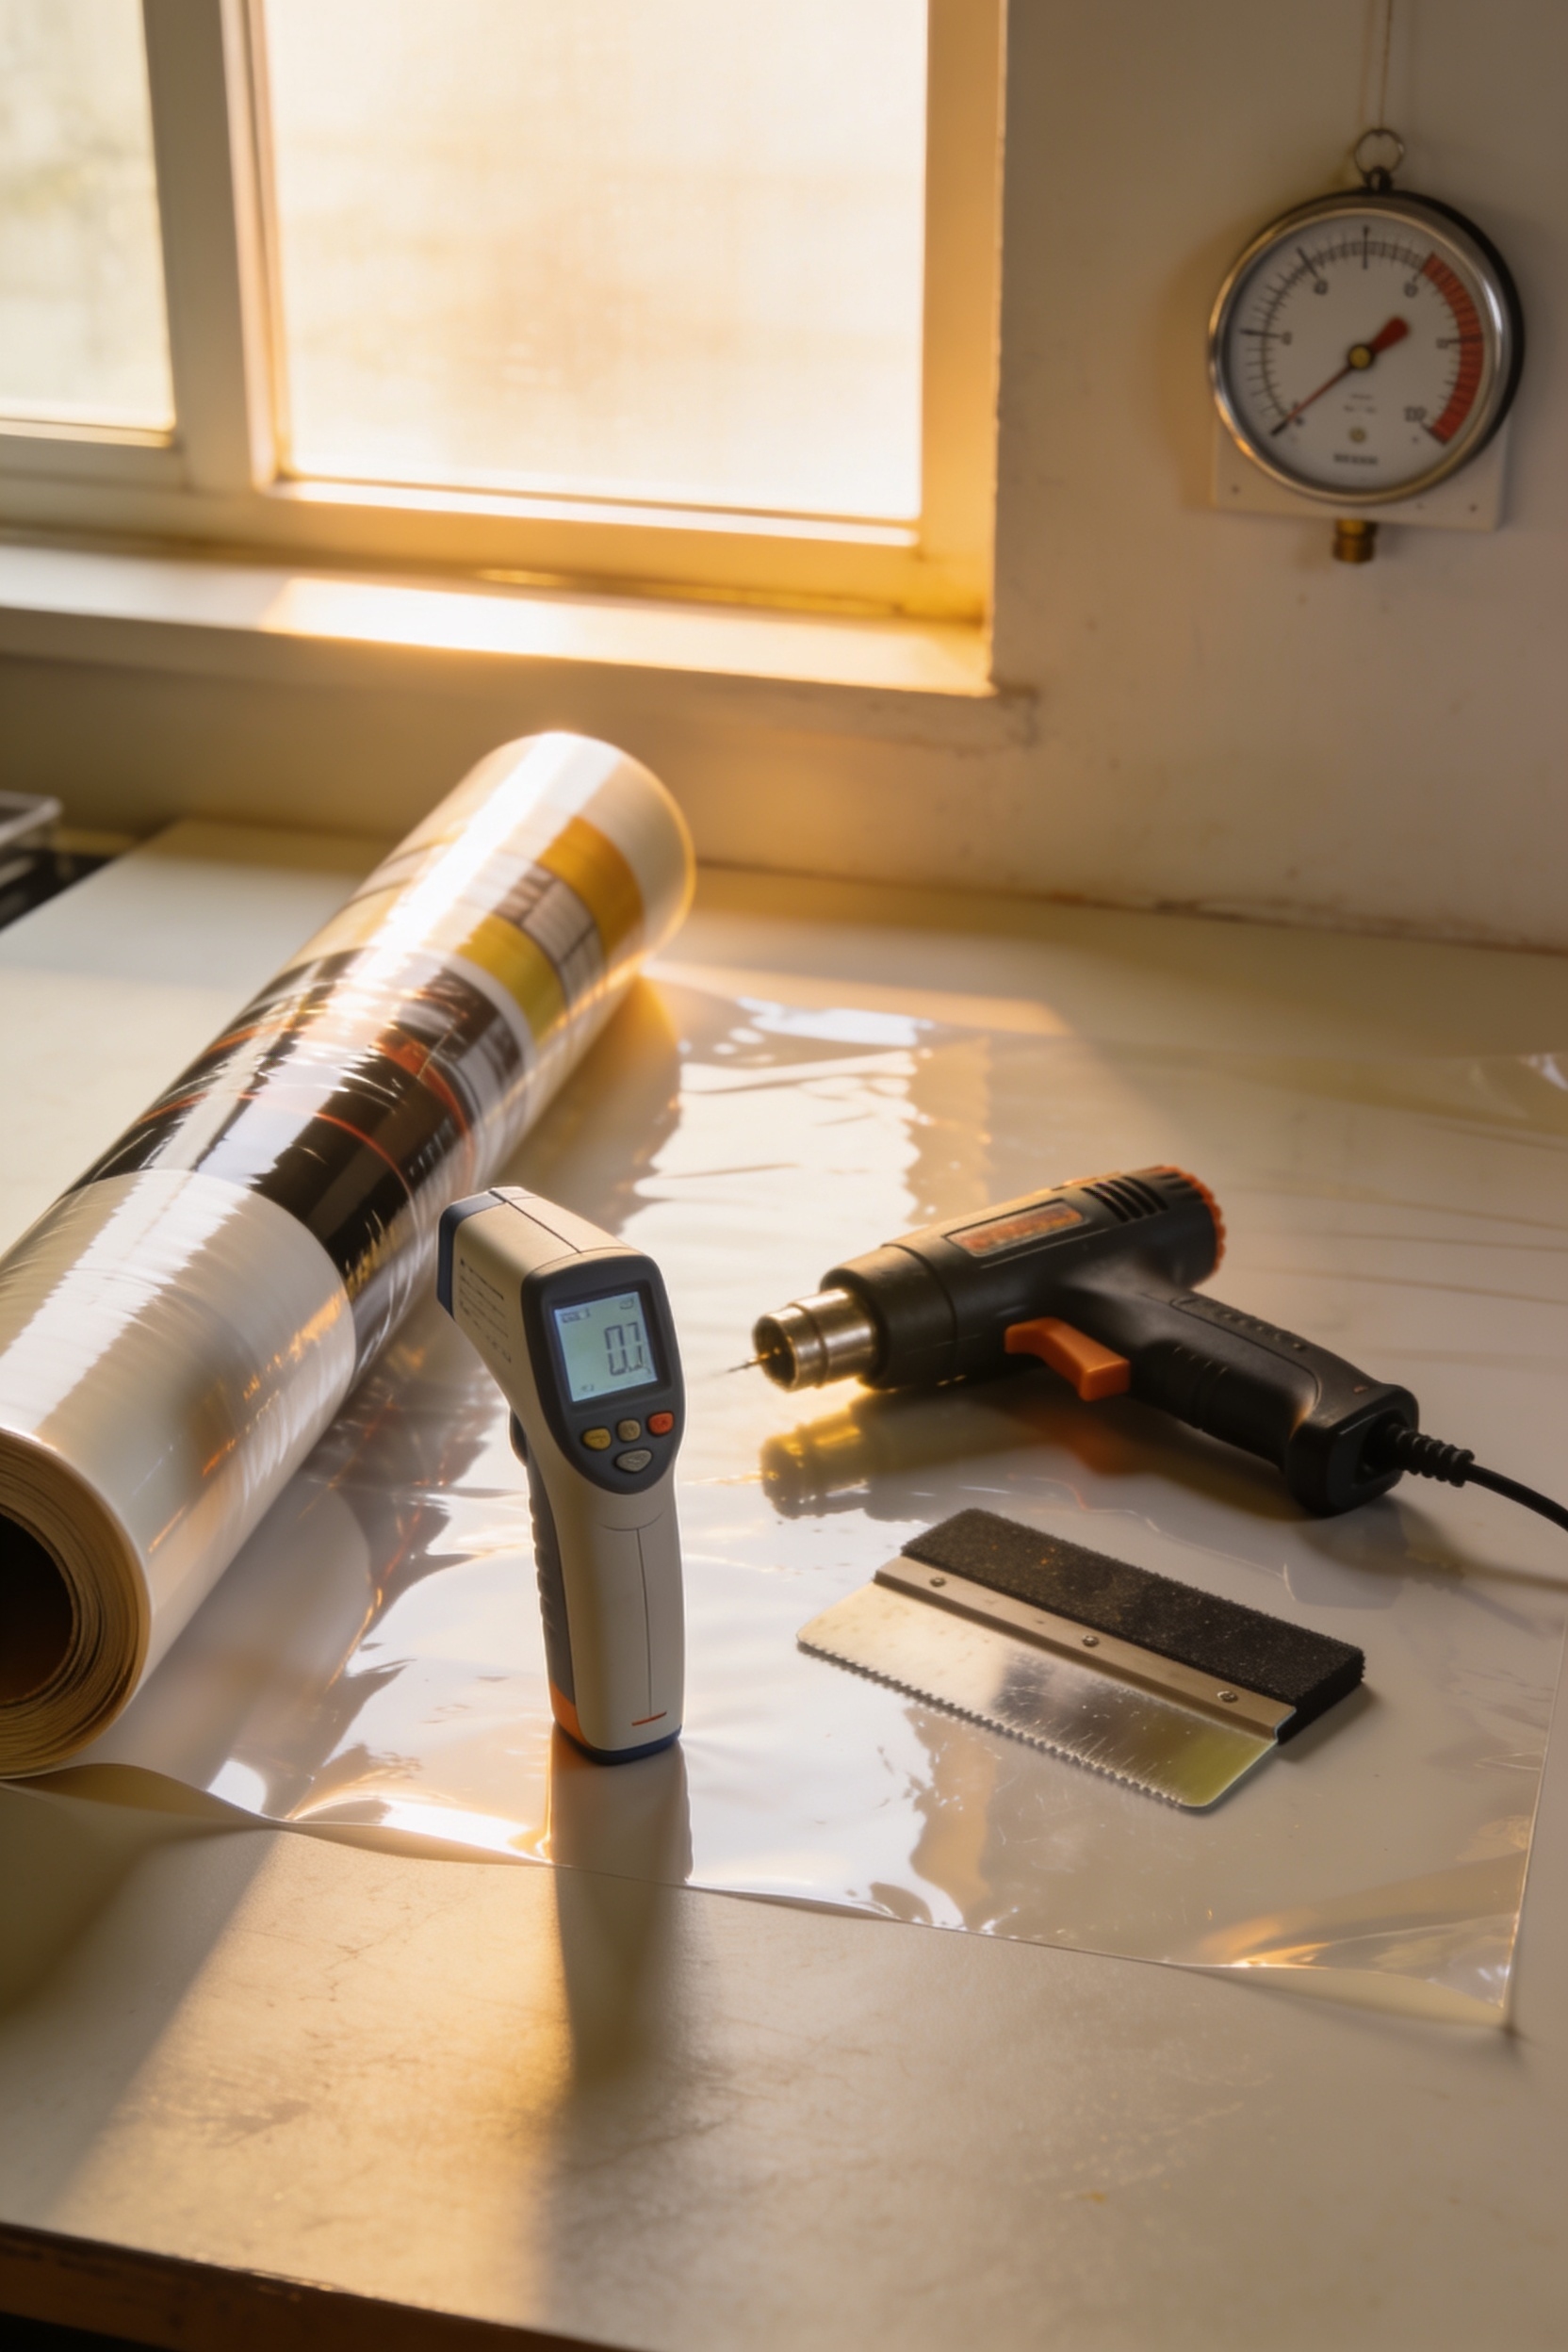
So here’s where things get real—you can’t pull off those three temperature phases without the right tools backing you up. Your best friend here is a heat gun, which lets you warm the vinyl to exactly where it needs to be during stretching and post-heating. I’m talking controlled warmth, not a blowtorch situation. Pair that with an infrared thermometer, and you’ve got precision. This little device tells you the actual temperature without guessing. You’ll point it at the vinyl, and boom—instant readout. No more wondering if you’re at 50°C or way too hot. Honestly, these two tools together transform your entire installation game from risky to reliable.
Cold-Weather Wrapping: Why It Fails and What Works Instead
When you’re wrapping your roof in freezing temperatures, you’re basically fighting against the material itself—and trust me, vinyl wins that fight every single time. Cold vinyl becomes stiff and brittle, making it snap during handling instead of stretching smoothly. I’ve seen installers struggle because the adhesive curing slows down dramatically in low temps, meaning your wrap won’t stick properly. Here’s what I learned: if your vinyl’s been in cold storage, let it sit in your workspace for at least 24 hours before touching it. That acclimation time lets the material warm up and regain flexibility. Skipping this step? You’re basically guaranteeing ripples, poor adhesion, and frustration. Just as peel-and-stick installation methods require proper surface preparation, vinyl wrapping demands that you respect the material’s temperature sensitivity before beginning any application. Trust the temperature—it matters way more than you’d think.
Post-Heat Failures: Why Wraps Shrink Back and How to Lock Them Permanently
You’ve probably wrapped something perfectly, stepped back thinking you’re done, and then watched the edges curl up like a potato chip a few weeks later—that’s what happens when you skip the post-heat step. I’m talking about the final heating that actually locks your vinyl in place permanently.
Here’s the deal: when you stretch vinyl around curves and edges, it’s basically holding its breath. Without proper post-heating around 90–100°C (194–212°F), that material remembers its original flat shape and wants to shrink back. If you only hit 80–85°C, you’re basically begging for shrinking prevention to fail and edge adhesion to break down.
The post-heat isn’t optional—it breaks the vinyl’s memory and keeps everything locked down for years. Similarly, materials like carbon fiber mirror caps require proper temperature management during installation to maintain their UV-resistant properties and prevent degradation over time.
Frequently Asked Questions
Can a White Vinyl Roof Wrap Actually Reduce Cabin Heat Compared to Dark Paint?
Yes, I’ve found that white vinyl’s superior solar reflectance genuinely reduces your interior temperature compared to dark paint. The reflective properties bounce sunlight away, lowering cabin heat load noticeably on sunny days.
Does Windshield Tinting Work Better Than Roof Wraps for Overall Vehicle Heat Reduction?
They’re complementary, not competitive. I’d say windshield tint blocks more solar control since windows are your primary heat entry point, but I’d combine both for best comfort comparison—roof wrap alone won’t solve windshield heat gain.
How Long Should Vinyl Acclimate if Stored in a Cold Garage Before Installation?
Ever wonder why cold vinyl feels stiff and uncooperative? I’d recommend letting your material acclimate for at least 24 hours in your garage after cold storage. This cold acclimation period guarantees proper flexibility before you start wrapping.
What’s the Risk of Stretching Vinyl Beyond 60°C During the Shaping Phase?
I’d caution you against exceeding 60°C during shaping—you’ll risk surface deformation and adhesive degradation. Excessive heat damages vinyl’s structural integrity, reducing durability and compromising your installation’s long-term stability on complex contours.
Why Do Wraps Fail if Post-Heated to Only 80–85°C Instead of 90–100°C?
When I post-heat at only 80–85°C, I don’t fully break the vinyl’s memory, so it retracts. Inadequate adhesive curing at this temperature means edge lifting occurs as the material shrinks back over time.
Conclusion
Look, here’s the thing: about 70% of vinyl roof wraps fail within the first year because people skip the temperature stuff. I’m not saying you’ll be perfect on your first try, but now you know the secret. Get your climate right, take your time heating, and lock that memory down. You’ve got this. Your roof’s about to look absolutely fire—and actually *stay* that way.