As an Amazon Associate, we earn from qualifying purchases. Some links on this site are affiliate links at no extra cost to you. Our recommendations are based on thorough research and editorial judgment.

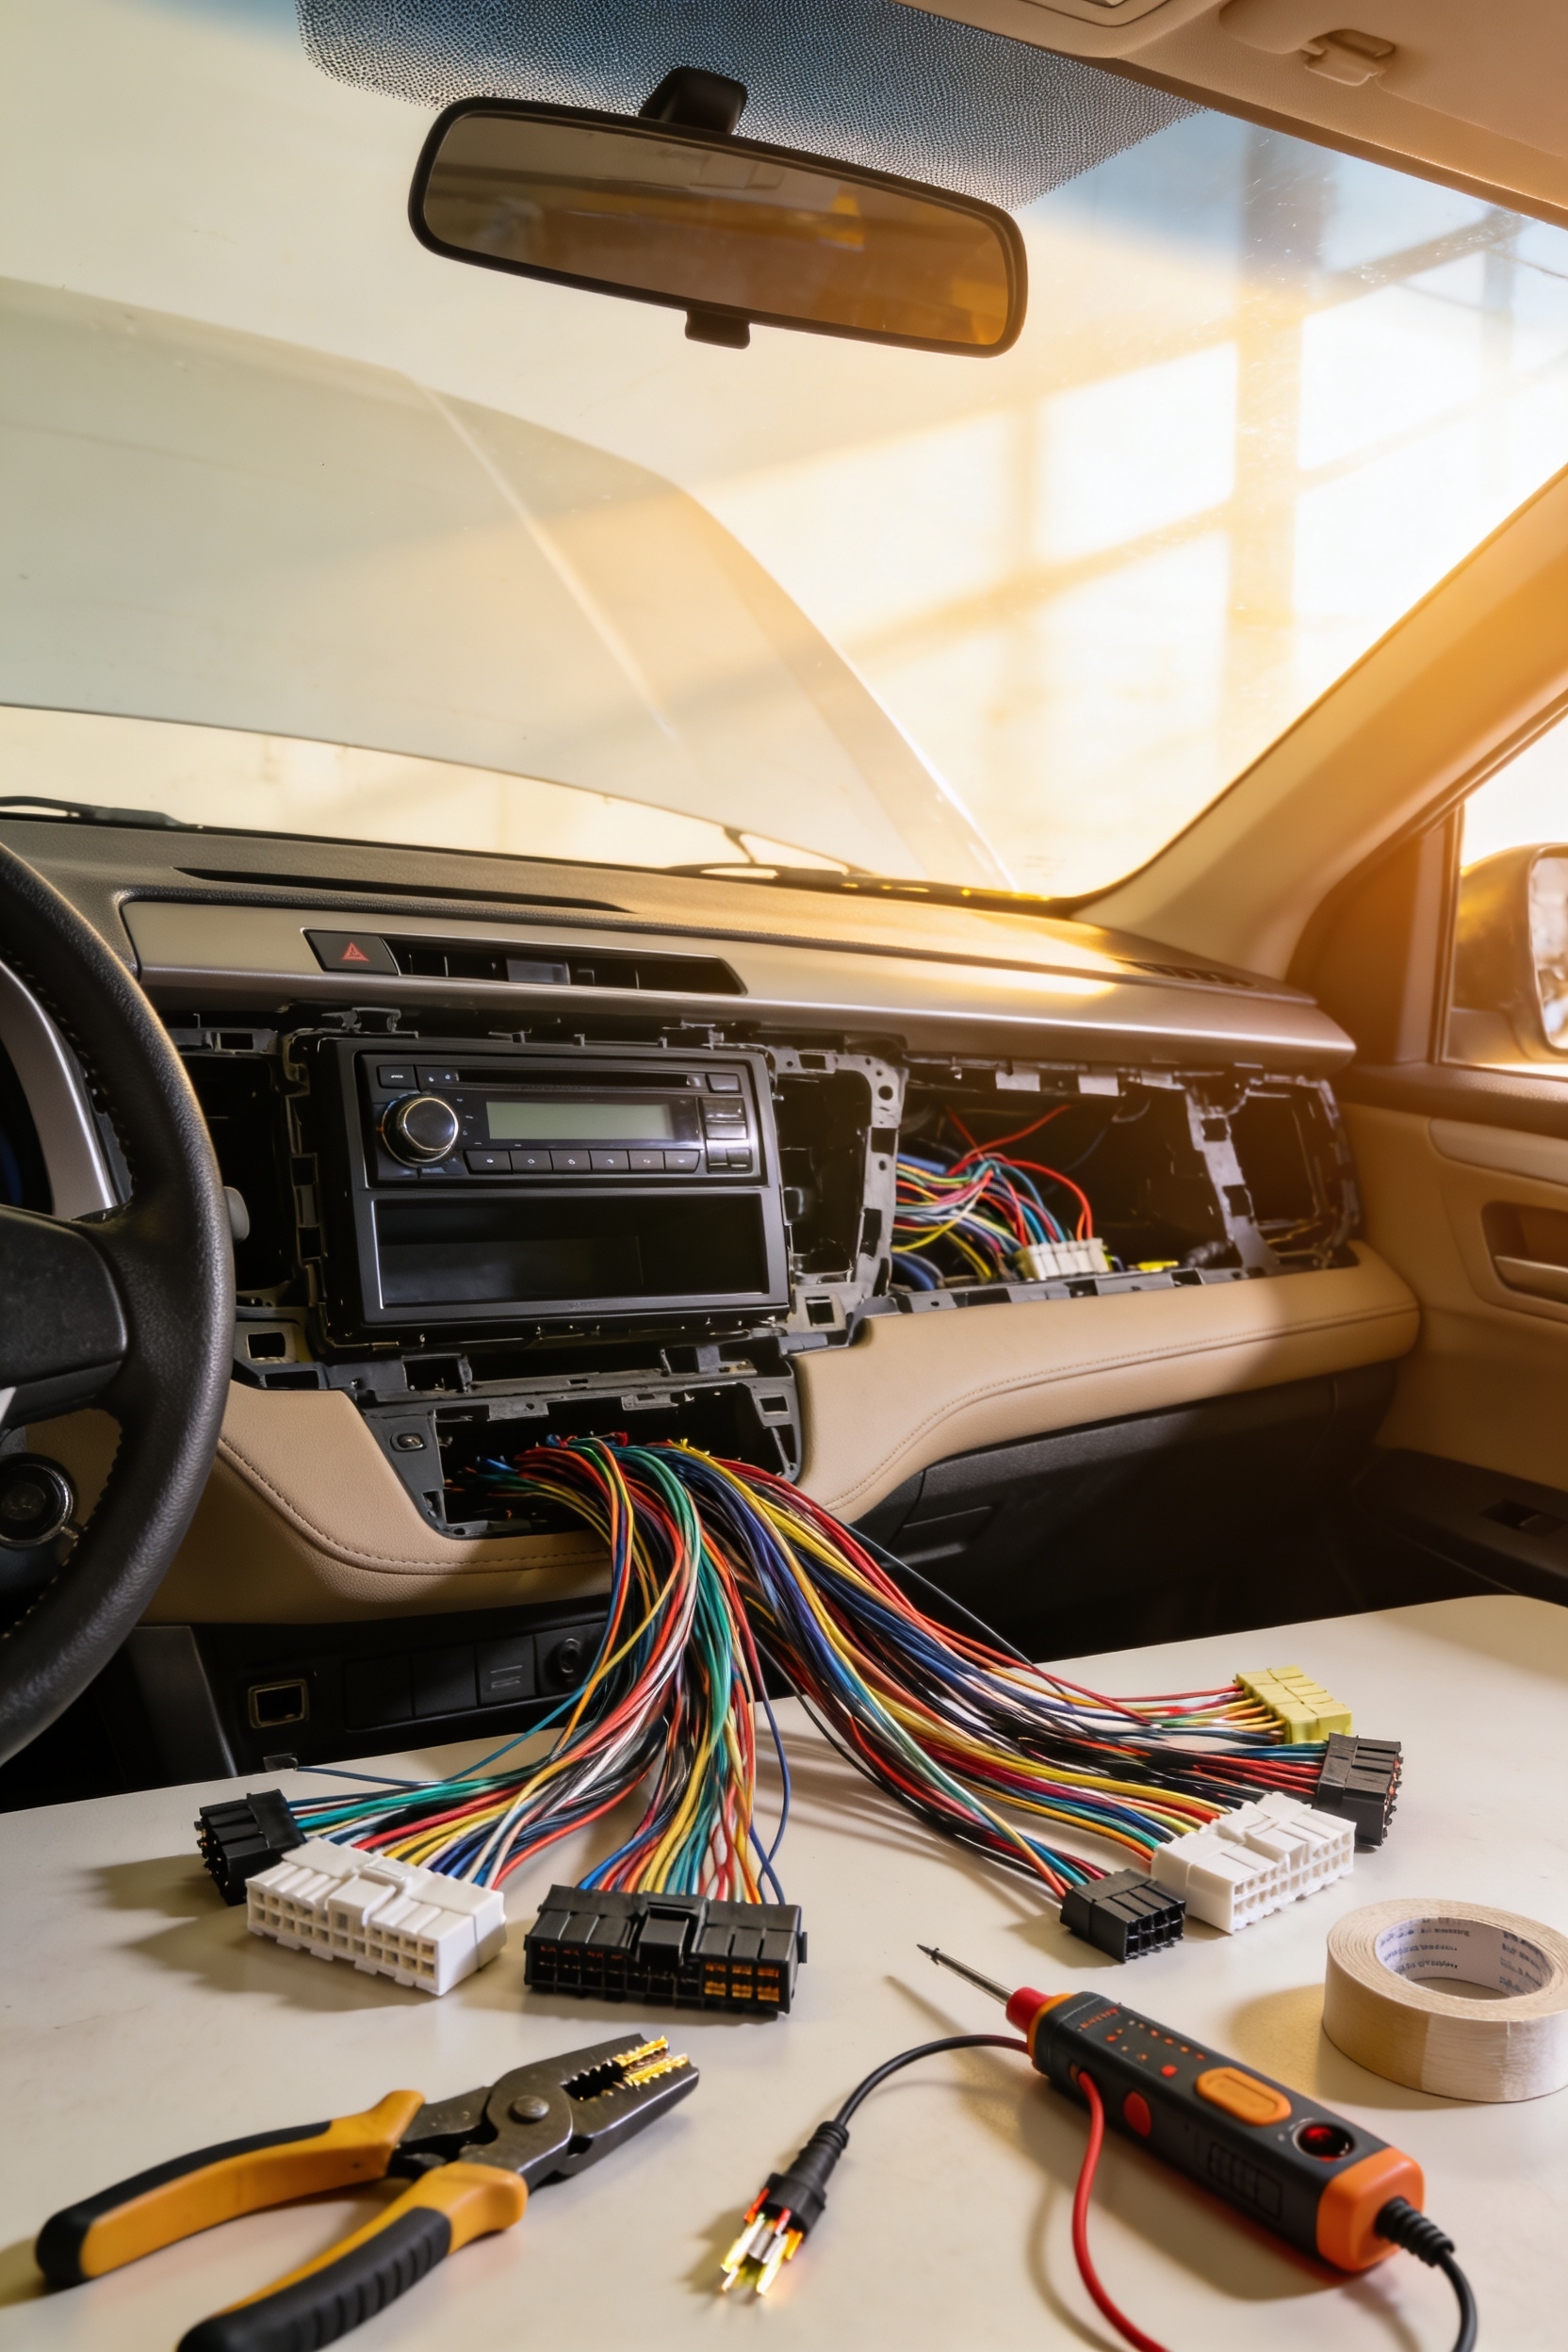
Aftermarket Head Unit Installation: What Wiring Harnesses Do

A wiring harness is basically your translator between your car’s factory stereo plug and a new aftermarket head unit. Instead of cutting into your vehicle’s original wires—which you can never undo—the harness connects everything cleanly through an adapter. You get a plug-and-play installation that keeps your factory system intact, prevents corrosion from exposed wires, and makes swapping radios later super simple. It’s the difference between a pro job and permanent damage to your car’s wiring.
Key Takeaways
- Wiring harnesses translate factory car stereo connectors to aftermarket head unit standards without cutting original wires.
- Vehicle-specific harnesses enable plug-and-play installation while universal harnesses often require splicing and crimping work.
- Harnesses preserve factory wiring integrity, prevent corrosion at splice points, and allow future radio removal without damage.
- Standard color codes (yellow=constant power, red=switched power, black=ground) enable quick and accurate harness connections.
- Proper harness use maintains resale value and simplifies future radio upgrades through simple unplug-and-swap functionality.
What a Wiring Harness Does in an Aftermarket Radio Installation
If you’ve ever wondered why people don’t just rip out their factory car stereo and jam in a new one—well, that’s where the wiring harness comes in. I mean, your car’s factory wiring and that new aftermarket head unit speak totally different languages, right? The harness acts like a translator. It connects your vehicle’s original plugs to your new radio without you having to hack up the OEM wiring. That’s huge because it keeps everything clean and reversible. Plus, it protects against signal interference and electrical headaches. A quality harness basically extends your installation’s lifespan by doing the job right the first time. You’re not jury-rigging anything—you’re solving the puzzle properly. Most quality wiring harnesses feature gold-plated brass terminals for superior conductivity and corrosion resistance, ensuring reliable long-term performance in your vehicle’s electrical environment.
Why Vehicle-Specific Harnesses Beat Cutting Factory Wiring
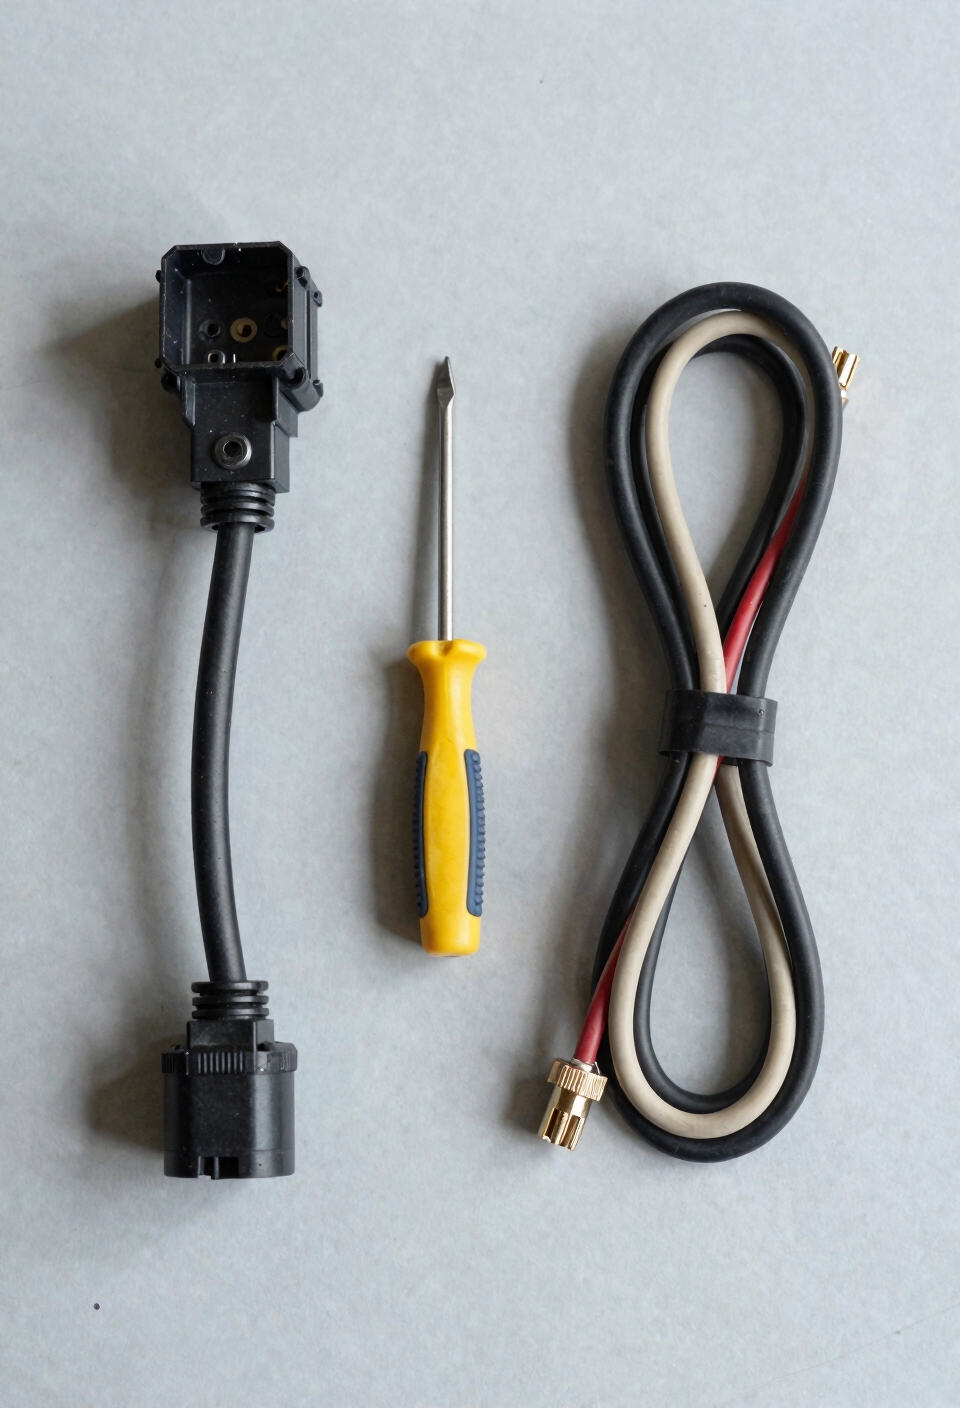
Because every car manufacturer designs their wiring differently, you can’t just use the same harness for a Honda and a Ford and expect it to work—that’s where vehicle-specific harnesses come in. When you use the right harness for your exact car model, you’re basically getting a translator that speaks both languages: your vehicle’s factory wiring and your new radio’s wiring.
Here’s the real win: you’re not cutting into anything. Your original wiring stays intact, which preserves resale value and keeps everything clean. Plus, if something goes wrong later, 16-pin ISO compatibility simplifies troubleshooting because you haven’t hacked apart your car’s electrical system. You can always go back to factory settings or swap out the radio without permanent damage. That’s way smarter than grabbing scissors and hoping for the best.
Standard Color Codes on Your Wiring Harness
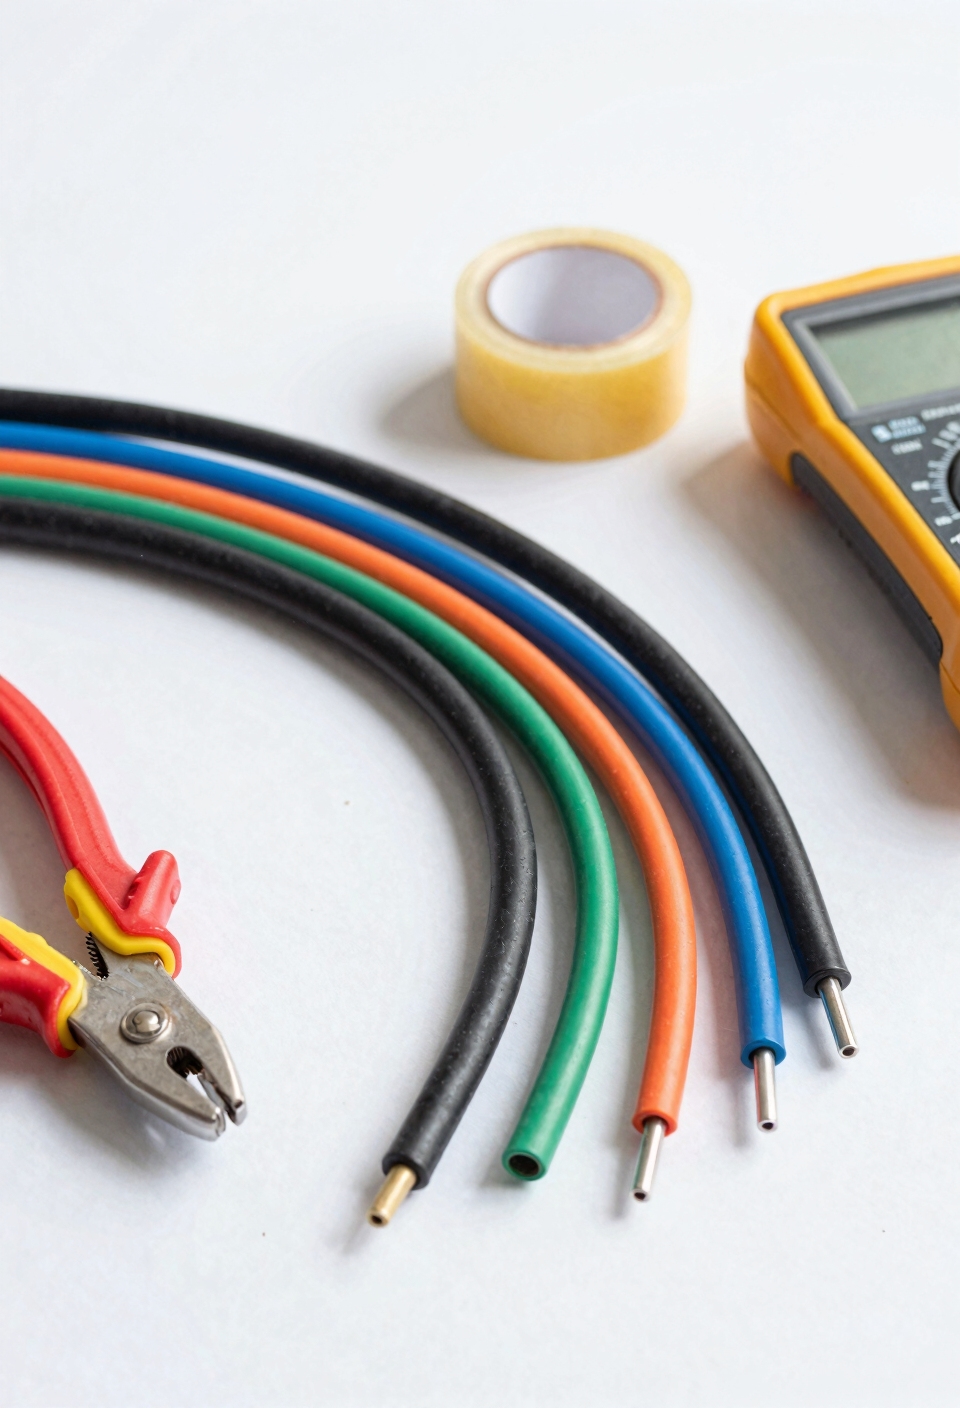
Now that you’ve got the right harness for your car, here’s the thing—you need to actually know what you’re looking at when you unbox it. Every wire has a job, and the colors tell you what that job is. I’m talking about the pin functions that make everything work together.
Yellow’s your constant power—it keeps your radio’s memory alive even when the car’s off. Red handles the switched power that turns everything on when you start the engine. Black grounds everything, obviously. Then you’ve got your speaker wires: white and gray (plus their black-striped partners) connect your front speakers.
For BMW-specific installations, custom-fit phone mounts and other integrated accessories often share similar electrical considerations when connecting to your vehicle’s infotainment system. Understanding these connector types and color codes? That’s literally the difference between a smooth five-minute install and two hours of frustration. Seriously, bookmark this mental note.
Adapter vs. Universal Harness: Which Fits Your Car?
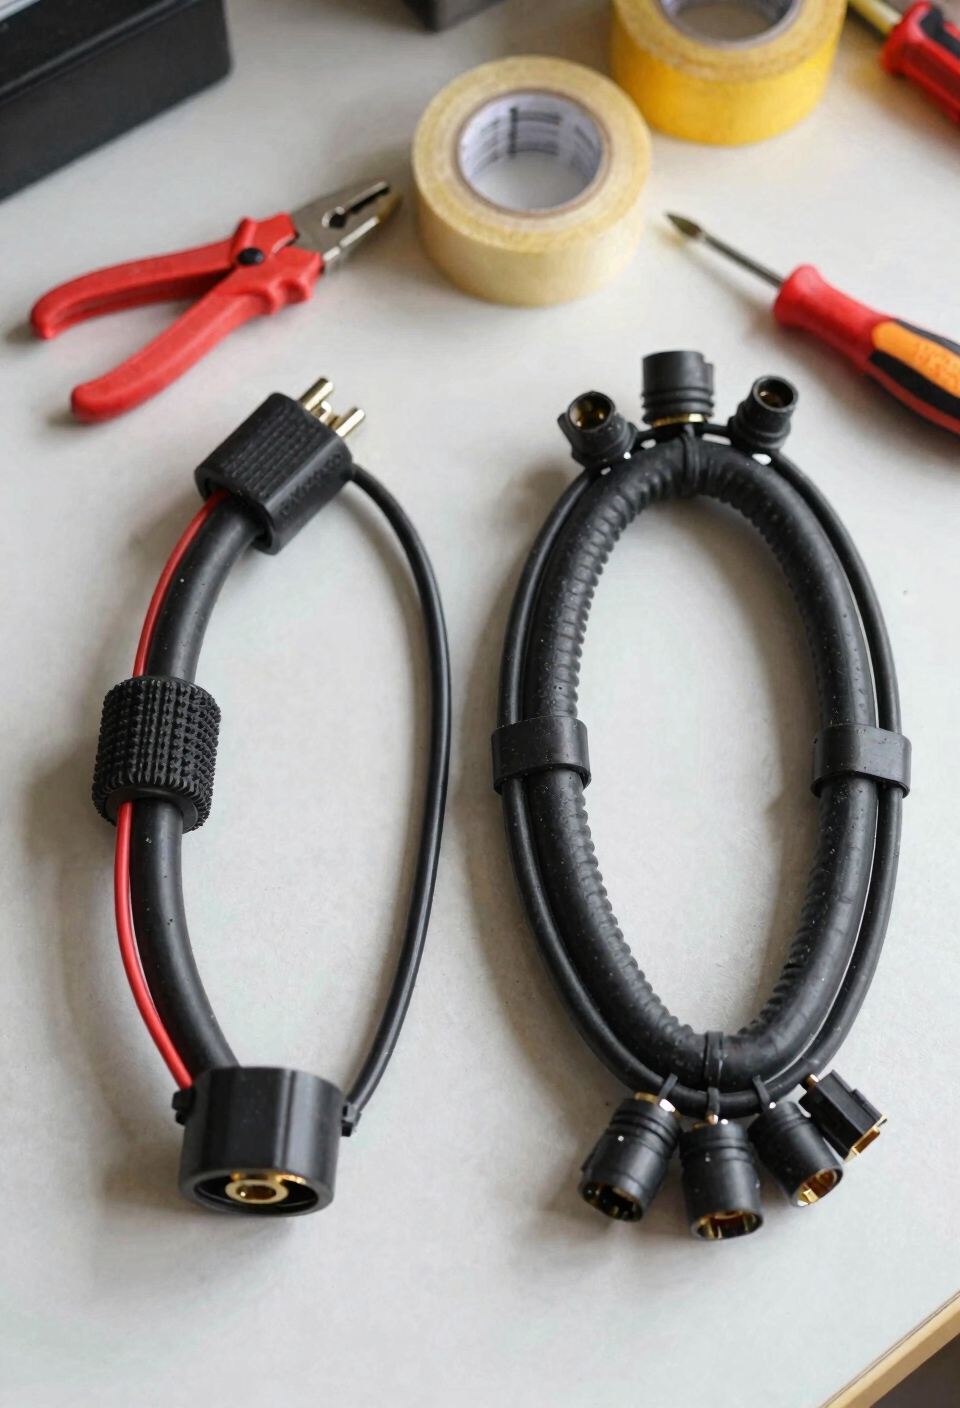
So you’ve got your wiring harness color codes down, and you’re ready to plug everything in—but here’s where a lot of people mess up. Not all harnesses work with all cars, and that’s the real deal you need to know about.
Now, here’s the thing: a vehicle fitment adapter harness is built specifically for your car’s make and model. It connects your aftermarket radio directly to your vehicle’s factory plugs—true plug and play. A universal harness? That’s generic. It works with tons of different cars, but you’ll probably end up splicing and crimping wires yourself, which honestly defeats the whole purpose.
I mean, spending fifteen minutes finding the right wiring adapters saves you hours of headaches. Check your vehicle’s year and model first. That’s your starting point for proper aftermarket compatibility. Just like protective accessories that preserve your vehicle’s interior and exterior, the right wiring harness protects your infotainment system from damage caused by improper connections and electrical surges.
Recommended Products

Bundle includes: Wet Sounds REV 12 HD 12" Horn Loaded Compression Driver Tower Speakers, 400 Watts RMS, Black, Pair, Wet Sounds REV 12 HD XS-B GRILLE 12" XS Style Grilles for REV 12 HD Tower Speakers, Black, Wet Sounds TC3 Swivel Clamps for REV and ICON Series Speakers (Pair), Wet Sounds TC3-S 6 pin LED lighting connectors for swivel clamps (pair)

Upgrade your Polaris RZR equipped with Ride Command to an epic elevated audio experience with the Rockford Fosgate RZR Stage 5 Audio Kit for Ride Command

Fits pickups with the OEM truck bed puck system (year range specific)
Connecting Power, Ground, and Speaker Wires Correctly
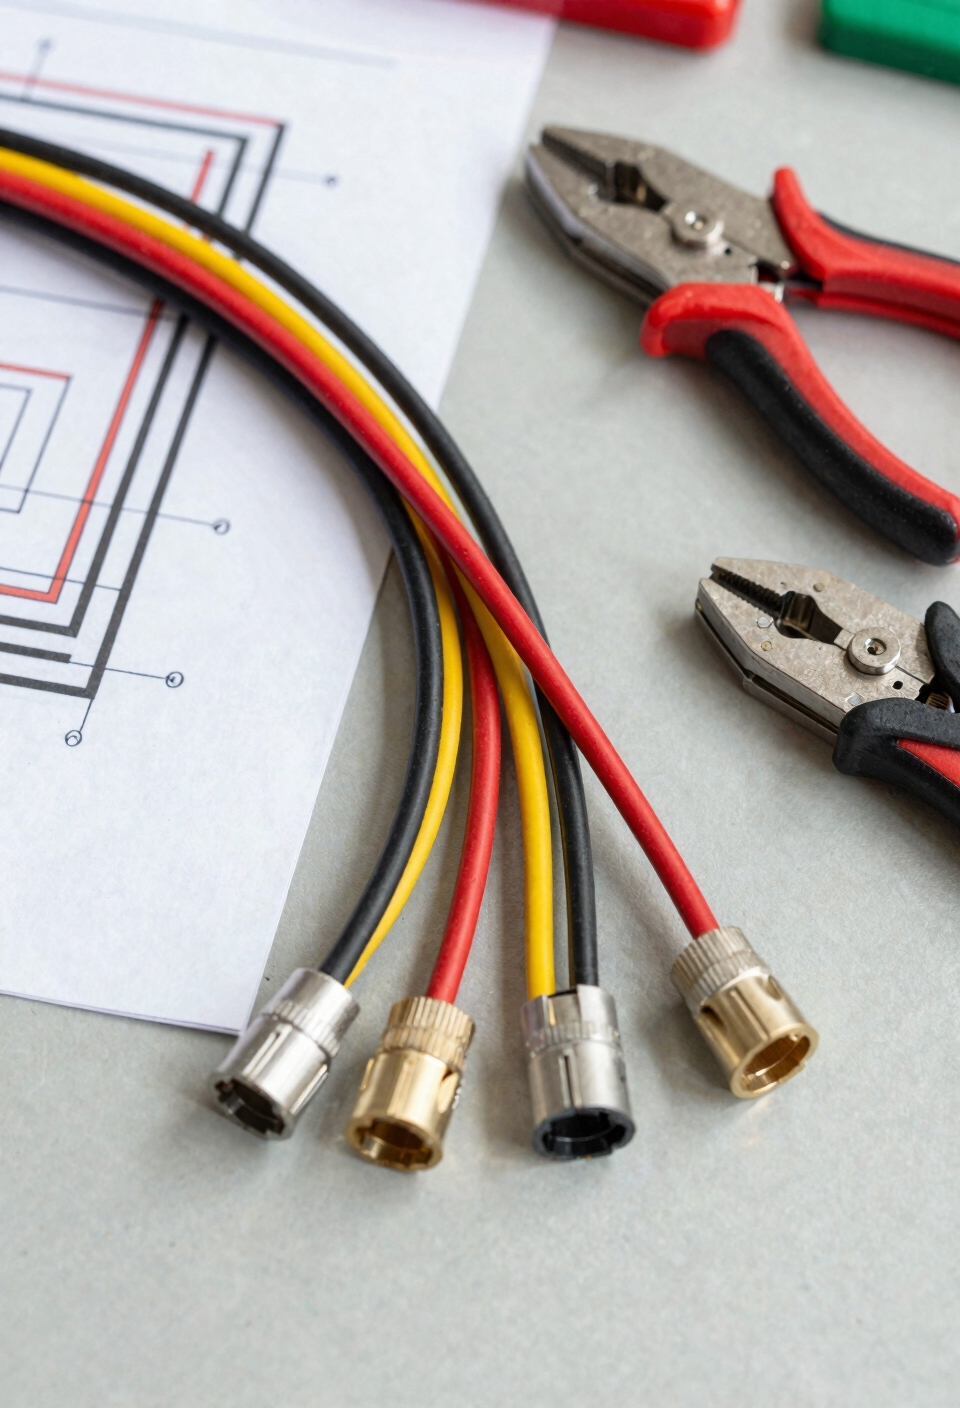
Getting your power and ground wires connected right is honestly where the whole installation either works beautifully or goes sideways—and I’m not exaggerating. You’ve probably seen someone’s radio that cuts out randomly or speakers that sound fuzzy. Nine times out of ten, that’s a grounding problem.
Here’s what I mean: your yellow wire (constant power) and red wire (switched power) need solid connections to your battery, while your black ground wire absolutely has to hit bare metal on your car’s frame. Skip this, and you’re inviting electrical noise that’ll wreck your sound quality. A power distribution block can help maintain consistent voltage and reduce power-related noise in your audio system for cleaner performance.
For speaker wires, color-match them carefully using your wire routing and noise suppression best practices. Run those cables away from engine components and power lines. It takes five extra minutes but saves you serious headaches later.
Crimping, Soldering, and Solder-Seal Connection Methods
Once you’ve got your wires prepped and ready, you’re facing a choice that’ll actually make a difference in how long your installation lasts: how you’re going to join everything together. I’m sure you’ve thought about this—there’s basically three solid options.
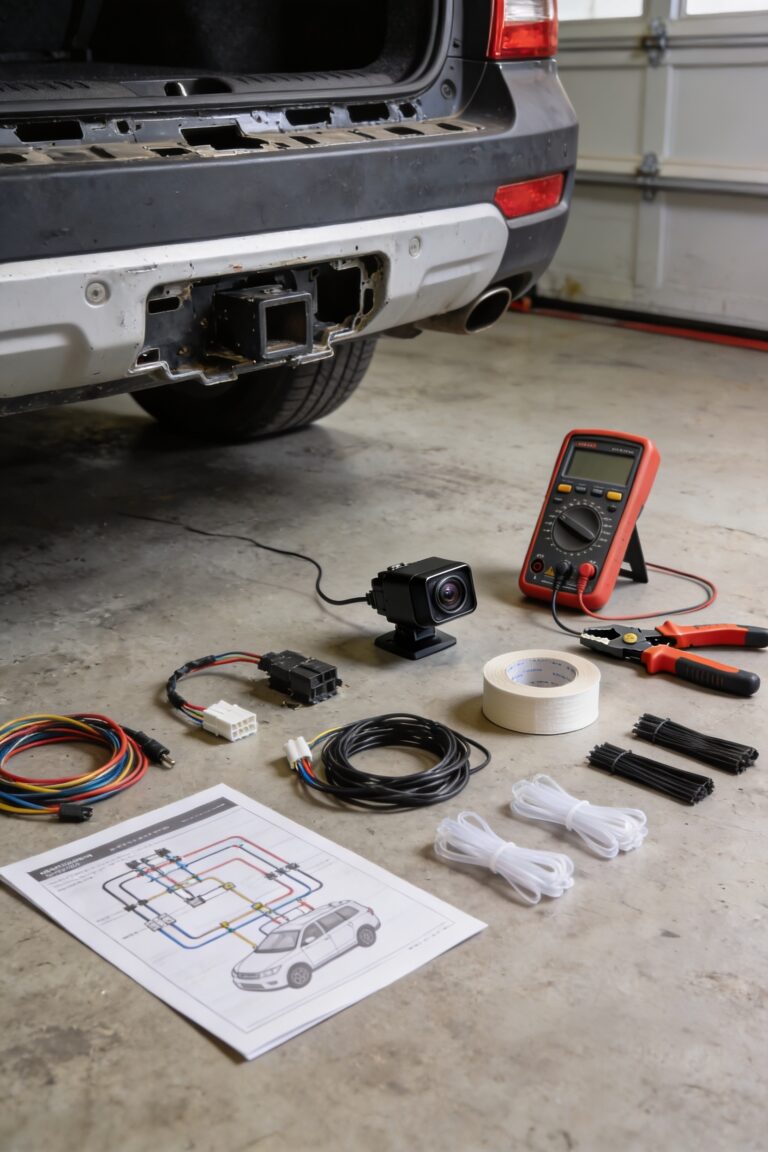
Crimping uses a special tool to squeeze connectors onto your wires. It’s fast and reliable if you’ve got the right crimper. Soldering melts metal to fuse wires permanently, then you slide heat shrink tubing over the joint for protection. Solder-seal connectors are the lazy-but-effective middle ground—they crimp and seal in one shot.
All right, here’s the real talk: soldering looks pro, crimping feels industrial, and solder-seal just works. Whatever you pick, keep your wire loom organized so everything stays clean and protected long-term. Following proper care instructions and maintenance practices will extend the lifespan of your wiring connections and overall installation performance.
How to Test Harness Connections Before Powering On
Before you flip that ignition key and hope everything lights up, take a step back and grab your multimeter—trust me, you’ll want to catch any wiring mistakes now instead of frying your brand-new head unit.
Here’s what I do: I use multimeter procedures to check your constant and switched power lines first. Set your multimeter to voltage mode, then touch the yellow wire (constant power) to ground. You should read around 12 volts. Next, do the same with the red wire, but only with the ignition on.
Now run continuity checks on your ground connections and speaker wires. If your multimeter beeps, you’ve got a solid connection. No beep? That’s your signal to recheck those crimps or solder joints before disaster strikes. Just as you would verify certification labels and documentation on safety-critical automotive components before installation, always confirm your wiring harness connections match your vehicle’s specifications.
Preserving Your Factory Wiring With a Harness
Imagine ripping out your factory radio and discovering that the previous owner—or worse, you yourself—hacked up the original wiring like it was made of spaghetti. Yeah, that’s a nightmare scenario. Here’s the thing: using a proper wiring harness is basically factory preservation in action. Instead of cutting into your vehicle’s original wires, you’re connecting everything through an adapter that plugs right into what’s already there. This protects wiring longevity because you’re not creating exposed splice points that corrode or short out over time. All right, so when you eventually upgrade your radio again? You simply unplug and swap it out. Your factory system stays untouched, ready for whatever comes next. That’s genuinely smart planning. Much like tool-free installation features found in quality automotive accessories, a proper wiring harness requires no permanent modifications to your vehicle and allows for easy removal without leaving behind damage or compromised connections.
When Compatibility Issues Mean Rewiring Directly
All right, so here’s where the real-world stuff gets messy. Sometimes your car’s wiring doesn’t play nice with standard harnesses, and you’ll need to rewire directly into your vehicle’s factory system. This happens when pin mapping—basically matching which wire does what in your specific car—doesn’t line up with your new radio. Maybe you’ve got an older vehicle or an unusual model that throws curveballs.
Now, here’s the thing: direct rewiring means dash cutting. You’re physically opening up your dashboard to access the factory wiring behind it. Obviously, this takes more time and skill than using a harness. I’m sure you can see why this gets complicated fast. That’s exactly why compatibility matters so much, especially when considering how installation complexity varies across different BMW model years and trim levels. Double-check before you start tearing into anything.
Frequently Asked Questions
Can I Use a Wiring Harness From a Different Vehicle Model or Year on My Car?
I’d advise against it. Different vehicle models and years have varying pinouts and wire assignments. You’d need compatibility testing and modified connectors, which risks electrical faults, shorts, or damaged components. Always use a harness specifically matched to your vehicle.
What Should I Do if My Vehicle’s Factory Wiring Doesn’t Match the Harness Diagram Colors?
I’d trace the colors back to their functions using a multimeter to measure voltages. Identify which wires carry constant power, switched power, and ground, then match them to your harness accordingly, ignoring the color labels.
How Do I Know if My Aftermarket Radio Is Compatible With My Vehicle’s Wiring Harness?
Studies show 60% of install failures stem from incompatibility issues. I’d verify your radio’s pinout against your vehicle’s harness diagram, then check software integration requirements—your manual and the harness documentation should align perfectly before connecting.
Will Using a Wiring Harness Void My Vehicle’s Factory Warranty or Affect Insurance Coverage?
I’d say a wiring harness itself won’t void your warranty or affect insurance if you’re using proper adapters. However, warranty implications depend on your manufacturer’s policy, and insurance considerations remain unaffected since you’re not modifying the vehicle’s core systems.
Can a Wiring Harness Support Aftermarket Amplifiers, Subwoofers, and Additional Electrical Accessories?
Most standard harnesses don’t directly support amplifier integration, but I’d recommend using dedicated power distribution components. You’ll typically need separate amplifier wiring kits for proper grounding and remote turn-on capabilities.
Conclusion
So here’s the thing—you’ve now got all the knowledge to actually pull this off. You know why that wiring harness matters way more than you’d think, and you understand what happens when you skip the right steps. But here’s what I’m wondering: are you going to be the person who does it right the first time, or the one troubleshooting a dead system at midnight? You already know the answer.