As an Amazon Associate, we earn from qualifying purchases. Some links on this site are affiliate links at no extra cost to you. Our recommendations are based on thorough research and editorial judgment.

Racing Stripe Alignment: How to Get Straight Lines on Curved Panels

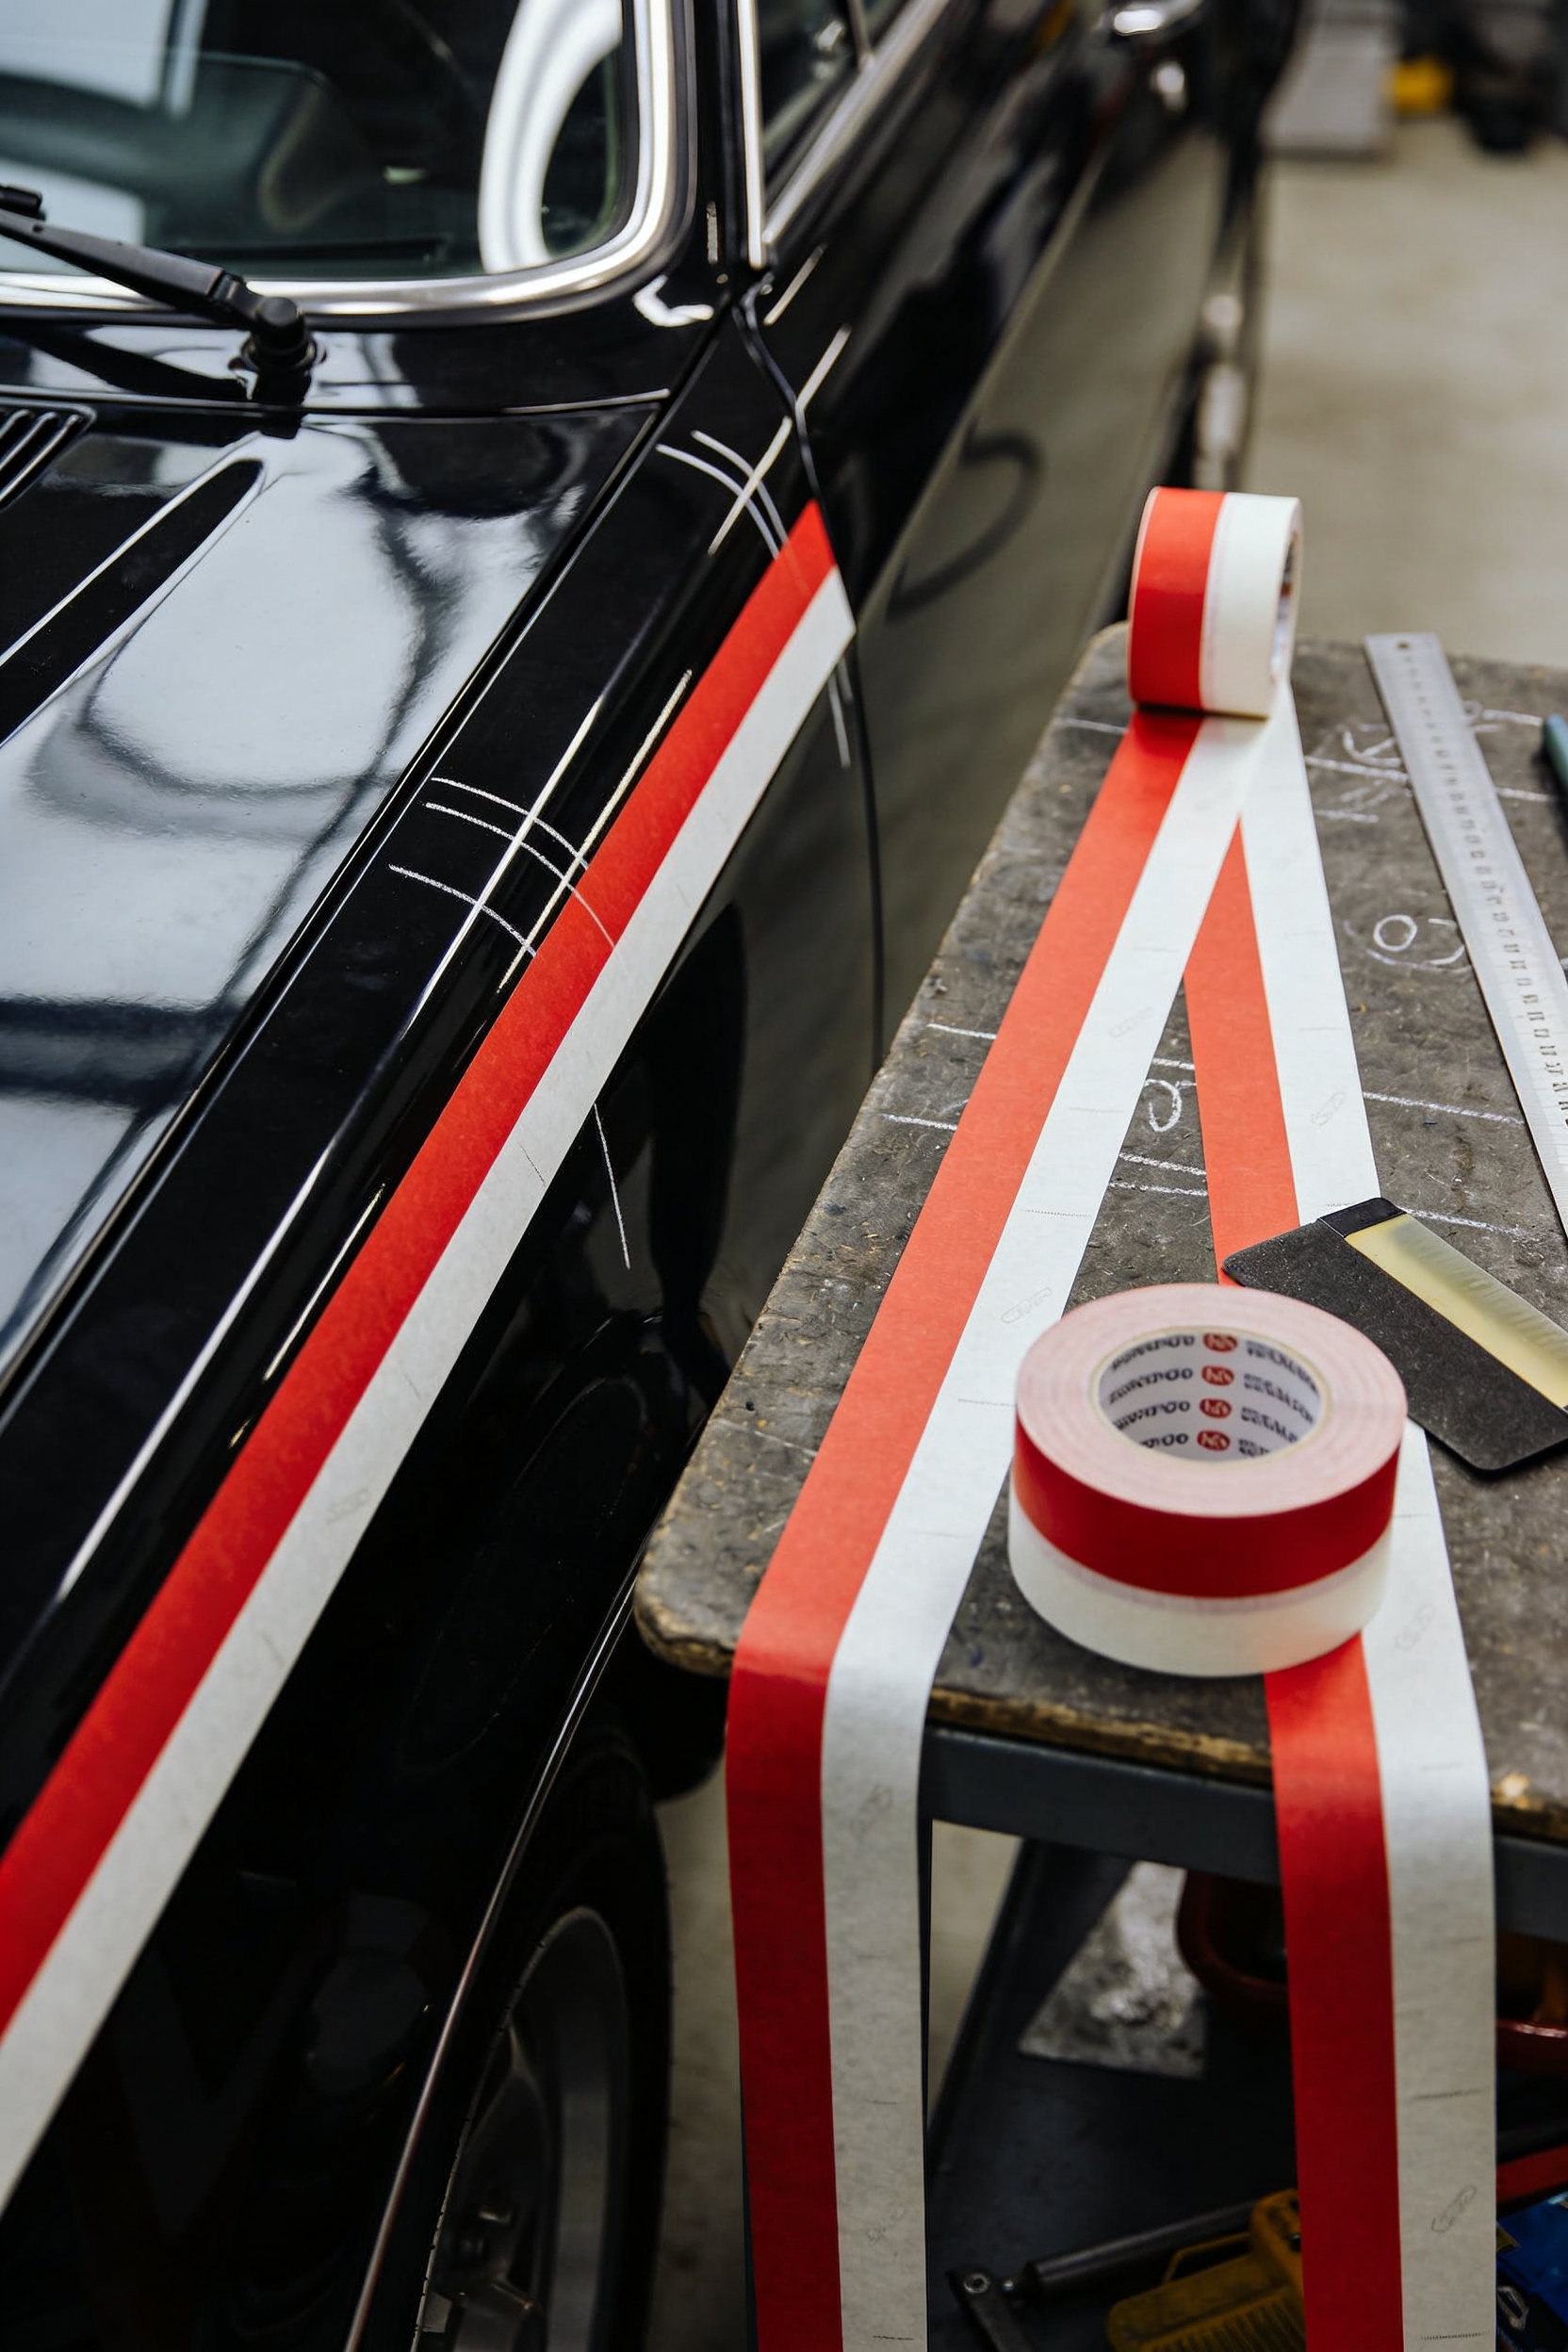
You’ve probably seen racing stripes that look perfectly centered from one angle and totally crooked from another—and that’s because curved car panels aren’t flat. Here’s the thing: you’ve got to follow the contour, not force a straight line. Start by finding your actual centerline with tape, then map out alignment points along curves so your stripe flows naturally. Use gentle heat, the hinge method to lock one side first, and short squeegee strokes to avoid bubbles. Step back a few meters to inspect from multiple angles, and protect those first 48 hours while the adhesive cures. Get this right, and you’ll discover exactly why pro installations look so sharp.
Key Takeaways
- Measure each panel separately and establish a true centerline with masking tape before applying vinyl.
- Follow panel contours rather than forcing straight lines; curved hoods and trunks require stripe to flow with bodywork.
- Mark alignment points at panel junctions and use contour checkpoints at transitions to maintain stripe continuity.
- Apply vinyl in short sections using the hinge method, with gentle heat and controlled squeegee strokes to prevent wrinkles.
- Inspect from multiple angles and 2–3 meters away to detect misalignment, drift, or height differences before final curing.
Find Your Vehicle’s True Centerline (It’s Not the Badge)
All right, here’s the real method: measure your hood, roof, and trunk separately, divide each by two, then use the tape reference method—literally connecting those points with masking tape from front to back. Now you’ve got your true centerline. I mean, step back and you’ll immediately spot any asymmetry correction that’s needed before you even touch vinyl. Trust me, this takes five minutes and saves your entire project. Just as custom-fit accessories require verification of compatibility before installation to avoid fitment issues, your centerline measurement should be verified on your specific vehicle model before applying any racing stripes.
How Curved Panels Demand Curve-Following, Not Straight Lines
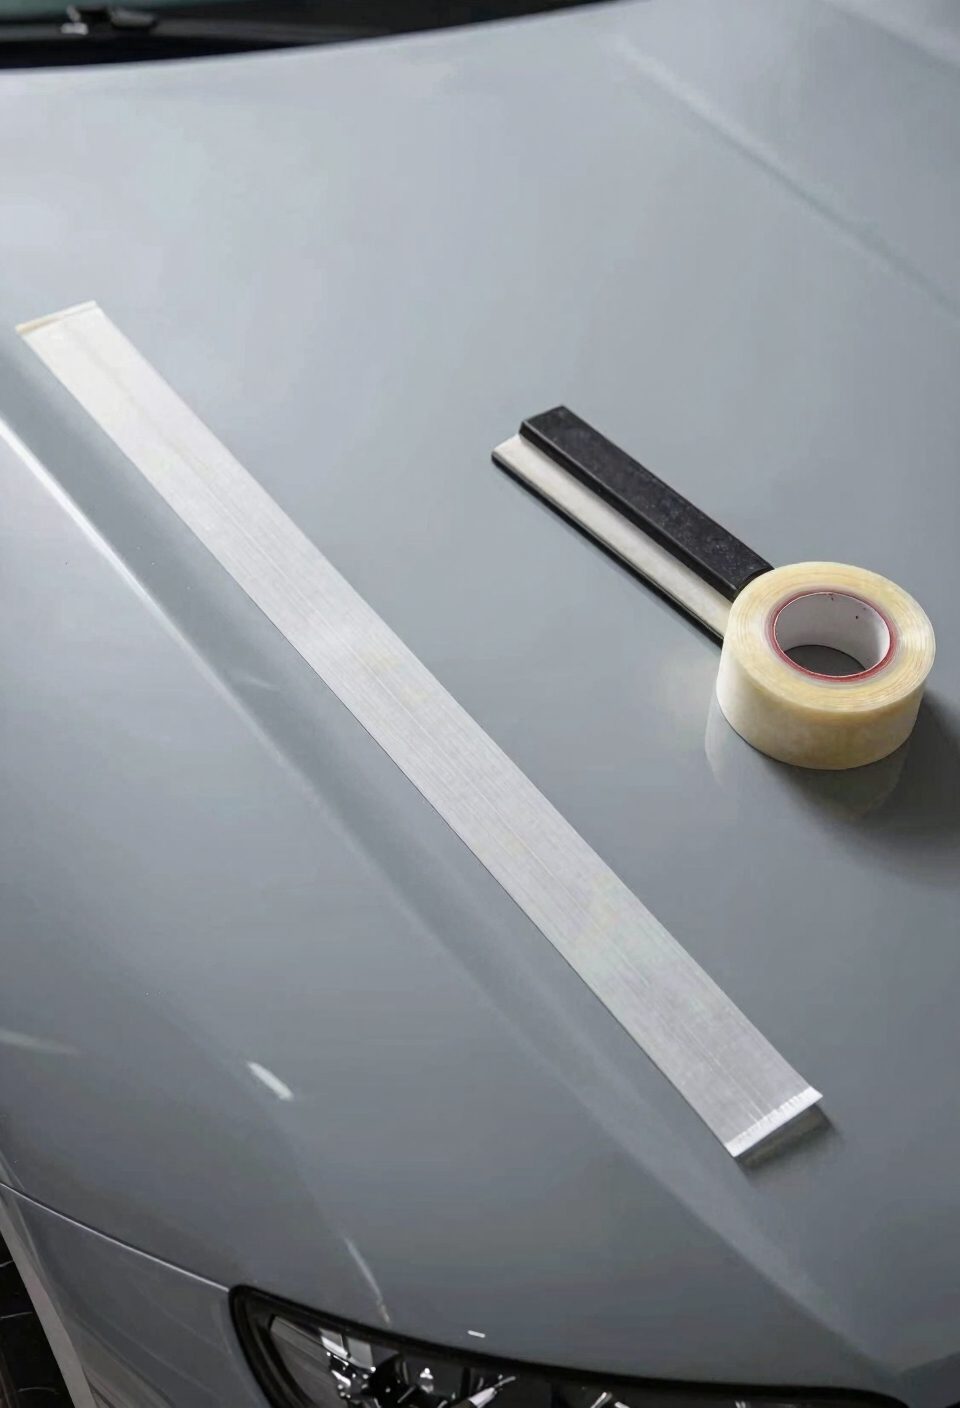
they think a racing stripe should be perfectly straight across every curve on your car, like you’re drawing a line with a ruler on graph paper. But here’s the thing—your hood, roof, and trunk aren’t flat. They’re curved. I mean, if you force a stripe to stay dead-straight over those bends, you’ll get bubbles, wrinkles, and lifting at the edges. That’s not the look you’re going for.
Instead, you’ve gotta follow the panel’s natural contour. Through contour mapping, you mark alignment points on each curved section so your stripe flows smoothly with the bodywork. Think of it like water following a hillside, not fighting it. Edge tapering helps too—gently heating the vinyl lets it hug those curves without bridging. Just like high-quality materials such as durable silicone or rubber compounds used in premium car accessories, your vinyl stripe will resist deformation and maintain flexibility when properly applied to curved surfaces. That’s how you get a stripe that actually looks professional and lasts.
Recommended Products

Fits Honda CRF125F (2019-2026) on OEM or OEM-replica plastics. Complete graphics kit, includes all pieces shown in the listing. Plastics NOT included.

Made with an automotive-cast vinyl. Protects your paint from scratches and wear. Can be easily re-positioned and stretched for exact fitment and is soft enough to conform to all edges/contours/shapes. Creases and air bubbles can be removed by applying heat and using a squeegee.
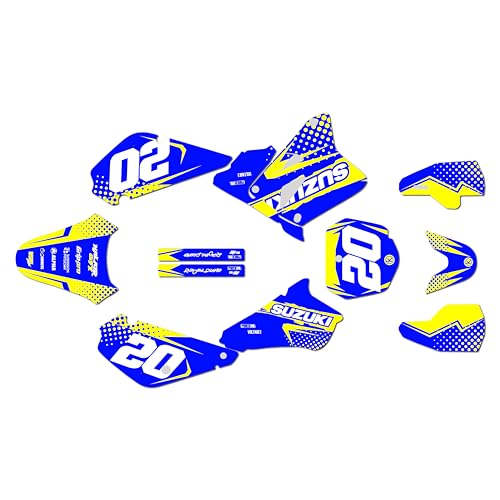
Fits RM85 (2001+) on OEM or OEM-replica plastics. Complete graphics kit, includes all pieces shown in the listing. Plastics NOT included.
Plan Your Stripe Layout Before Removing Any Backing
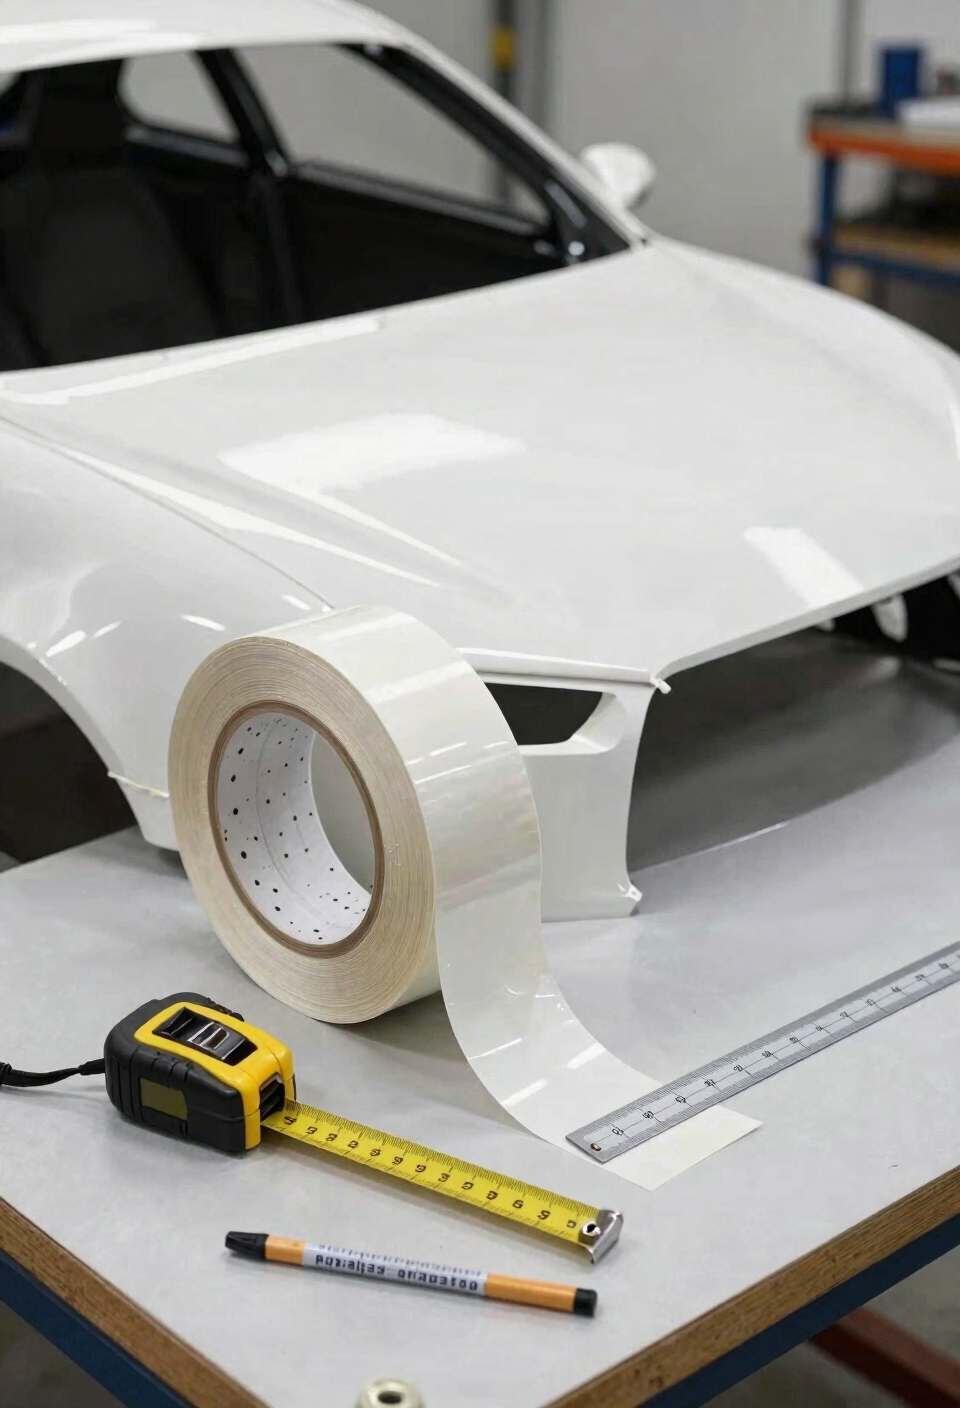
Now that you know how to handle those curved panels without fighting them, here’s where a lot of people mess up: they rip open that vinyl backing and start slapping the stripe on before they’ve actually figured out where it should go. Seriously, take five minutes first. Grab some masking tape and lay out your stripe path exactly where you want it. Step back and look at the visual balance—does it look centered? Does the color contrast pop the way you imagined? Walk around your car from different angles. What looks good from the side might feel off from the front. I promise you, this preview saves headaches later. You’re basically doing a dress rehearsal before the real performance. Just as measuring trunk and center console space ensures proper accessory fit before installation, mapping your stripe layout prevents costly mistakes and maximizes the visual impact of your design.
Recommended Products

Unique Contrast and Masking Solution: The deep Black finish provides sharp visual contrast on light surfaces like white concrete or cement. Ideal for permanent line masking, blackout of old markings, and creating shadow line effects.

[Wall & Celling Mount]: 92" diagonal, 16:9 electric motorized retractable projector screen, can be remotely controlled to roll up or down to enjoy visual fun at ease, and retracted into the casing without taking up much space when not used, perfect for home theater movies projection and business presentation

Ideal for use on vehicle surfaces up to 6 months, including metal, OEM clear coat, glass and more - not for use on plastics
Mark Alignment Points So Curves Stay Connected
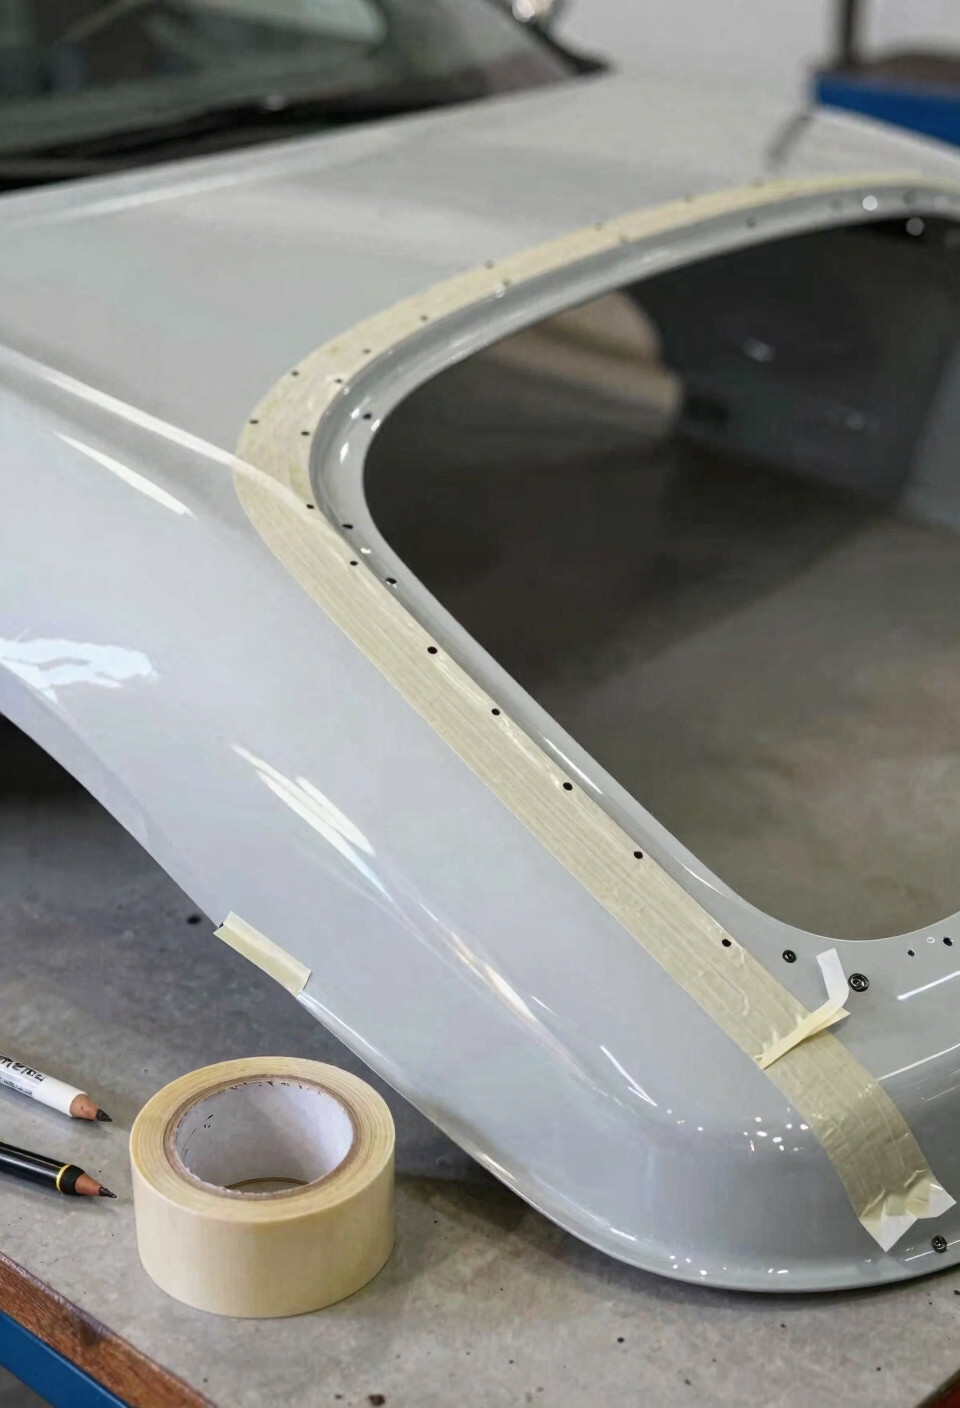
Once you’ve mapped out where your stripe’s going to live, here’s the thing that separates a clean-looking racing stripe from one that looks like it got installed by someone’s little sibling: you’ve got to mark alignment points as your stripe crosses from one curved panel to the next. Think of these panel anchors like GPS waypoints—they keep your stripe on track when the hood curves into the roof or the roof meets the trunk.
I’m talking about measuring and marking specific spots on each panel segment so your stripe stays perfectly connected through those bends. Use a grease pencil or tape to create contour checkpoints at junction points. This prevents your stripe from wandering off course or getting twisted as it follows the vehicle’s natural shape. Much like how genuine carbon fiber accessories require precise alignment and protective coatings to maintain their appearance through extreme temperature changes, your racing stripe needs these reference marks to stay true through curves and weather exposure. Trust me, these little reference marks make installation way smoother.
Use Heat to Prevent Bubbling and Bridging on Contours
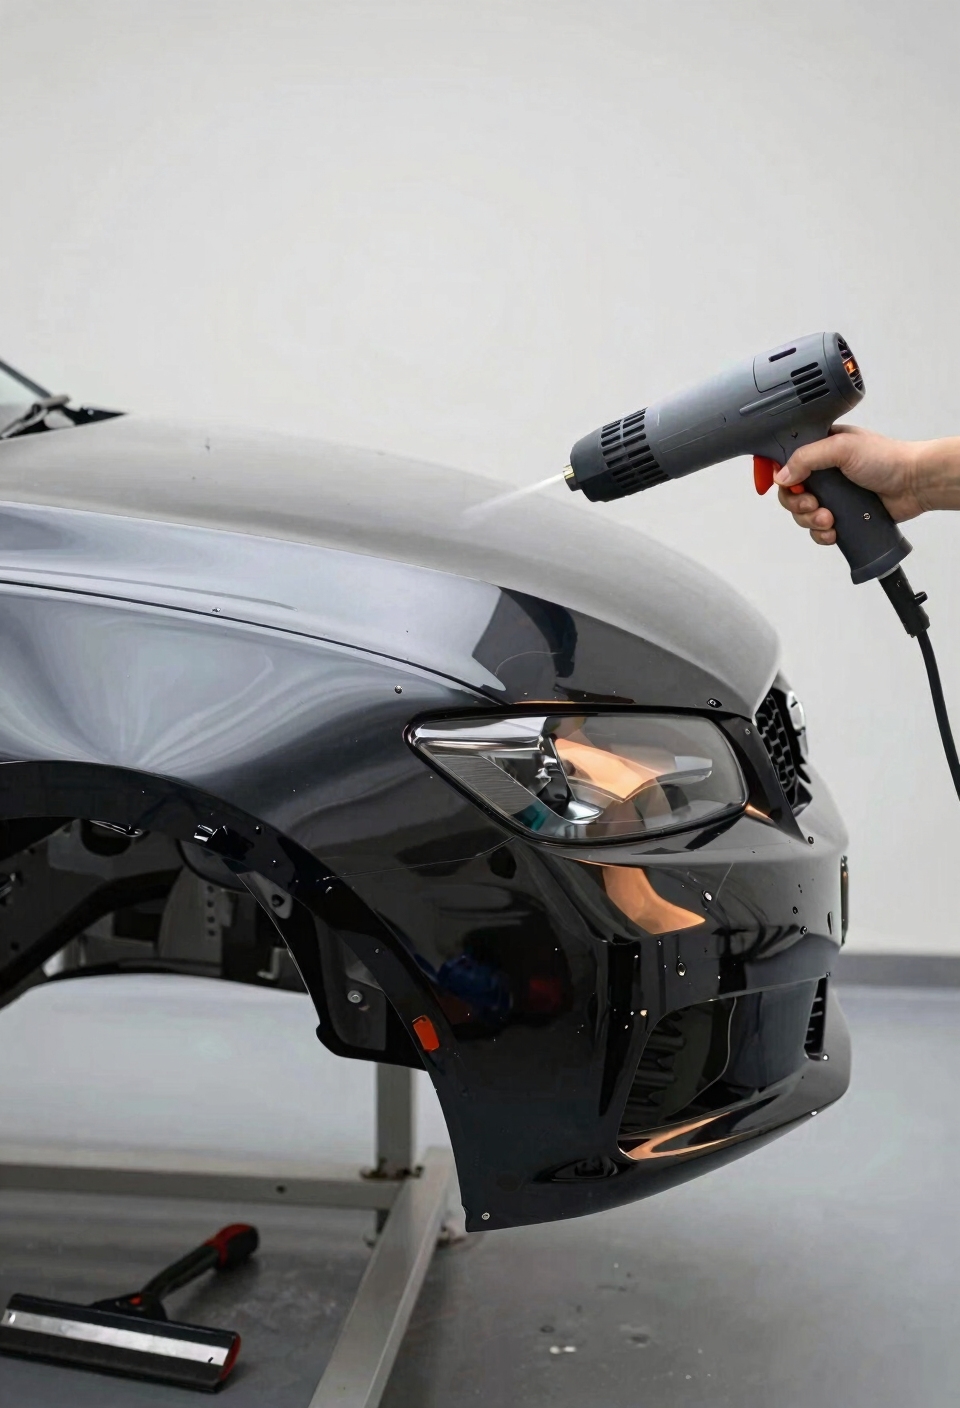
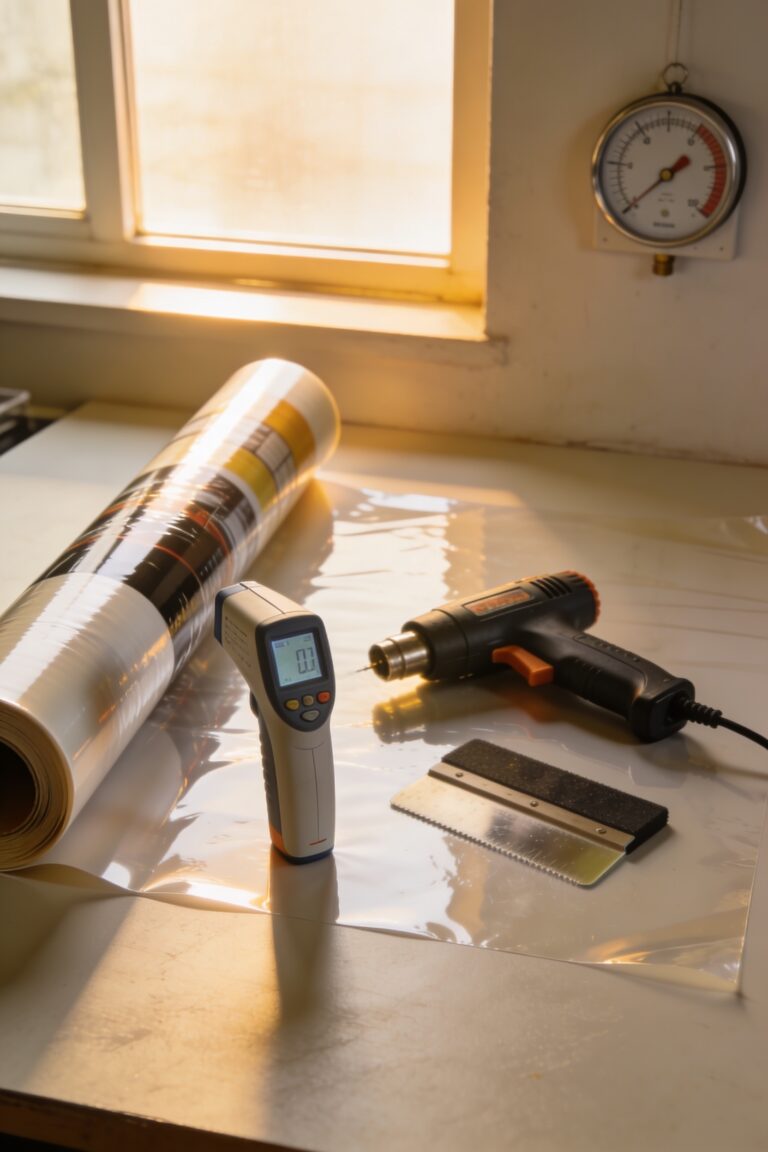
Applying heat to your racing stripe as it wraps around curved panels is honestly the move that separates a pro-looking installation from one where the vinyl starts bubbling and bridging like it’s got a mind of its own. When you’re working with heat, temperature mapping—basically knowing exactly how warm to go on different curve angles—keeps your vinyl from getting stressed out. A heat gun on medium setting softens the adhesive for reactivation, meaning you can reposition the stripe without damaging the paint underneath. You’re effectively giving the vinyl permission to flow naturally with your car’s contours instead of fighting against them. Work in short sections, apply gentle heat, then squeegee carefully. Just as bearing-mounted mechanisms in automotive lifts reduce effort and improve control, proper heat application technique reduces material stress and improves adhesion quality. Your stripe stays smooth and stays put.
Recommended Products

72 streams of water through 36 stainless steel adjustable jets

Cutting-Edge Technology: Thermion 2 LRF XL50 features 1.75x base magnification, 8x digital zoom, <35 NETD thermal sensor, 1024x768 resolution, and 12µm pixel pitch. AMOLED 1024x768 display delivers unmatched clarity in total darkness.

Industry-leading 150° temp rise assures grease and oils melt away
Lock One Side With the Hinge Method Before Full Adhesion
Before you commit your entire racing stripe to the paint, here’s the trick that’ll save you from hours of frustrated peeling and re-sticking: the hinge method. I’m sure you’ve thought about how terrifying it is to lay down a long stripe perfectly straight on a curved hood. All right, so here’s what you do: position your stripe, then peel back just one side, leaving the other edge as your temporary hinge. This locks half the vinyl in place while you smooth out the other half gradually. You’re working with one manageable section instead of fighting the whole thing. Once that side’s perfect, you flip and repeat on the opposite half. For edge reinforcement, use small squeegee strokes along your hinge point. Pair this application technique with premium microfiber leather materials and durable adhesives to ensure your racing stripe maintains its clean appearance and resists peeling over time. This method transforms a nightmare into something totally doable.
Squeegee in Short Strokes to Avoid Skewing and Air Pockets
Now here’s where most people mess up—they grab that squeegee and go full force across the entire stripe like they’re trying to wipe down a whiteboard. That’s a guaranteed way to skew your vinyl and trap air bubbles everywhere. Instead, use short, controlled strokes that push air gradually toward the edges. I’m talking maybe 6-8 inches at a time, working methodically from the center outward. This method gives you way better control on curved panels and prevents the vinyl from shifting under pressure. Those air-release channels in quality vinyl only work if you’re not forcing everything out at once. Much like high-elasticity sponge used in car seat organizers, premium vinyl materials are engineered to maintain firm positioning when proper application techniques are used rather than forced installation. Take your time, and you’ll avoid edge wear, bubbling, and that frustrating moment when your stripe doesn’t line up anymore.
Recommended Products

The VViViD Satin Chrome collection offers beautiful colors in a film that is made to replicate chrome or metal plating in it's primary form or in anodized colored forms and is much easier to install than most other chrome vinyls; suitable for amateur installers.

This premium automotive vinyl is specially engineered for DIY'ers. This durable film is provides a lightweight, economical alternative to paint.

5-Layer Durability & Easy Maintenance: Crafted with a robust 5-layer structure, this tile is waterproof, heat-resistant, and stain-proof. It withstands daily splashes and steam, ensuring long-lasting beauty with just a simple wipe for easy cleaning
Step Back and Inspect From 2–3 Meters Away
Once you’ve finished those careful squeegee strokes and locked in your stripe, you might feel tempted to call it done—but here’s the thing: your eyes are lying to you when you’re standing right next to the car.
When you’re up close, your viewing angle distorts everything. What looks perfectly straight from six inches away can actually be slightly off-center or tilted. That’s why I always step back about 2–3 meters and look at the stripe from multiple angles.
From that visual distance, any misalignment jumps out immediately. You’ll spot if one side sits higher than the other, or if the stripe drifts left or right across the hood. Check it from the front, the side, and even above if you can. Just as protective covers prevent accidental contact and dust buildup in automotive installations, inspecting your stripe from multiple angles helps you catch visual imperfections before they become permanent. Trust me—this simple step catches mistakes before they become permanent problems.
Protect Your Racing Stripes: First 48 Hours and Long-Term Care
Your racing stripe is basically newborn right now, and those first 48 hours are absolutely critical. I’m not exaggerating—that’s when the adhesive is still doing its initial curing, meaning it’s bonding to your paint. During this window, you’ll want to avoid washing your car, parking in direct sunlight for extended periods, or even running through car washes. Seriously, just let it sit and settle.
After those 48 hours pass, you’re in the clear for normal driving. Now, here’s the long-term play: regular cleaning with gentle products keeps your stripes looking fresh, and seasonal storage matters too. If you live somewhere brutal—like extreme heat or snow—consider parking in a garage during off-season months. That simple habit extends your stripe’s life considerably and keeps everything looking sharp. Make sure to clean items thoroughly before off-season storage to remove any salt, debris, or contaminants that could compromise the stripe’s adhesion and appearance over time.
Recommended Products

Precision cut for a professional finish. Easy, do-it-yourself installation! Guide included

DURABLE SUV/TRUCK COVER with WARRANTY: Duck Weather Defender SUV/Truck Cover comes with a two-year limited warranty
Frequently Asked Questions
What Stripe Width Proportion Works Best for My Vehicle’s Overall Size and Body Style?
I’d recommend proportional scaling your stripe width to your vehicle’s size—larger vehicles suit wider stripes while smaller cars look better with narrower ones. This maintains visual balance and guarantees your design matches your body’s proportions.
How Long Do High-Quality Racing Stripes Typically Last Before Needing Replacement or Maintenance?
I’ll tell you that high-quality racing stripes typically last 5–7 years outdoors before UV degradation and adhesive breakdown require replacement or maintenance. Regular cleaning extends their lifespan markedly.
Should I Use Wet-Apply or Dry-Apply Vinyl for Easier Repositioning on Curved Panels?
I’d recommend dry-apply vinyl for curved panels. Studies show air-release channels reduce trapped air by up to 40%. Dry apply’s repositioning advantage beats wet apply technique’s difficulty, avoiding dry apply pitfalls like permanent adhesion mistakes on contours.
Can I Apply Racing Stripes Myself, or Should I Hire a Professional Installer?
You can apply racing stripes yourself, though DIY challenges include alignment precision and curved panel conformity. Professional benefits include expert techniques, specialized tools, and guaranteed symmetry across complex contours—worth considering for flawless results.
What Cleaning Products Are Safe to Use on Vinyl Stripes Without Causing Premature Peeling?
I’d recommend using mild soap and water for regular cleaning—they won’t damage your vinyl stripes. Avoid harsh chemicals and isopropyl solvent, which can weaken adhesive bonds and cause premature peeling over time.
Conclusion
You’ve just transformed your car from “meh” to showstopper—honestly, it’s like giving your ride a superhero outfit. Those racing stripes aren’t just sitting there anymore; they’re *living* on your panels, following every curve like they were born there. I mean, you did the hard work, so protect that investment these next forty-eight hours. Your future self? They’re going to be so proud every time you glance at those perfectly aligned lines.