As an Amazon Associate, we earn from qualifying purchases. Some links on this site are affiliate links at no extra cost to you. Our recommendations are based on thorough research and editorial judgment.

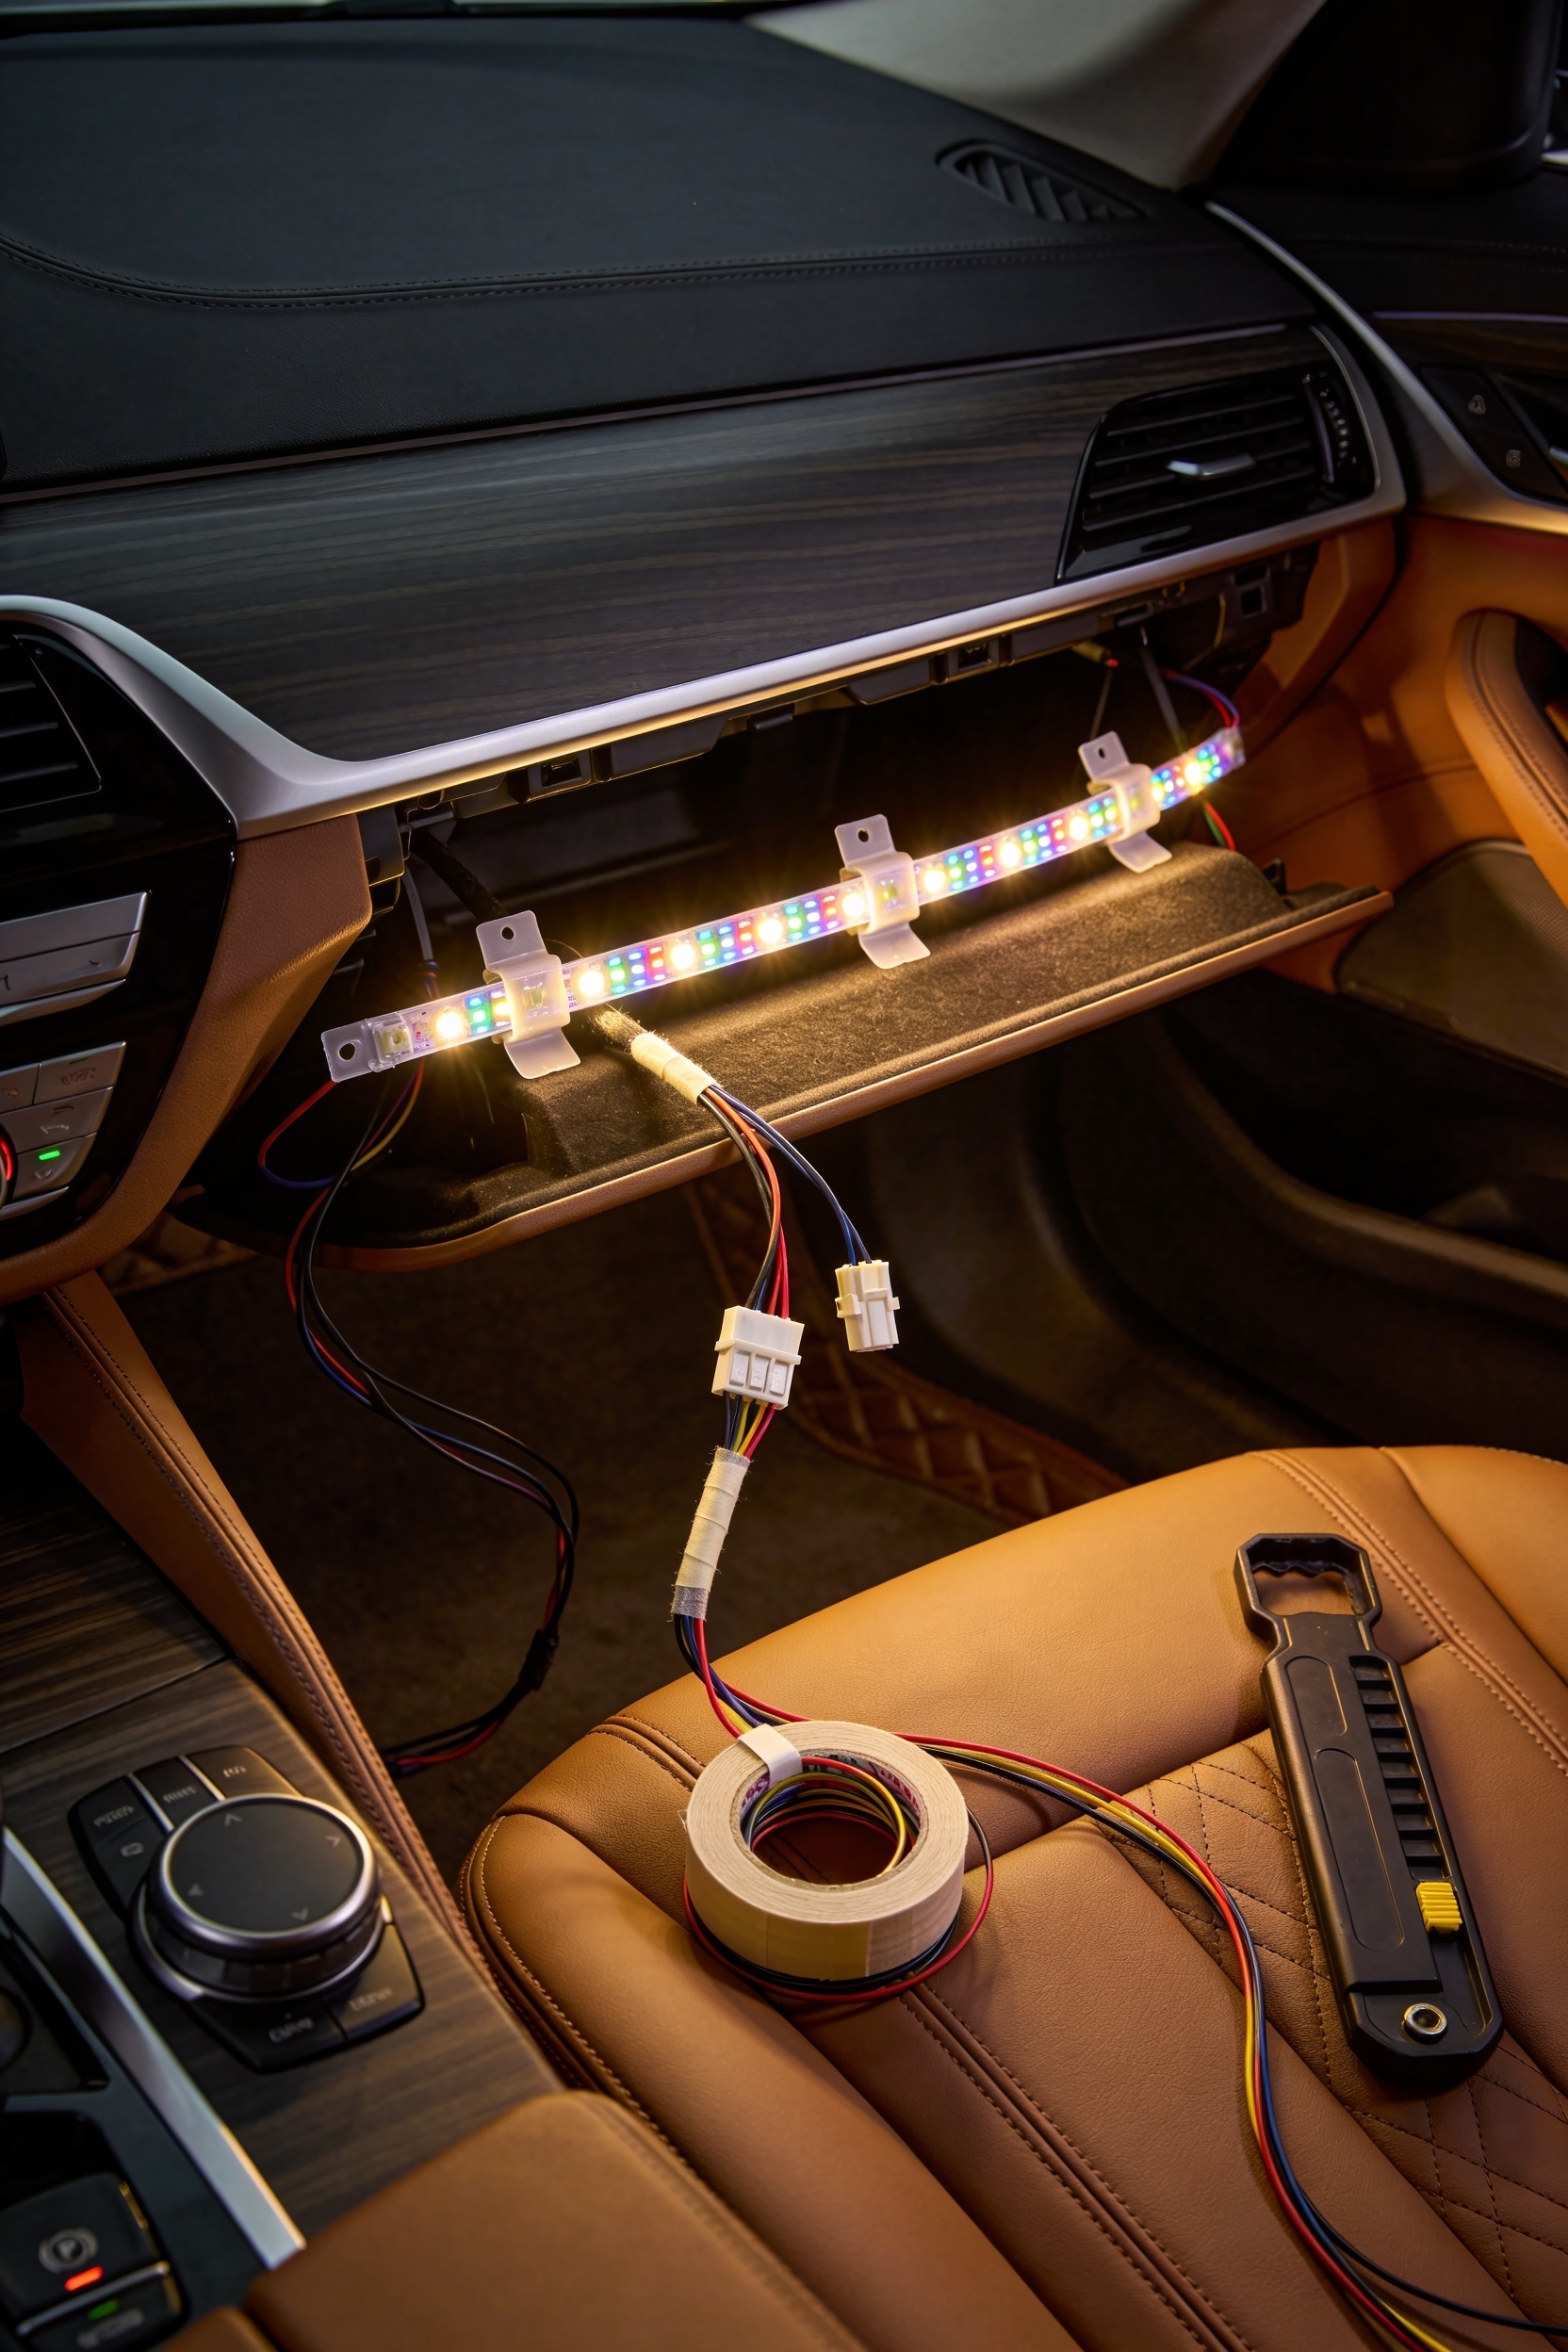
Under-Dashboard LED Strip Install: How to Avoid Loose Connections

You’ve probably noticed under-dashboard LED strips look amazing until they flicker and die. I’m sure you’ve thought about why that happens—it’s almost always loose connections. Here’s the thing: thermal cycling (heat expanding and contracting), constant vibration, and poor strain relief all team up to wiggle your connections apart. Soldering beats quick connectors every time, and routing wires through existing grommets keeps them protected. Pick ignition-sensing power with a proper inline fuse, verify your polarity first, and secure everything with automotive-grade adhesive. Get these fundamentals right, and you’ll keep that glow steady instead of chasing phantom failures.
Key Takeaways
- Use soldered joints with proper strain relief to prevent vibration-induced disconnection and thermal cycling loosening.
- Route wiring through existing firewall grommets and secure with zip ties to minimize movement stress.
- Install an inline fuse near the power source matched to your amp draw for safety.
- Verify polarity and voltage with a multimeter before connecting the LED strip to avoid damage.
- Apply automotive-grade adhesive and reinforce strip ends to prevent adhesive breakdown from heat and vibration.
Diagnose Intermittent LED Power: Three Common Failure Points
If you’ve installed an under-dash LED strip only to watch it flicker on and off like it’s got a mind of its own, I know how frustrating that is. Here’s the thing: intermittent power usually isn’t the strip dying on you—it’s almost always a connection problem.
First up, check your connector ends. Over time, thermal cycling (that’s your car heating and cooling constantly) makes metal expand and contract, which loosens things up. If the connection’s loose, power cuts out randomly.
Second, connector corrosion sneaks in when moisture gets to those metal contact points. You’ll see a greenish or whitish buildup that blocks electricity flow. For maximum durability, ensure your connections use copper core wiring to resist corrosion and maintain reliable conductivity over time.
Third, examine your solder joints closely. A weak joint can crack under vibration, causing flickering.
Grab a multimeter and test continuity before you tear everything apart. Usually, reseating or resoldering fixes it.
Recommended Products

Your Pontoon will have the very best and brightest led strips on the market! GBO Pimp my Pontoon Boat Kit LED includes all the materials you will need to make your Pontoon standout from all of the others!
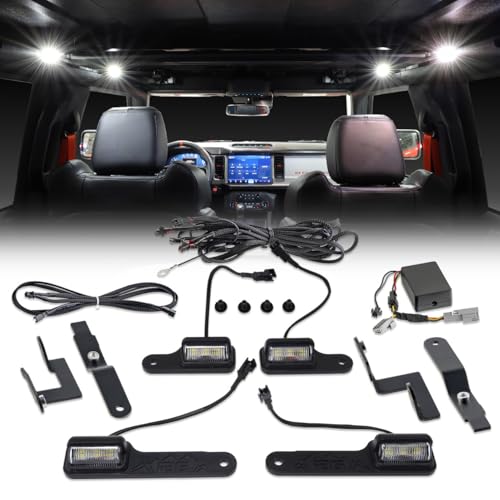
LET THERE BE LIGHT - The IAG LED Dome Light Kit adds some much needed interior lighting to your 2021+ Bronco Two Door Hardtop or 4 Door Soft Top. Designed to bolt to the existing hardware above each door, these super-bright LED dome lights shine directly down to provide just the right amount of light for your passengers. The included module and harness is easy to install, without the need for any wiring beneath the dash. Once installed, the lights work seamlessly with your factory overhead console button.
Why Connections Loosen Under Your Dashboard
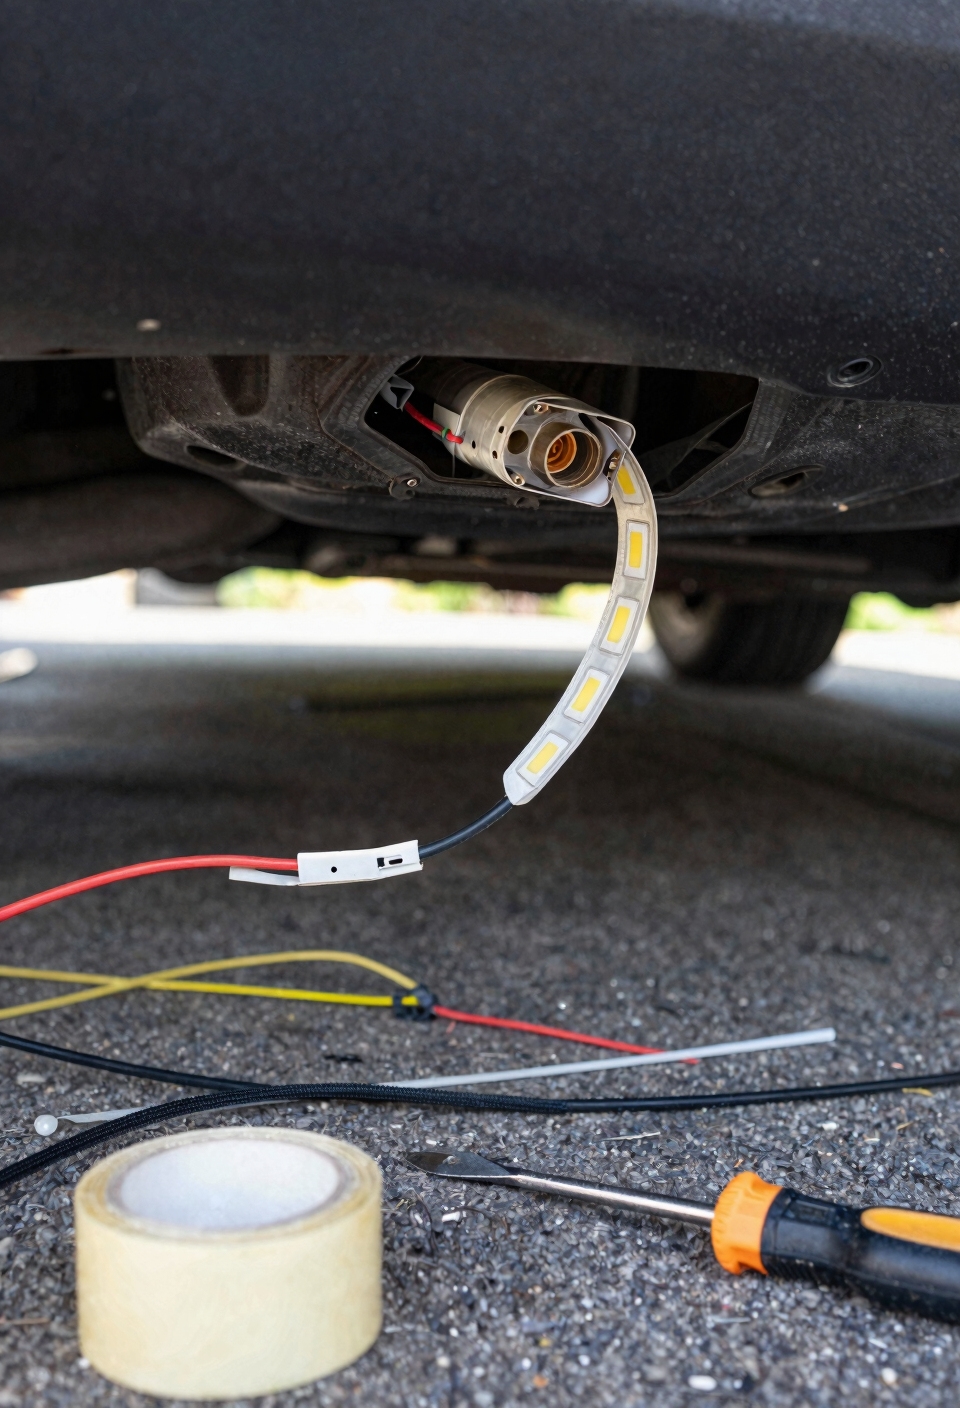
When you’re driving around with your new under-dash LED strip glowing perfectly, you probably don’t think about all the tiny forces working against those connections—but they’re there, and they’re relentless. Your car’s cabin experiences constant thermal cycling, meaning temperatures swing up and down as you drive and park. This heating and cooling makes materials expand and contract, which loosens connectors over time. Plus, every bump, turn, and pothole creates vibration that gradually wiggling your joints apart. Then there’s adhesive breakdown—the tape or adhesive holding your wires eventually weakens from heat and movement. Using high-grade, soft-touch PVC insulation on your wiring helps resist this thermal stress and wear better than cheaper alternatives. I mean, it’s basically a slow-motion tug-of-war happening under your dash. That’s why soldered connections and proper strain relief matter so much. You’re fighting physics here.
Solder vs. Quick Connectors: Which Method Actually Holds?
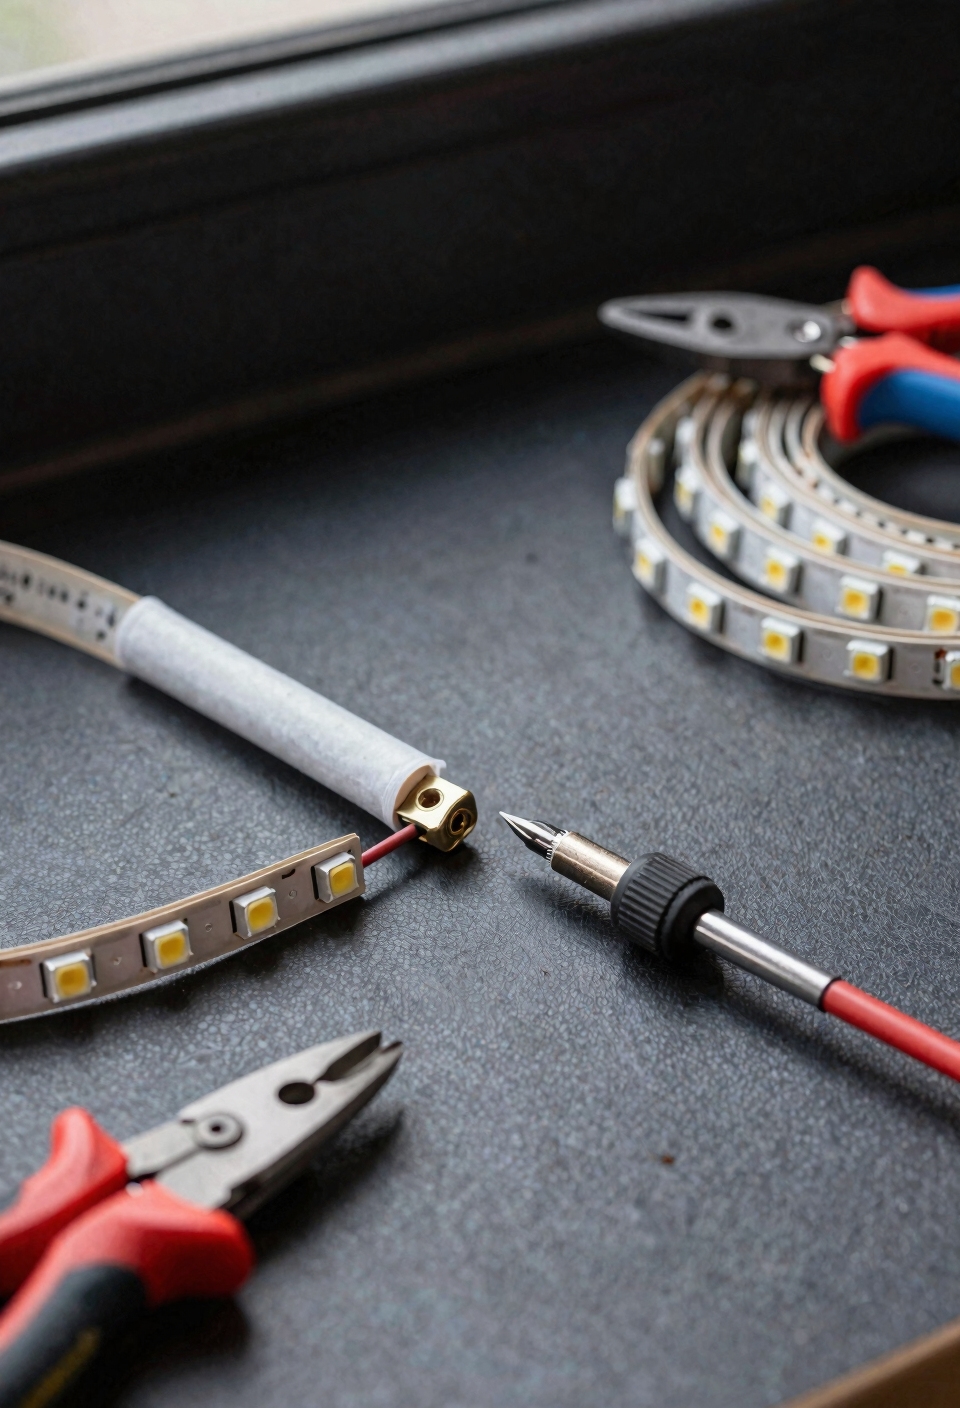
Now here’s the thing: you’ve got two main ways to connect your LED strip to the power source, and they’re basically the opposite of each other. Quick connectors are fast—you just snap them together and you’re done. But here’s the catch: under your dashboard, all that vibration from the engine and bumps in the road can wiggle those connectors loose over time. I’ve seen it happen.
Soldering, though? That’s the real deal for solder longevity. You’re literally fusing the wires together, so they’re not going anywhere. The downside is it takes longer and requires an actual soldering iron. But connector corrosion becomes way less likely when you’ve got a solid joint instead of two pieces barely touching. For added durability under your dashboard, consider using double-seam stitching principles in your installation approach—securing wires with strain relief to prevent failure points. I’m sure you’ve thought about just going quick connectors for convenience, but if you want your LEDs staying on reliably, solder wins every single time.
Recommended Products

High Quality Ultra Flexible Soft Silicone Rubber Copper Wire!Super Low Impedance,Highly Efficient!

Versatile Wire Connectors: Includes various sizes (12-10, 16-14, 22-18, 26-24 AWG) to accommodate a wide range of wiring needs, making it an essential solder seal wire connectors kit. Perfect for automotive, marine, and home electrical projects, these wire splice connectors ensure you have the right fit for every job.

haisstronica solder seal wire connectors hot melt adhesive systems provide the right amount of adhesive,which cools,hardens,and reaches its bond strength within seconds,ensuring a weatherproof and long-lasting bond for your application.
Pick the Right Power Source and Fuse for Your LED Strip
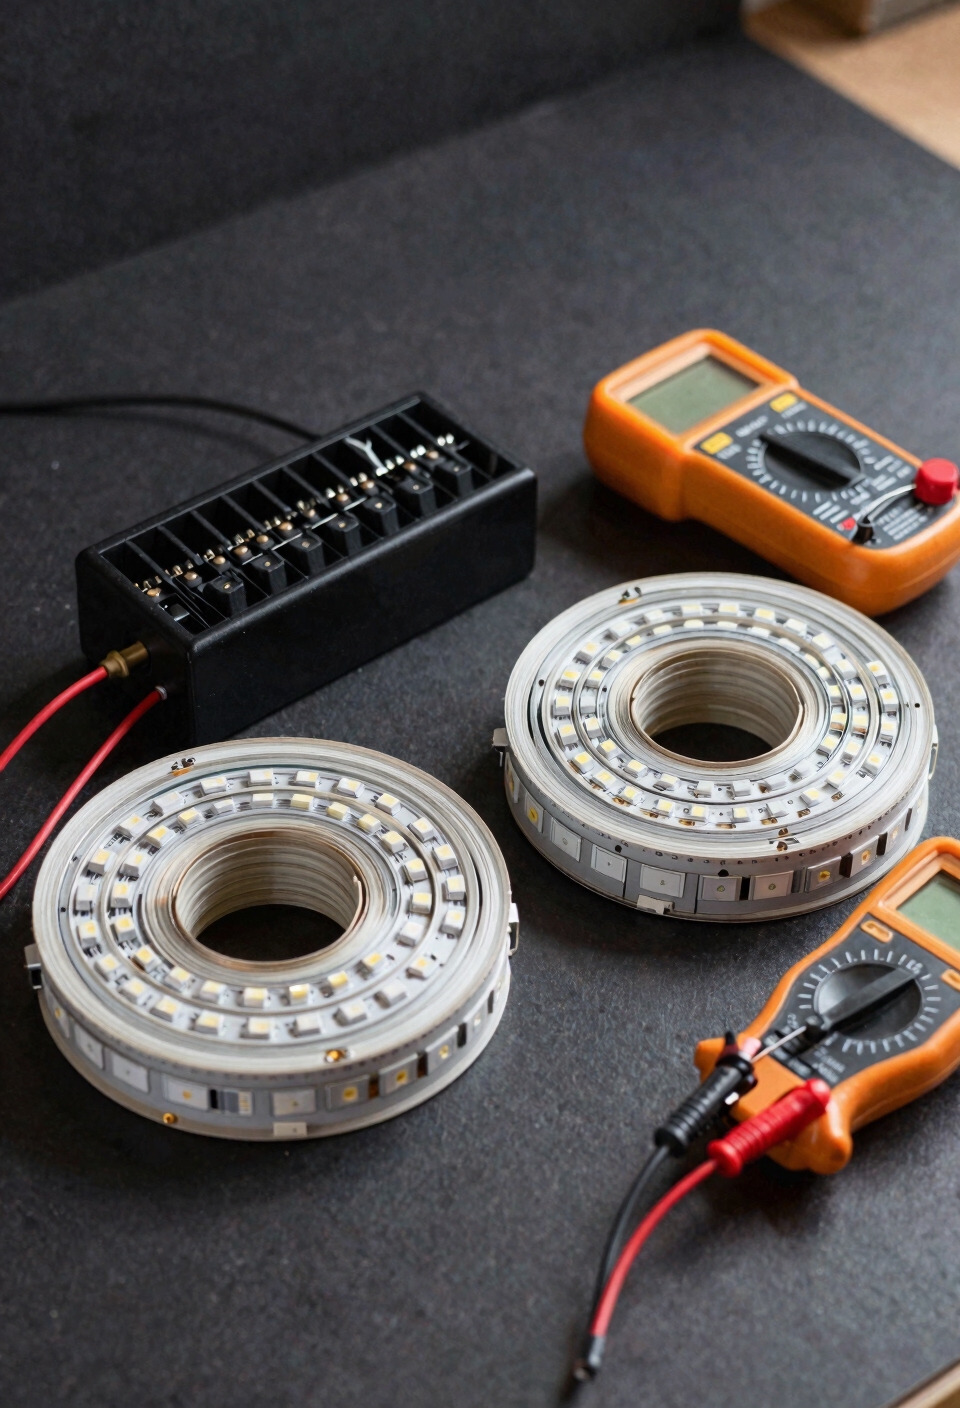
Your LED strip’s going to need power, and picking the right source is way more important than it might sound. I’m talking about choosing between constant battery power and ignition sensing, which basically means your strip only lights up when the car’s actually running. Trust me, constant battery drains your car’s battery faster than you’d think. That’s why ignition sensing’s the smarter move—your LEDs turn on with the engine, then off when you kill it. Now for fuse placement: you’ve got to put an inline fuse super close to where power connects to your strip. Think of it like a safety guard. Match your fuse rating to how many amps your strip actually pulls—usually 5 to 10 amps for most setups. For proper installation, take approximately two hours to prep your surfaces and run wiring cleanly, similar to the time required for app-controlled interior lighting setups. Seriously, don’t skip this step.
Recommended Products

Function: The fuse block provides multiple fuse circuits, distribute electricity from an incoming supply to different branch circuits to supply lights and other electrical...
Prepare Your Strip and Cut at the Right Points Only
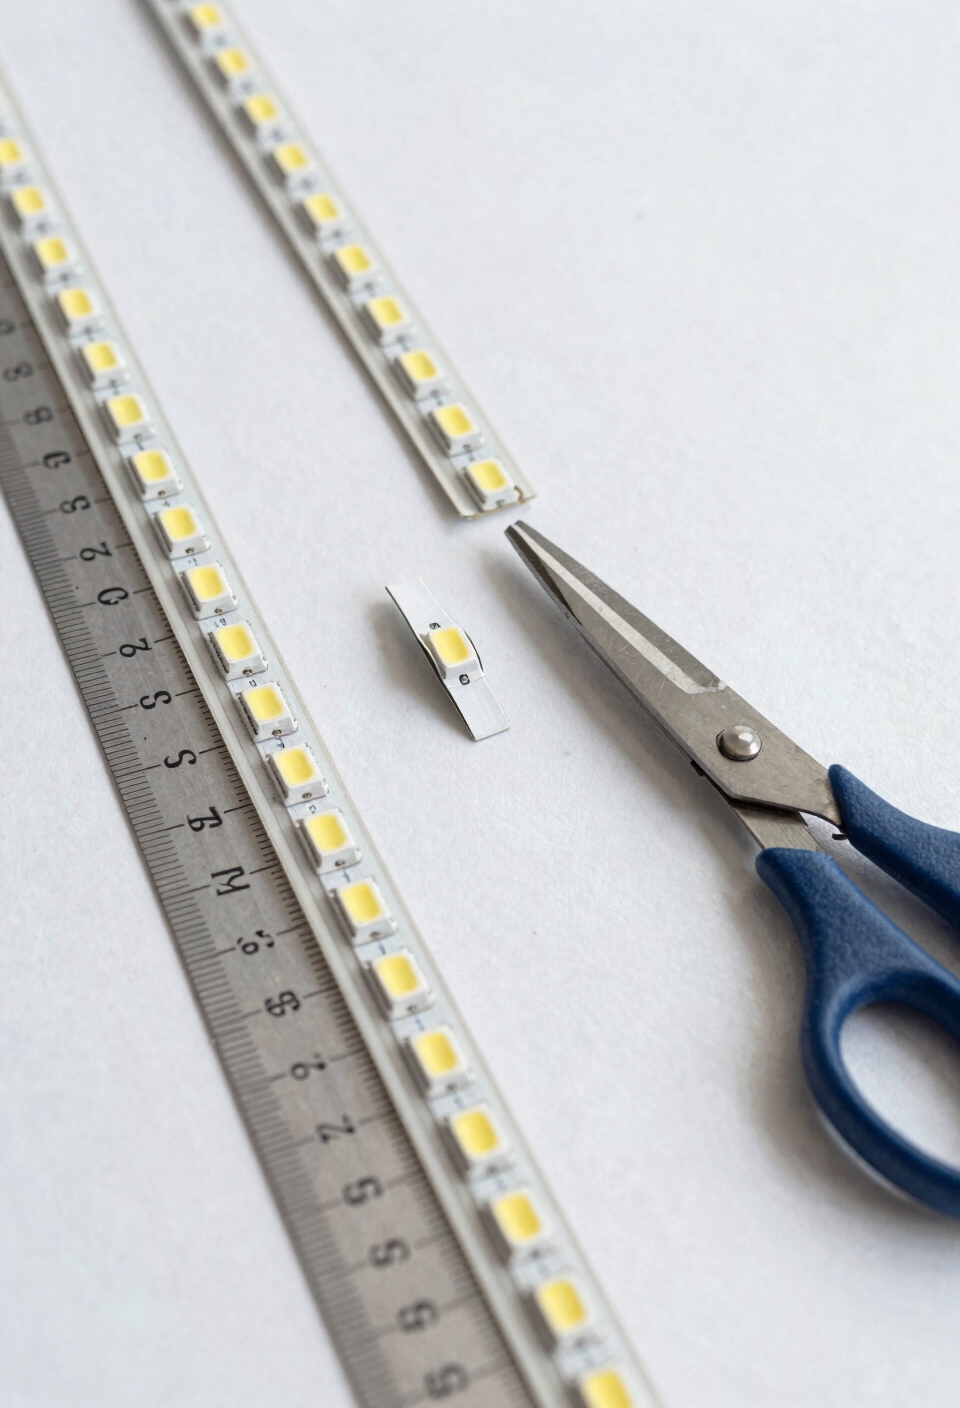
Once you’ve made your cuts, pad cleaning is essential. Those exposed copper pads need to be totally clean before you connect anything. Grab a soft cloth and gently wipe away any dust or coating residue. If your strip’s got a waterproof layer, carefully scrape just enough to expose the metal. Clean pads mean solid connections, and solid connections mean your lights actually stay on instead of flickering like a haunted dashboard. Store your LED strip installation tools in a cool, dry place away from direct sunlight to prevent material breakdown and ensure optimal performance during installation.
Mount and Secure Your Strip Against Vibration Damage
With those pads cleaned and ready to go, you’re probably thinking the hard part’s done—but here’s the thing: a perfectly connected LED strip that’s bouncing around loose under your dash is just asking for trouble. Every bump in the road sends vibrations through your car, and loose strips will eventually peel, crack, or disconnect entirely.
That’s why I use automotive-grade adhesive with thermal bonding properties instead of regular tape. It actually sets stronger under heat and handles temperature swings way better. I reinforce the ends and any turn points with zip ties for extra security. Much like how UV-resistant clear coats protect carbon fiber accessories from sun damage and deterioration, a properly sealed LED strip connection resists environmental stress and maintains its integrity over time.
Think of panel isolation too—you want your strip mounted to a stable surface, not moving trim pieces. That’s the difference between a setup that lasts years and one that fails in months.
Recommended Products
【Fitment】: 2005-2015 Tacoma with 5FT Bed Length (60.3"). (For Models With or Without the Utili-Track System; NOT For Roll Bar) - Please Verify Your Bed Length Before Ordering

TRANSFORM YOUR BOATING AMBIENCE - Elevate your evenings with our vibrant RGB LED strip lights, perfect for pontoon boats! Adjust colors and brightness effortlessly with the included remote control.

This professional LED protruding light is used to ensure good lighting on the work surface of the body.It fit the car dent repair to see the dent.
Route Your Strip Wiring Through Existing Firewall Openings
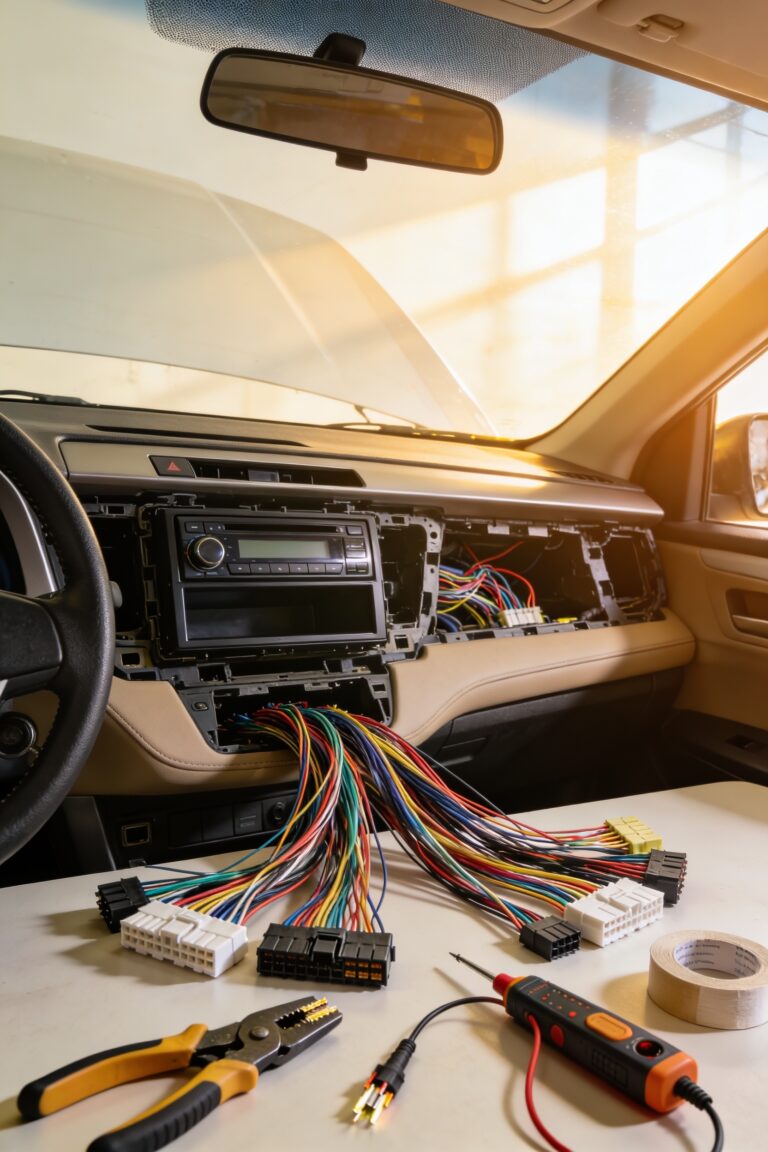
Now here’s where a lot of people mess up: they run their LED wiring straight across the engine bay or down the side of the dash in the most obvious path possible, and then they wonder why their lights flicker or stop working after a few months.
Instead, I’m telling you to use existing firewall grommets and trim pass throughs. These openings already exist on your car—they’re basically designed for wiring. Find them first, then route your power and ground lines through them instead of improvising your own path.
Why? Because existing holes protect your wiring from getting pinched, melted, or chafed against sharp edges. Your car’s engineers already figured out the safest routes. Use them, and you’ll avoid most headaches down the road. Proper routing also prevents corrosion-resistant items and electrical components from deteriorating prematurely due to exposure and friction.
Recommended Products
Elite 1500 w/Premium Uni Wire-in Harness Kit 2.5
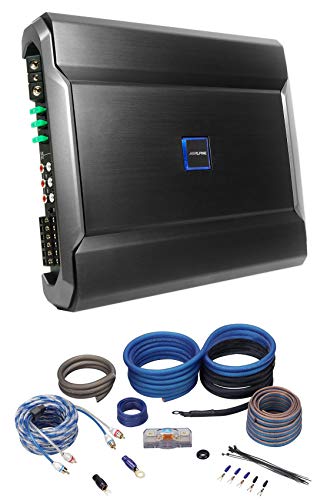
Package Includes: (1) Alpine R-A90S 900 Watt R-Series 6-Channel Car Audio Amplifier Class D Amp. (1) RockvilIe RWK4CU 4 AWG Gauge 100% Copper Complete Amp Installation Wire Kit OFC. Features: R-A90S 6 Channel Power Amplifier. Hi-Resolution audio compliant. CTA-2006. Alpines class D amplifier circuit. 75W x 4 + 150W x 2 (4 14.4 V, 1% THD+N. 100W x 4 + 250W x 2 (2 14.4V, 1% THD+N)
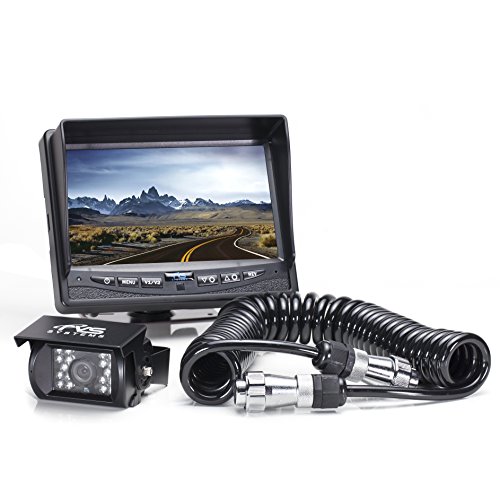
7 INCH DIGITAL LED DISPLAY - with swivel head mount and three channel multiplexer to connect an additional two cameras
Verify Polarity Before Connecting Your LED Strip
Here’s the thing about LED strips—they’ve got two wires, and if you hook them up backward, you’re basically asking for a light show that’ll never happen. You need to check polarity before you plug anything in, and I’m not exaggerating about how important this is.
Look for marker labeling on your strip—usually a plus sign for positive and a minus for negative. Red wires mean positive; black means negative. Grab a multimeter if you’ve got one and verify the voltage matches your power source. All right, I know that sounds technical, but it’s literally just touching two probes to confirm everything lines up.
Trust me, spending two minutes now beats troubleshooting a dead strip later. You’re already routing carefully—don’t skip this step. Similar to how 12V charging solutions require proper polarity verification to prevent damage, LED strips demand the same attention to electrical safety before installation.
Frequently Asked Questions
Can I Use Standard Electrical Tape Instead of Heat-Shrink Tubing for Joint Protection?
You can use standard electrical tape, but I’d call it a temporary fix. Heat-shrink tubing grips joints tighter and lasts longer under dashboard vibration. For reliability, I’d recommend heat-shrink, though tape works initially.
What Fuse Rating Should I Choose for a 12-LED Strip Versus a 24-LED Strip?
I’d love to tell you fuse ratings don’t matter—they absolutely do. I’d recommend 5A for 12-LED strips and 10A for 24-LED strips, matching your current draw and wire gauge accordingly.
How Do I Remove Silicone Coating From Ip-Rated Strips Without Damaging Copper Pads?
I’d recommend using a masking technique—tape around the pads first—then gently scrape the silicone with a plastic tool. For stubborn adhesive solvents, try isopropyl alcohol on a soft cloth. This pad protection method prevents copper damage.
Should I Run Power and Ground Wires Separately or Bundle Them Together for Convenience?
I’d separate them like oil and water—keep power and ground routing distinct. It’s cleaner for troubleshooting, reduces noise interference, and lets you choose the right connector choice for each wire routing path independently.
Can Aluminum Channels With Diffusers Improve Heat Dissipation and Installation Stability?
Yes, aluminum channels improve both thermal conduction and mounting rigidity. I’d recommend them because they dissipate heat effectively while securing your strip firmly, preventing vibration-induced displacement and enhancing overall installation stability.
Conclusion
Look, you’ve basically got this now. Follow these steps, and your LED strip will stay powered up literally forever—okay, not forever, but way longer than your friend’s will when his connections start failing next month. The real win? You’ll actually know *why* it’s working instead of just hoping for the best. That’s the difference between a setup that lasts and one that leaves you in the dark. You’ve got this.