As an Amazon Associate, we earn from qualifying purchases. Some links on this site are affiliate links at no extra cost to you. Our recommendations are based on thorough research and editorial judgment.

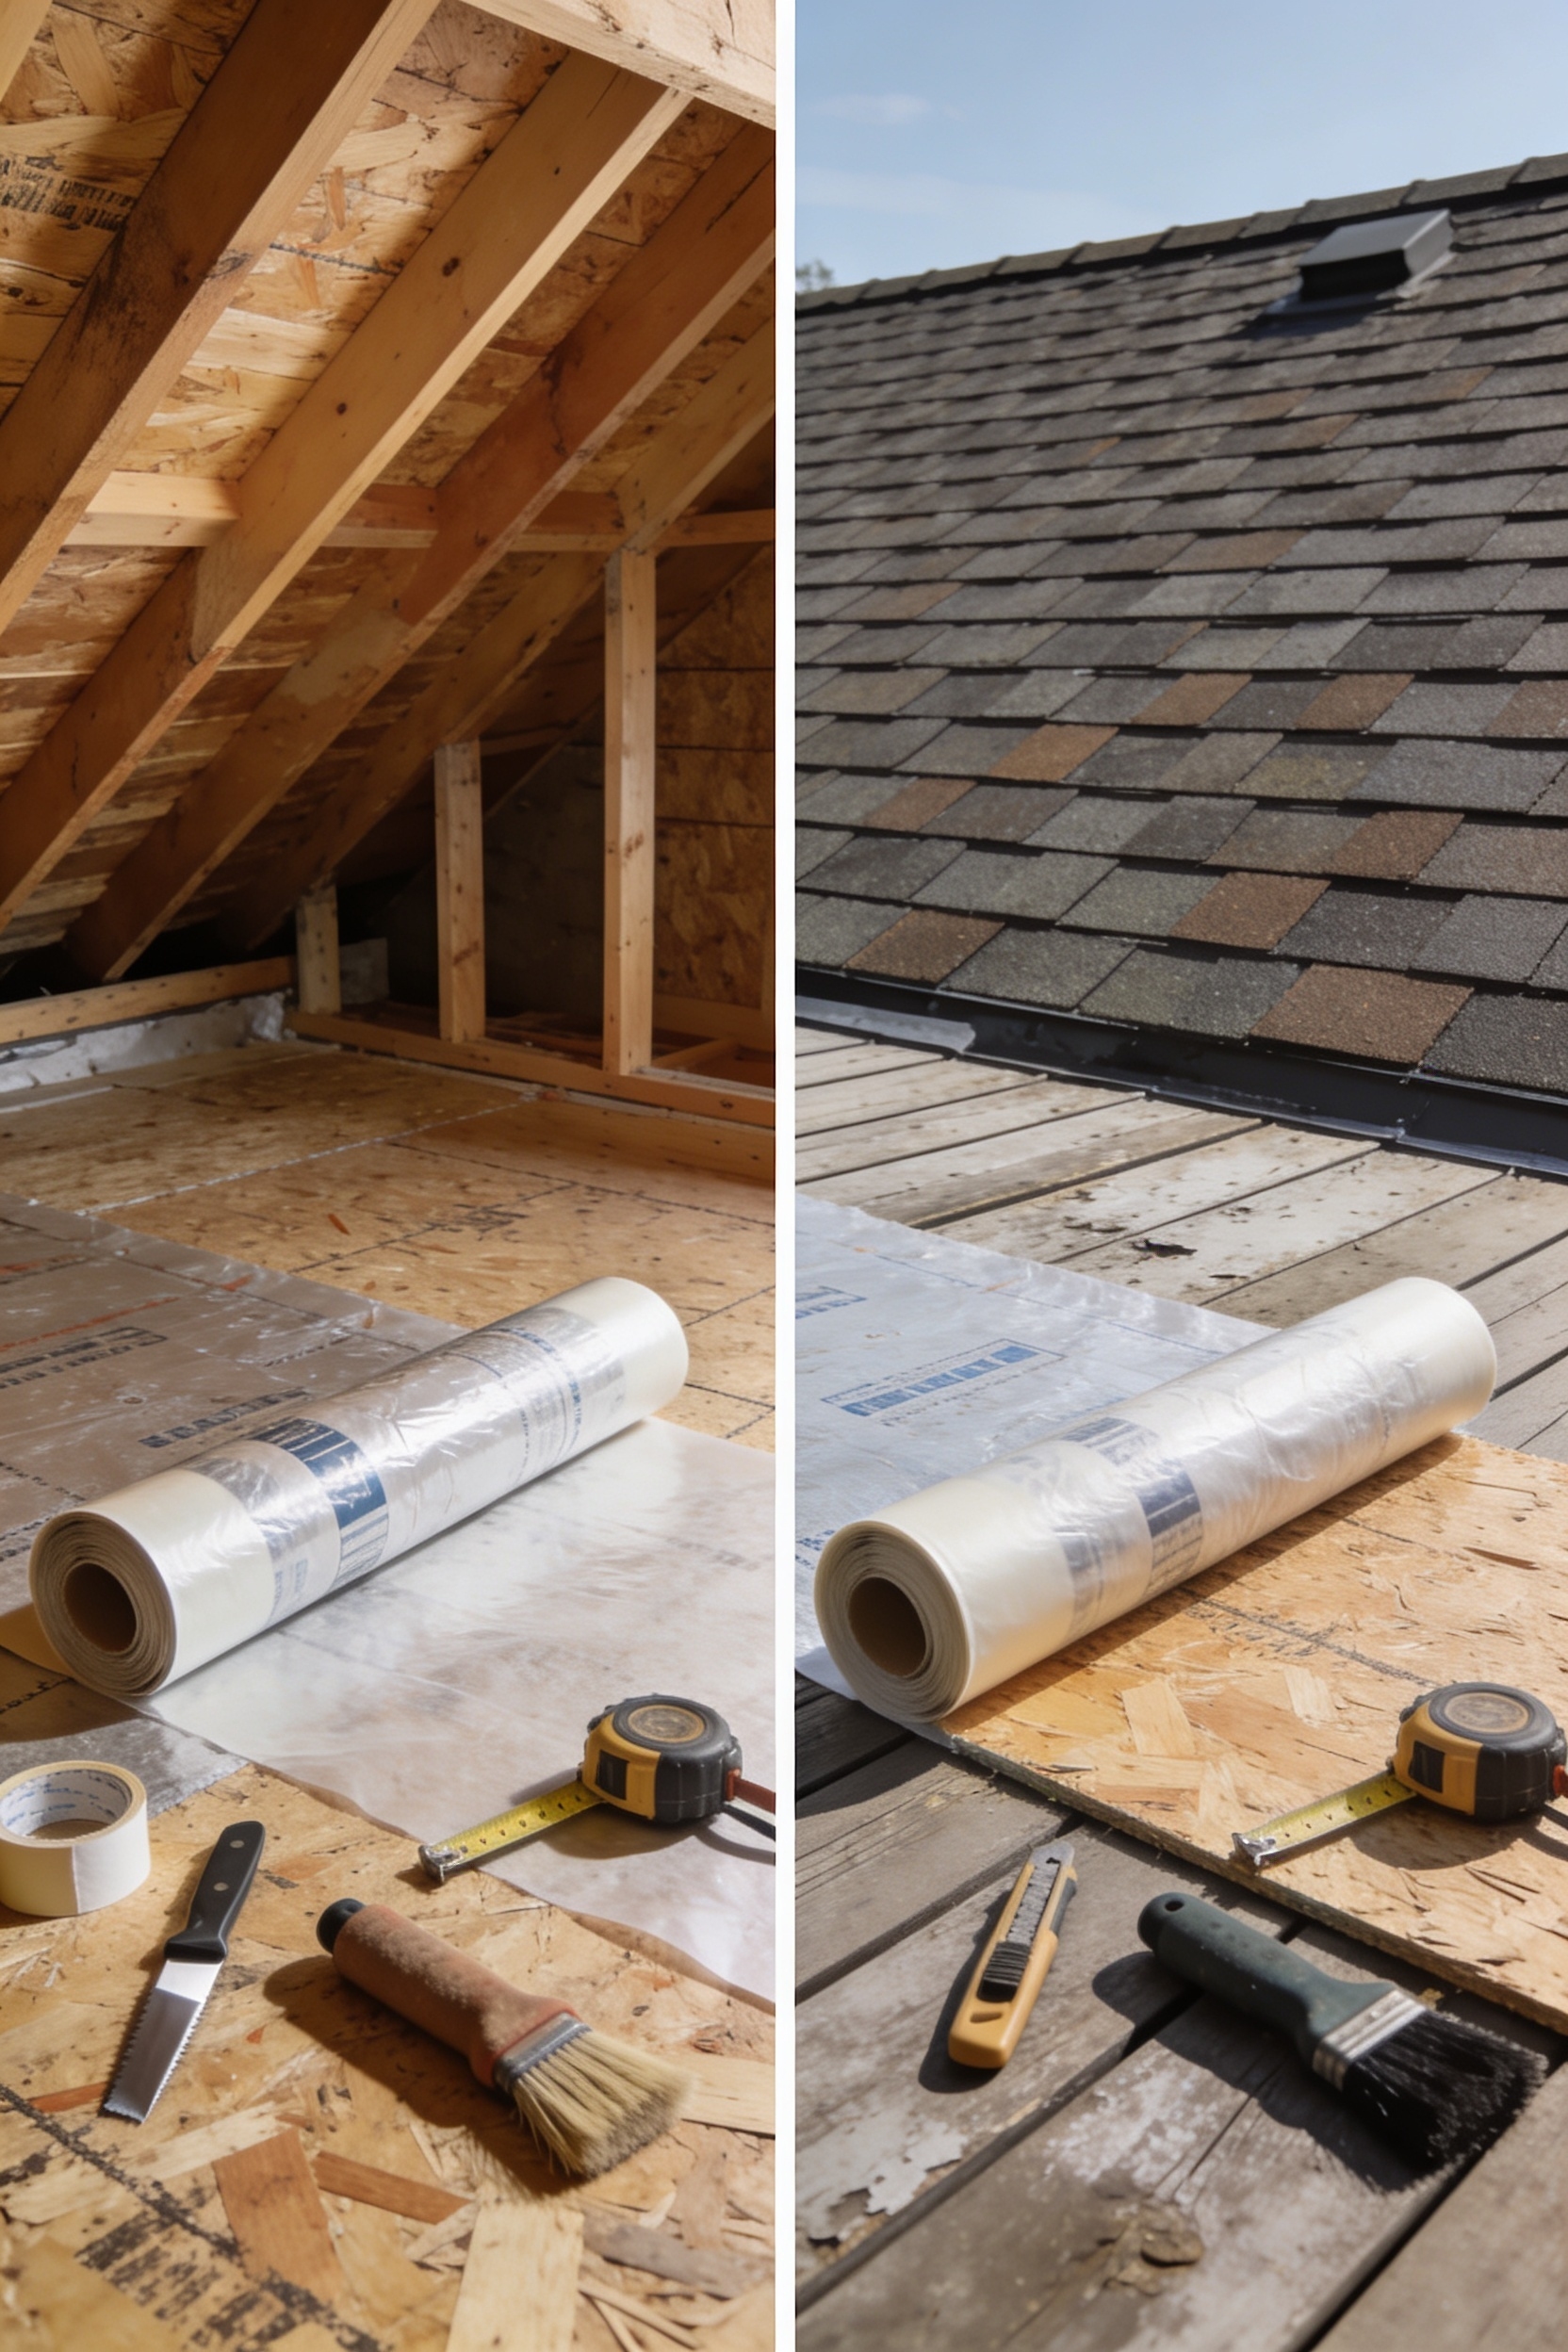
Roof Wrap Installation: Interior vs Exterior Prep Differences

Exterior roof wraps hit painted metal that’s smooth and slick, so you’re dealing with way stronger adhesives and serious surface prep—think clay bars and decontamination to stop the film from lifting. Interior wraps? You’re working with fabric headliners that need gentler adhesives and mostly just vacuuming plus wiping away cabin oils. Temperature matters too: exterior installs want that sweet 60–85°F window, while interior’s all about controlling humidity so moisture doesn’t wreck your adhesion bond. Stick around to see exactly how each approach keeps your wrap looking fresh.
Key Takeaways
- Exterior roof prep requires paint decontamination with clay bars to remove wax, polish, and debris; interior uses vacuuming and grease removal only.
- Exterior roofs need high-strength UV-resistant adhesives for smooth metal surfaces; interior ceilings require gentler adhesives conforming to porous fabric headliners.
- Exterior installations demand 60–85°F temperatures and humidity control to prevent moisture-related adhesion failure; interior requires cabin temperature management in dark vehicles.
- Exterior prep may require removing roof racks and antennas for access; interior involves disassembling headliners, dome lights, and visors.
- Exterior wraps prioritize durability and UV protection for longevity; interior wraps emphasize removability without damaging headliner fabric.
Why Exterior and Interior Roof Wraps Require Different Prep Strategies
See, an exterior roof wrap takes a beating. You’re talking direct sunlight, rain, temperature swings, and debris constantly hammering that film. That’s why exterior prep focuses on paint decontamination and UV stabilizers built into quality vinyl—you need serious durability. Interior roof wraps? They’re basically chilling in your cabin, facing dust and skin oils instead of weather. Similar to how UV-protected windshield sunshades maintain interior conditions, interior roof wraps benefit from a controlled environment that minimizes exposure to harsh environmental factors.
Now, removal techniques matter differently too. Exterior films need stronger adhesion to survive outdoors, while interior wraps prioritize easier removal without damaging headliners.
Substrate Differences: How Paint and Fabric Demand Different Approaches
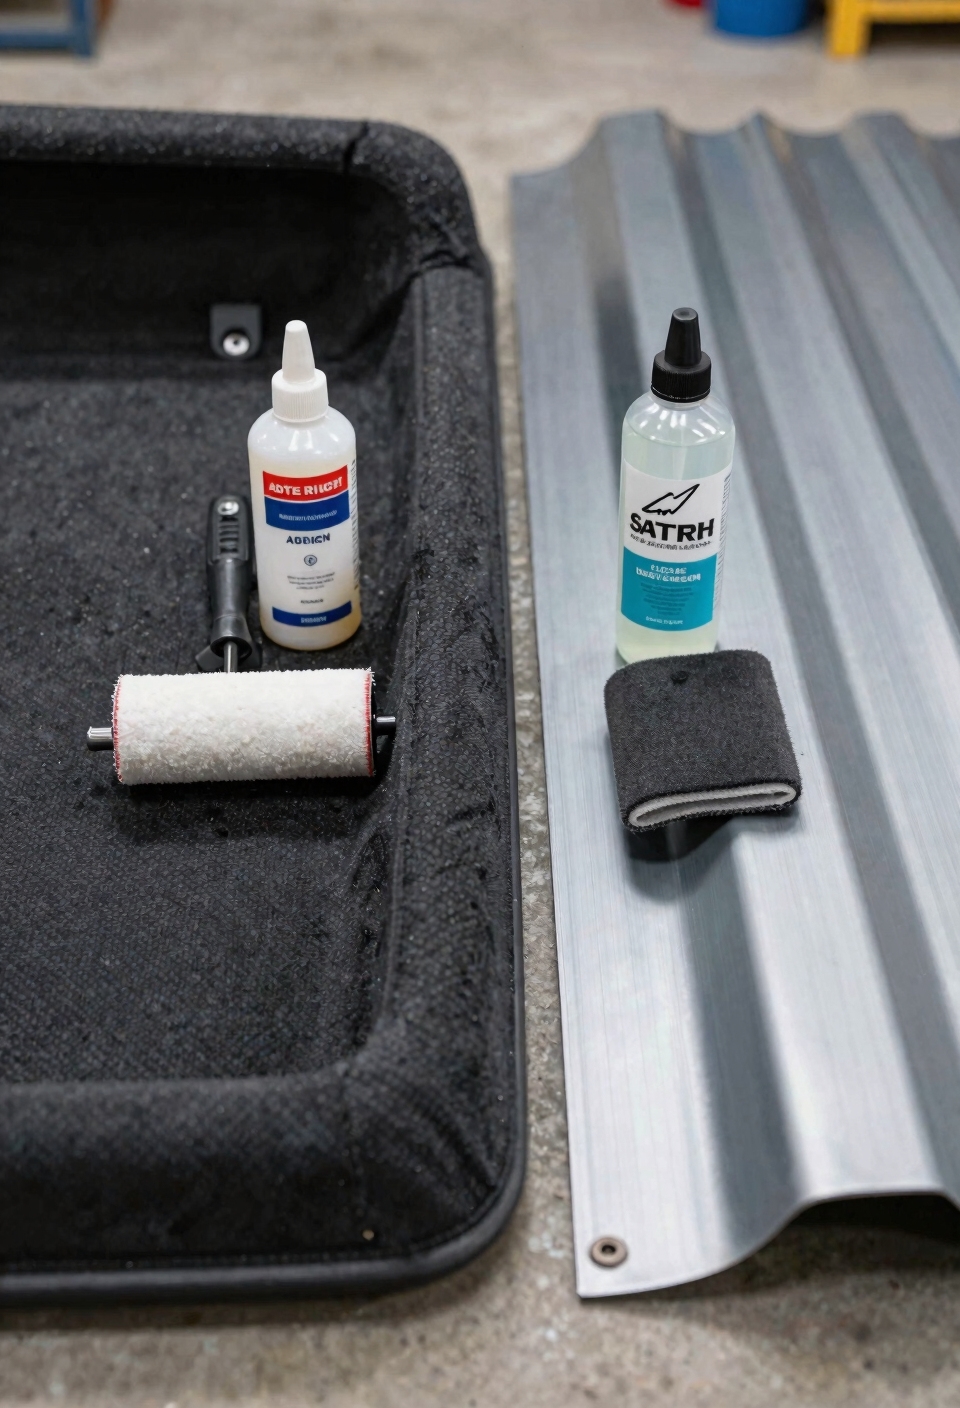
When you’re wrapping a roof, you’re not just dealing with one surface type—you’re dealing with two totally different battlegrounds, and that changes basically everything about how you prep. Your exterior roof is painted metal that’s been baked by the sun, while your interior ceiling is probably fabric or plastic headliner. Here’s the thing: substrate bonding works completely differently on each one. Paint is smooth and slick, so your vinyl needs serious grip to stay put through temperature swings. Fabric, though? It’s porous and textured, meaning texture matching becomes way more important—you want your wrap to conform perfectly without telegraphing every thread underneath. I mean, one’s fighting weather, the other’s just sitting there. Totally different challenges, totally different prep moves. Just like commercial-grade adhesives require proper surface preparation to ensure optimal bonding on various materials, your roof wrap substrate demands equally careful attention to material-specific preparation techniques.
Recommended Products
Faster positioning and air bubble-free film application which based on Easy (EZ) apply feature helps eliminate wrinkles and bubbles

SUPERIOR FLEXIBLE SEALANT: Liquid Rubber's foundation sealer creates a permanent waterproof membrane for basement waterproofing, foundation leak repair, shower liners, and planter boxes. This professional-grade sealer delivers unmatched protection with 900% elongation, preventing leaks and water damage more effectively than traditional sealants

Now you can make your car's paint or wrap fully protected
Pre-Installation Windows: Temperature, Humidity, and Environmental Constraints
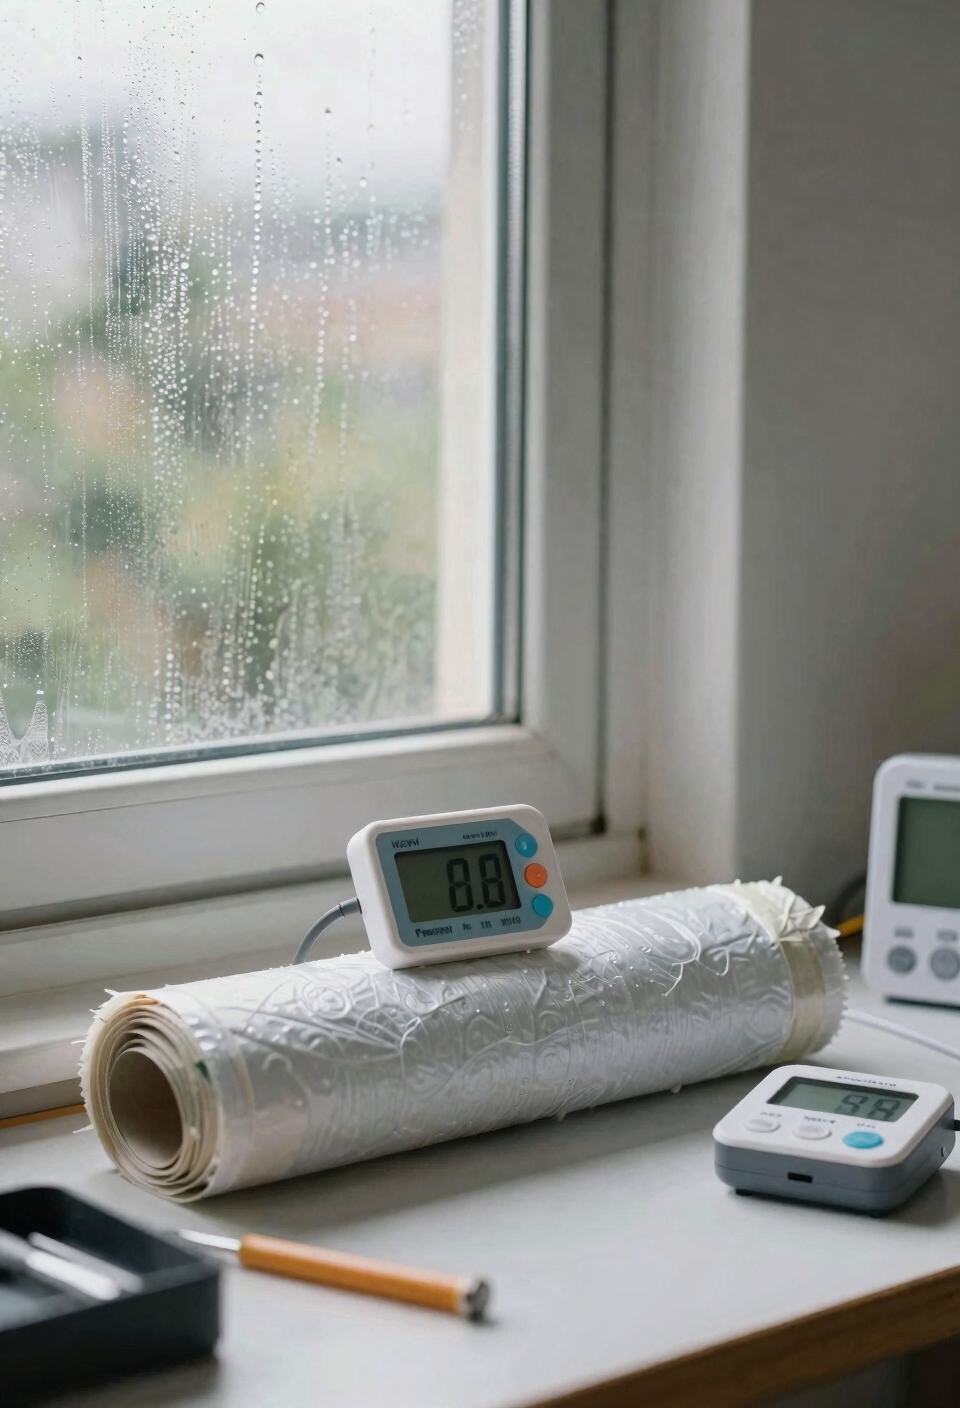
Now that you know substrate matters—paint versus fabric—here’s something equally important that most people totally overlook: you can’t just wrap a roof whenever you feel like it.
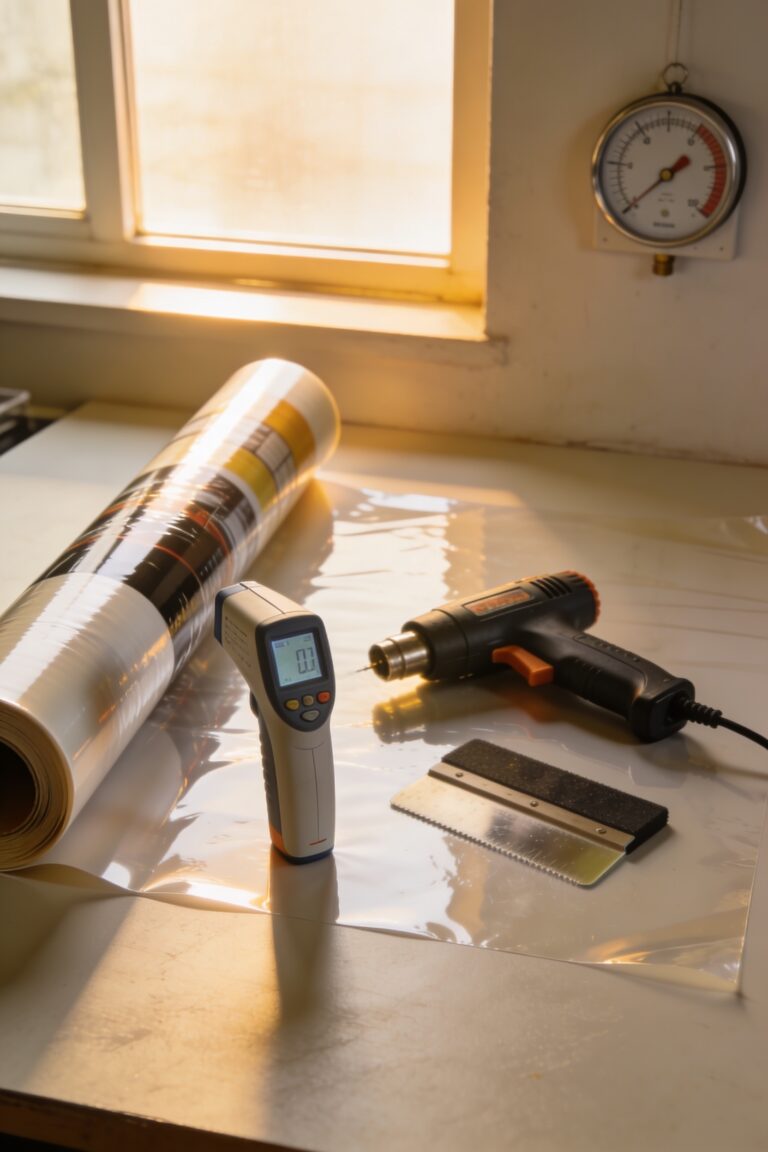
I mean, timing is everything. Temperature monitoring matters because vinyl shrinks and stretches with heat changes. You’ll want the outdoor temperature between 60–85°F when wrapping an exterior roof—too cold and the film gets stiff, too hot and it’s impossible to control. Humidity control is just as critical. If moisture’s trapped under the wrap, your adhesive fails and edges start lifting within weeks.
For interior roofs, you’ve got a bit more flexibility, but cabin heat still plays tricks on dark vehicles. Just as with automotive wiring installations, proper heat management prevents premature degradation of materials and ensures long-term durability of your wrap. Check the forecast. Seriously. Plan your install when conditions cooperate with you, not against you.
Recommended Products

【ETL & CSA Certified for Unparalleled Safety】ETL certification ensures compliance with North American safety standards. CSA certification strengthens reliability. The plug is UL certified, adding extra protection. Our Constant wattage heating cable is fully certified under ETL and CSA, meeting the highest safety benchmarks. Unlike products with only partial certification (e.g., a UL-certified plug but uncertified cable), our cable undergoes comprehensive testing for complete safety assurance.

【ETL & CSA Certified for Superior Safety】Our constant wattage heating cable is fully ETL and CSA certified, meeting the highest safety standards across North America. The plug is also UL certified for added protection. Unlike products with only partial certification (e.g., a UL-certified plug but uncertified cable), our cable undergoes comprehensive testing, ensuring complete safety assurance and exceptional performance.
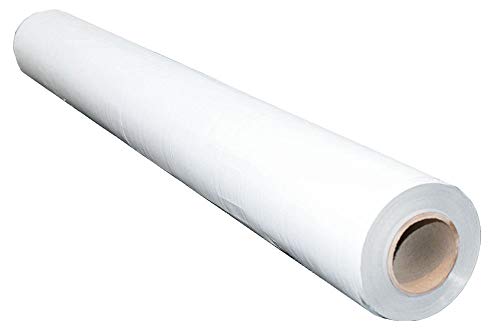
*Super Shield Radiant Barrier Solid White (NON-PERFORATED) insulation designed for residential retrofit installations on attic floor.
Cleaning Your Substrate: Paint Decontamination vs. Dust and Grease Removal
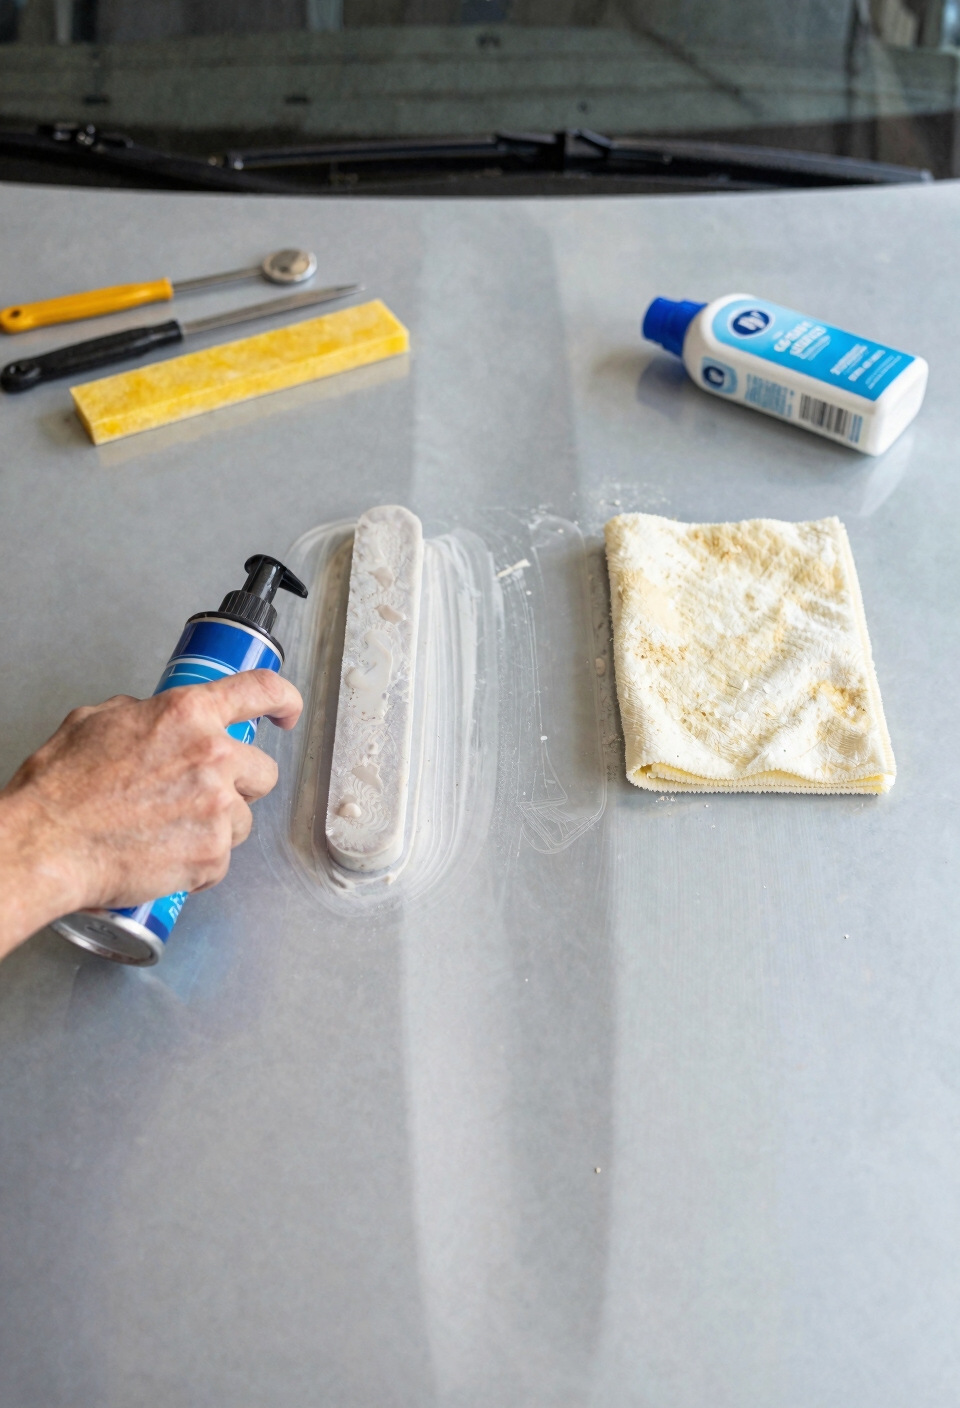
Once you’ve picked your install window and the weather’s cooperating, here’s where most people mess up: they think a quick rinse with a hose means the surface is ready. It doesn’t.
For exterior roof wraps, you’re dealing with microscopic residue—wax, polish, bird droppings, tree sap—that invisible stuff clinging to your paint. I’m talking about using a clay bar to genuinely decontaminate, not just wash. This stuff matters because even tiny bumps telegraph through the film. Just as 9H tempered glass screen protectors require proper surface preparation to prevent scratches, your wrap substrate demands meticulous decontamination to ensure flawless adhesion.
Interior prep’s different. You’re mainly vacuuming dust and wiping away grease from cabin oils. Your substrate needs to be clean, obviously, but you’re not hunting for surface profilometry issues like you would outside.
All right, here’s the real talk: exterior = paint correction obsession. Interior = dust and grease focus. Totally different battles.
Recommended Products

✅ pH NEUTRAL & ACID-FREE IRON REMOVER: This iron remover car detailing formula is pH balanced and acid-free, designed for car paint, clear coat, chrome, polished metal, aluminum wheels, and glass. Use as directed.
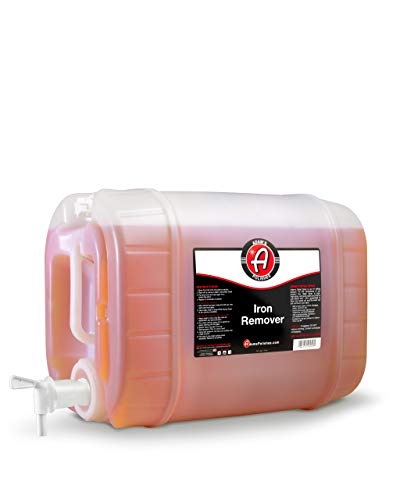
✅ Faster Activation, More Powerful Cleansing – Our improved iron remover formula dissolves stubborn iron deposits, brake dust, and metallic fallout on car paint, wheels, and metal surfaces with faster results and less odor than our previous versions.

Advanced Polymer Technology: Revolutionary synthetic clay towel with premium rubber layer; Effortlessly lifts and removes tar, sap, and road film contaminants; Creates smoother surface than traditional clay bars; Perfect for clay bar alternative.
Roof Wrap Adhesives: Choosing Exterior vs. Interior Strength
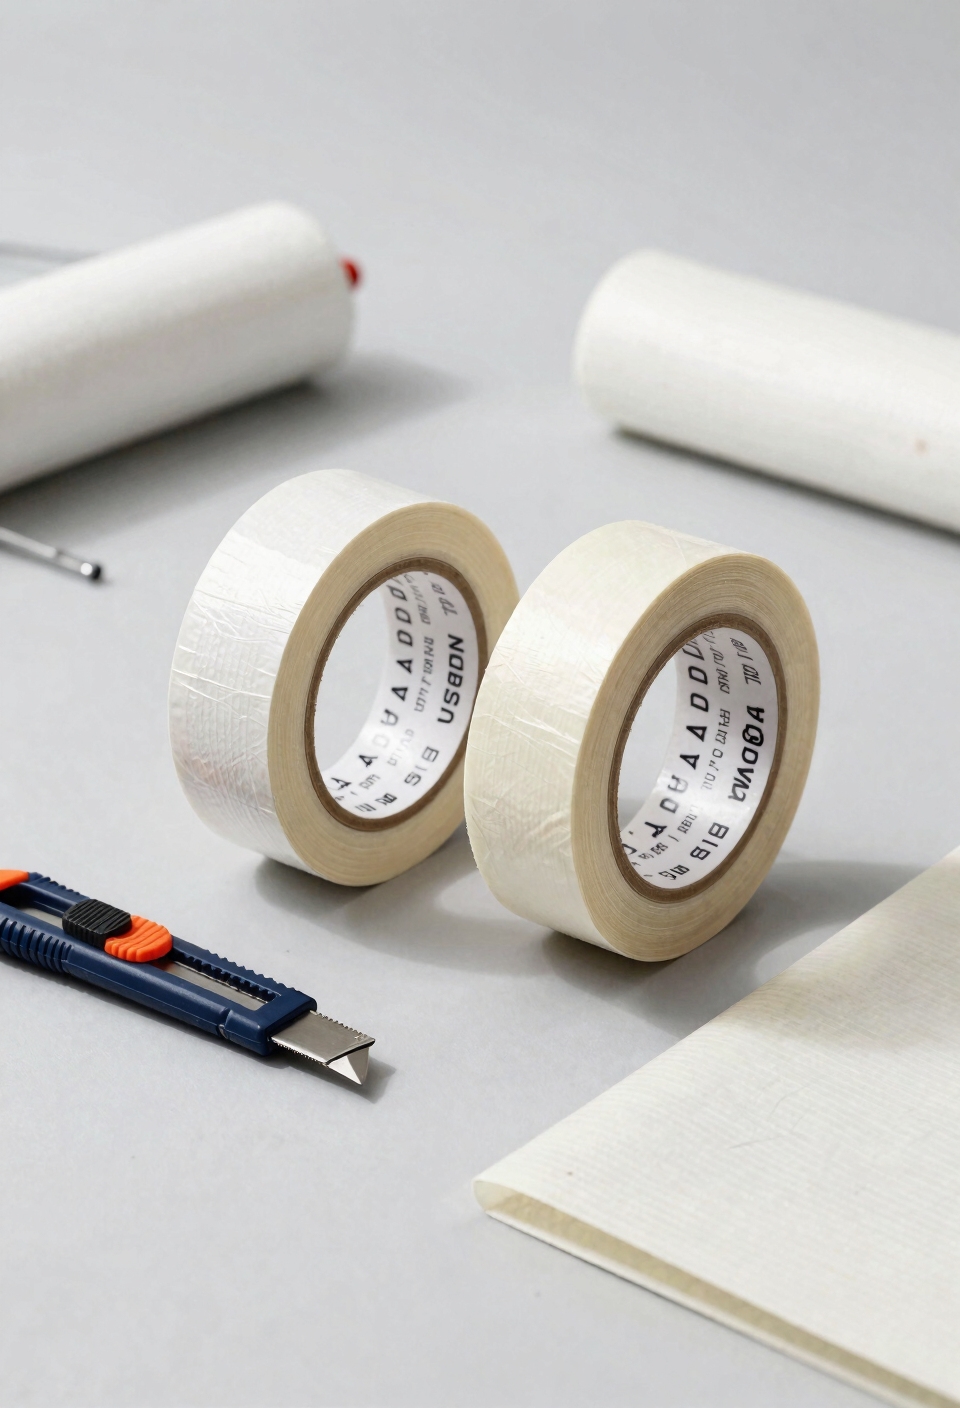
Pick the wrong adhesive for your roof wrap, and you’re basically guaranteeing yourself a peeling disaster down the road. Here’s the thing: exterior roof wraps need serious adhesive chemistry because they’re battling constant sun, rain, and temperature swings. You want a high-strength formula that locks onto paint and won’t quit when things get hot. Interior wraps? You’re looking at something gentler—basically the opposite approach. Interior adhesives are designed for easier removal without damaging your headliner or trim, so they don’t grip quite as aggressively. The key difference is durability versus flexibility. Exterior needs bulletproof strength; interior prioritizes clean removal tools and adjustability. Just as UV-resistant clear coats protect genuine carbon fiber accessories from sun damage and deterioration, exterior wrap adhesives must withstand prolonged UV exposure and temperature extremes to maintain their bond integrity. Understanding this split saves you headaches and keeps your wrap exactly where it belongs.
Recommended Products


This premium automotive vinyl by VViViD Vinyls is specially engineered for DIY'ers. This durable film is ideal for long-term fleet and motorsport marketing applications, and provides a lightweight, economical alternative to paint.

RESTORE, PROTECT, AND EXTEND THE LIFE OF YOUR ROOF - Countryman Coatings Silicone Top Coat can be applied via roller, brush, or spray equipment directly to: Metal, Modified-bitumen, EPDM, Smooth-surface built-up, Gravel surface built-up, Single-ply (PVC, TPO), Granulated cap sheet, Spray foam, Concrete, Acrylic coatings, Silicone coatings, Elastomeric roof coatings, Urethane coatings, and more. If your roof is aging or failing but in good structural condition, Countryman Coatings can help.
Disassembly and Access: Prepping Interior vs. Exterior Roof Areas
When you’re wrapping your roof, the prep work you do before the film even touches the surface makes all the difference—and that prep looks totally different depending on whether you’re working inside or outside.
For exterior roofs, you’re basically wrestling with the elements. You might need to remove roof racks, antennas, or spoilers to get clean access. It’s like taking off armor before a bath.
Interior work? That’s a whole different beast. You’re pulling down headliners, removing dome lights, and unclipping visors—basically disassembling your cabin ceiling. Panel removal takes patience, but it’s worth it because you’ll actually reach every corner without stretching the vinyl awkwardly. Access panels hidden under trim matter too. Skip this step, and you’re stuck with wrinkles and gaps. Just as non-slip rubber pads prevent vehicle surfaces from damage during support work, proper interior prep protects your cabin components from scratches and misalignment during the wrapping process.
Application Technique and Edge Sealing: Preventing Lift and Adhesion Failure
All right, so you’ve got your roof prepped and ready—now comes the part where things can either go perfectly smooth or fall apart faster than you’d expect. Here’s the deal: edge preparation is absolutely critical. You want to seal those edges down tight so water and air don’t sneak underneath and lift your wrap. For exterior roofs especially, I’m talking about using a heat gun to activate adhesive around seams and corners. Seam relief cuts help the film conform without bunching up. On interiors, you’ve got a bit more flexibility, but edges still matter. Press firmly along all borders, and don’t rush it. Much like how carbon fiber accessories require proper adhesion techniques to prevent peeling and durability issues, your roof wrap edges need the same attention to detail during installation. Honestly, most lift failures happen because someone skipped proper edge work—don’t be that person.
Recommended Products

Ultimate All-Weather Shield: Protect your investment from harsh elements. This 12x20ft metal carport features a high-grade steel roof that deflects UV rays, sheds heavy snow, and withstands hail better than fabric canopies. Perfect for keeping your GMC, SUV, or boat in pristine condition year-round

Ultimate All-Weather Shield: Protect your investment from harsh elements. This 12x15ft metal carport features a high-grade steel roof that deflects UV rays, sheds heavy snow, and withstands hail better than fabric canopies. Perfect for keeping your GMC, SUV, or boat in pristine condition year-round
Reliable Rough Opening Sealing: ZIP System Flashing Tape for windows, doors, and rough openings supports seam sealing to help block moisture intrusion; 3" width is best for seam sealing
Post-Installation Maintenance and Long-Term Durability
Keeping your roof wrap looking fresh after installation is where a lot of people drop the ball—and honestly, it’s easier than you’d think to mess up months of solid work. Here’s the thing: exterior roof wraps face serious material aging from constant UV exposure and temperature swings, so you’ve gotta protect that investment. Wash your wrap every two weeks with gentle soap and water—nothing abrasive. Avoid wax or sealants unless your wrap’s manufacturer approves them. For interior wraps, regular vacuuming keeps dust from degrading the adhesive. Consider using UV-resistant materials similar to those recommended for automotive accessories in high-heat climates to maintain your wrap’s color and integrity. Now, I’m sure you’re wondering about warranty claims. Most manufacturers won’t cover damage from neglect, so document your maintenance. Honestly, basic care adds years to your wrap’s life and keeps it looking showroom-ready.
Frequently Asked Questions
Can I Apply Exterior Roof Wrap Vinyl Over Existing Wax or Sealant Without Full Decontamination?
No, I wouldn’t recommend it. Wax and sealant create a barrier that’ll compromise your film’s adhesion. I always perform full surface prep and adhesion testing to guarantee long-term durability on exterior roof wraps.
What Is the Typical Lifespan Difference Between Exterior and Interior Roof Wraps?
Like a shirt left in sunlight versus one in a closet, exterior roof wraps typically last 5-7 years while interior wraps reach 10-15 years. UV degradation and moisture intrusion severely shorten exterior lifespan.
Should I Use Heat Gun Settings Differently for Interior Versus Exterior Roof Installations?
Yes, I’d use higher heat gun settings for exterior roof wraps to guarantee strong edge tension and adhesion under UV and weather stress. Interior installations need gentler temperature control to avoid substrate damage and maintain repositionability.
Can Interior Roof Wrap Adhesive Safely Remove Without Damaging Headliner Fabric or Trim?
Yes, I’d recommend using fabric-safe methods like gentle heat and low-tack removal tape instead of adhesive solvents, which can damage headliner fibers. Test any solvent on hidden areas first to guarantee compatibility.
How Does Vehicle Color Affect Interior Roof Wrap Adhesion Compared to Exterior Applications?
I’d say vehicle color affects interior wraps differently than exterior ones. Interiors don’t face UV degradation, so color contrast and substrate porosity matter more for visual appeal and adhesive grip than thermal performance concerns you’d see outside.
Conclusion
Here’s the thing though—you can nail every prep step perfectly, choose the right adhesive, execute a flawless install… and still watch your roof wrap bubble weeks later if you missed one detail. That’s why understanding whether you’re working inside or outside matters so much. Get the prep right, and your wrap stays pristine for years. Rush it? You’ll be peeling it off sooner than you’d think.