As an Amazon Associate, we earn from qualifying purchases. Some links on this site are affiliate links at no extra cost to you. Our recommendations are based on thorough research and editorial judgment.

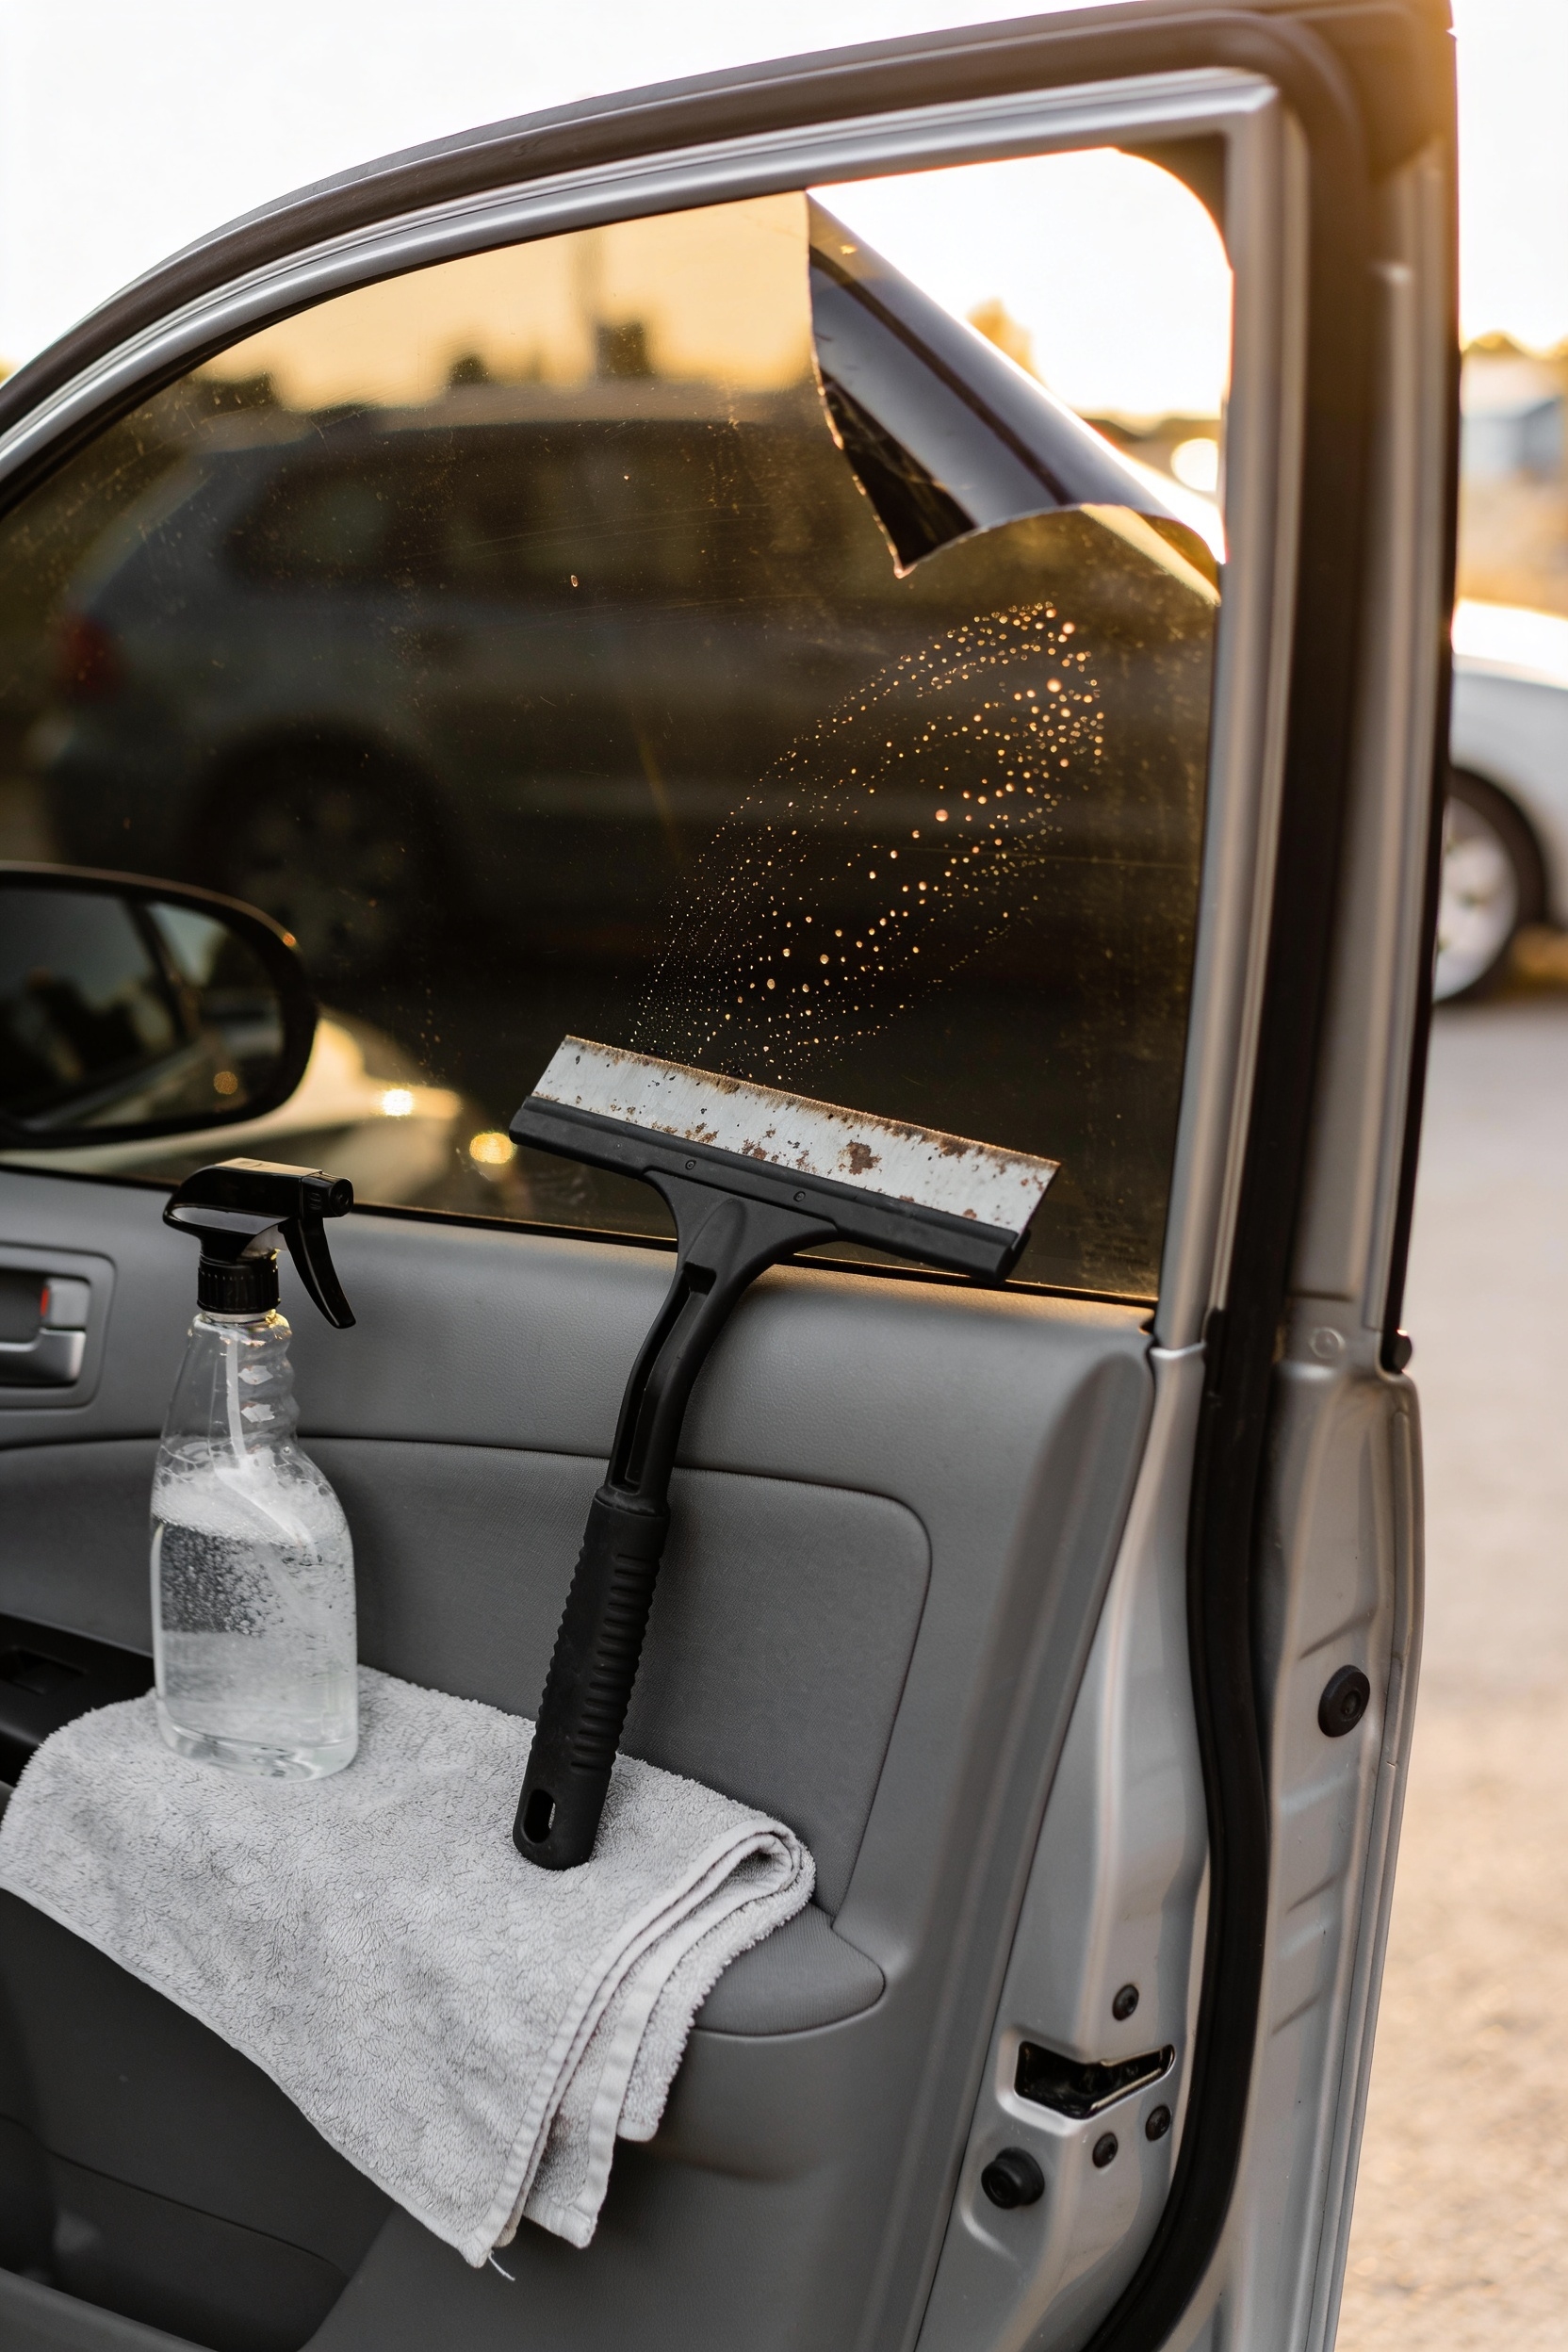
DIY Window Tinting: Why Bubbles Form and How to Prevent Them

You’ve probably seen those annoying bubbles under tinted windows and thought you ruined everything, but here’s the real deal—most bubbles fall into two camps: temporary ones that disappear during curing, and serious adhesive-failure bubbles that mean replacement time. The culprit? Usually dirty glass, wrong solution ratios, or sloppy squeegee technique trapping air and moisture. Get your surface inspection-level clean, use the right amount of installation solution, and squeegee from center outward with steady pressure. Stick with it, and you’ll discover exactly which mistakes to dodge on your next project.
Key Takeaways
- Clean windows thoroughly with lint-free materials to remove dust, oil, and debris that prevent proper adhesive bonding.
- Use the correct installation solution ratio—too little causes air trapping, too much creates stubborn bubbles.
- Squeegee from center outward with consistent, firm pressure to expel air and moisture systematically.
- Allow 3–5 days minimum curing time; small water pockets and haziness during cure are normal and temporary.
- Persistent bubbles after one month, widespread bubbling, or discoloration indicate adhesive failure requiring full replacement.
What Your Bubbles Are Telling You: Five Types Explained
If you’ve just tinted your car windows and you’re staring at weird bubbles forming under the film, you’re probably wondering whether you totally messed up or if this is actually normal.
Here’s the thing: not all bubbles are created equal. Water bubbles show up right after installation and usually vanish during the cure period—nothing to stress about. Air bubbles are bigger and irregular, meaning trapped air got sealed behind the film. Contamination bubbles contain actual dust or debris you can sometimes see. Then there’s adhesive-failure bubbles that appear months later near edges, often with color shift or edge curling happening too. These are the serious ones. I’m sure you’re hoping for the temporary kind, and honestly, most fresh bubbles are exactly that. To prevent bubbles from forming in the first place, ensure you follow proper care instructions and maintain a clean work environment free of dust and debris during the installation process.
Why Most Bubbles Start With Dirty Glass
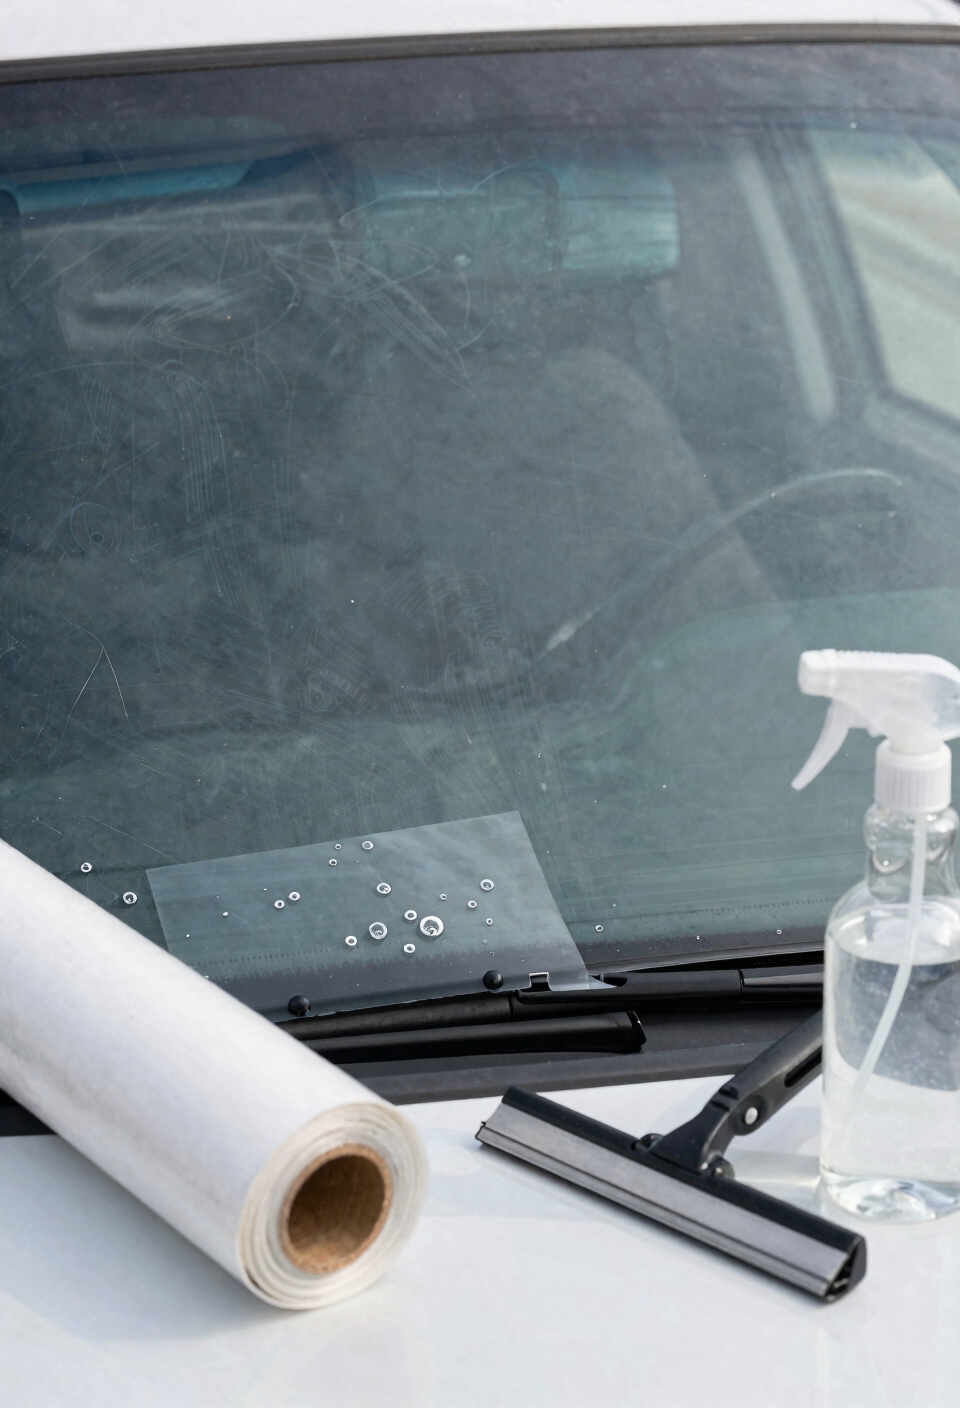
Now here’s the thing nobody wants to hear: most of your bubble problems started before you even opened that tint film package.
I’m talking about your glass. That window you thought was clean? It’s probably covered in invisible surface contaminants—dust, oil residue, fingerprints, whatever. Here’s the glass chemistry part: when contamination sits between your tint and the window, it creates tiny barriers. The adhesive can’t bond properly to those spots, so air gets trapped underneath and boom—bubbles form.
You’d be amazed how many DIYers skip the serious cleaning step. They’ll wipe their window with a paper towel and call it good. That’s not nearly enough. Even microscopic particles cause visible defects later. Much like how proper wiring connections require meticulous preparation to prevent installation failures, window tinting demands thorough surface preparation to ensure lasting results. Honestly, your cleaning prep matters way more than most people realize.
Installation Solution and Window Tint Bubbles: Getting the Mix Right
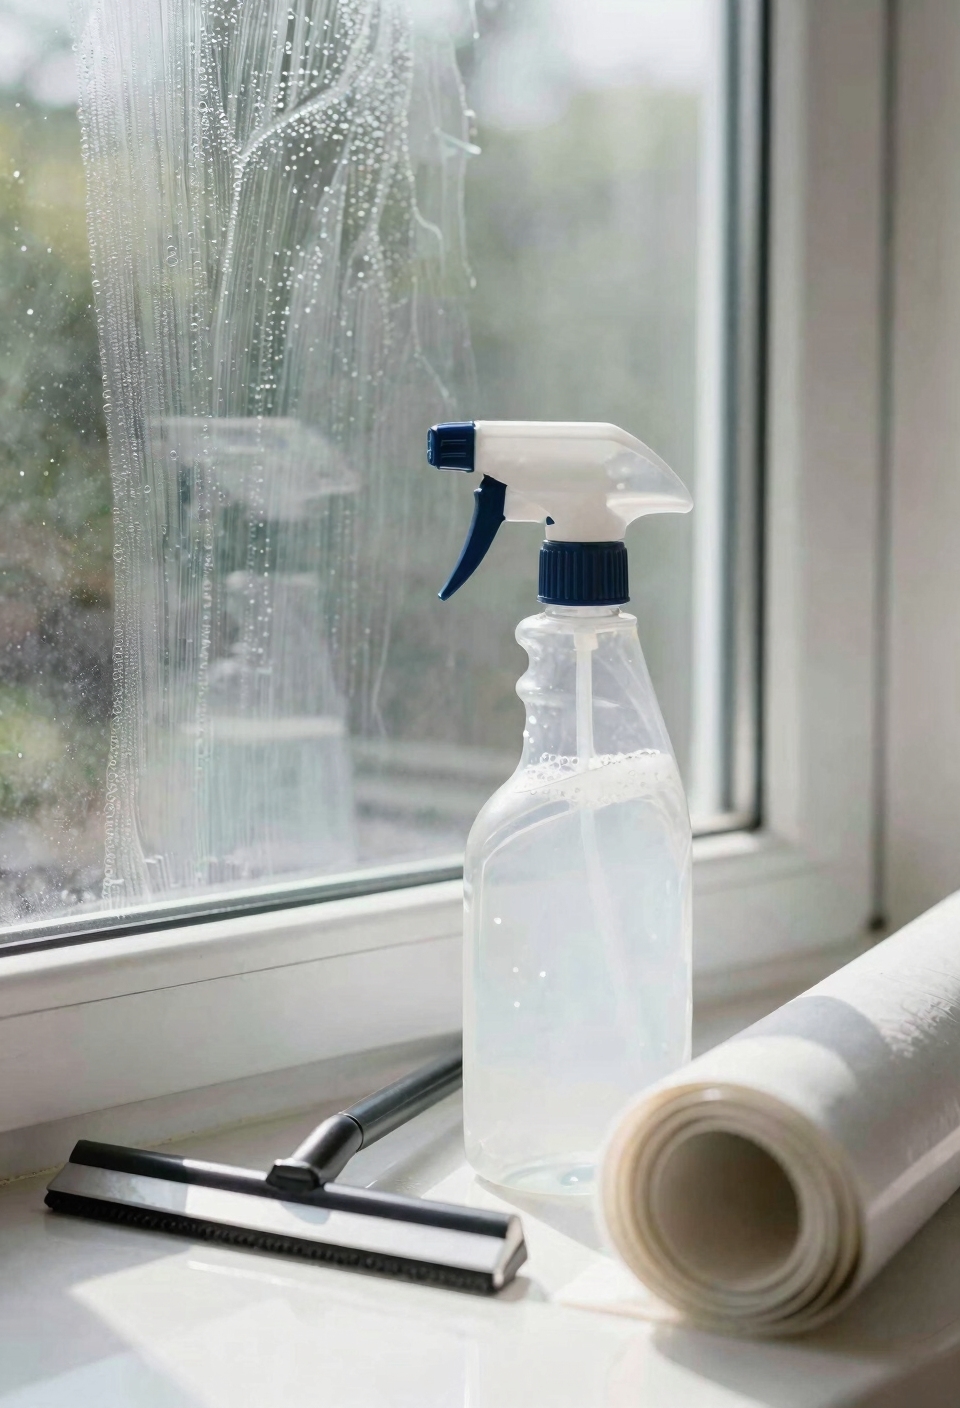
Beyond just having a clean window, there’s another silent killer lurking in your tint installation—and it’s literally the liquid you’re spraying on the glass. I’m talking about your installation solution, and honestly, most DIY people mess this up without realizing it.
Here’s the thing: you need the right solution ratios. Too much soap? You’ll get stubborn bubbles that won’t disappear. Too little? The film grabs too fast and traps air underneath. It’s like Goldilocks—you’ve got to find that sweet spot.
Quality drying agents in your solution help moisture evaporate properly. That’s what separates a pro job from a disaster. Get this part right, and you’re already halfway to bubble-free tint. Similar to how vibration-resistant mounting systems maintain stability in vehicle accessories, the right installation solution maintains clarity by preventing moisture entrapment during the tinting process.
Squeegee Technique: Why It’s Crucial for Bubble-Free Tint
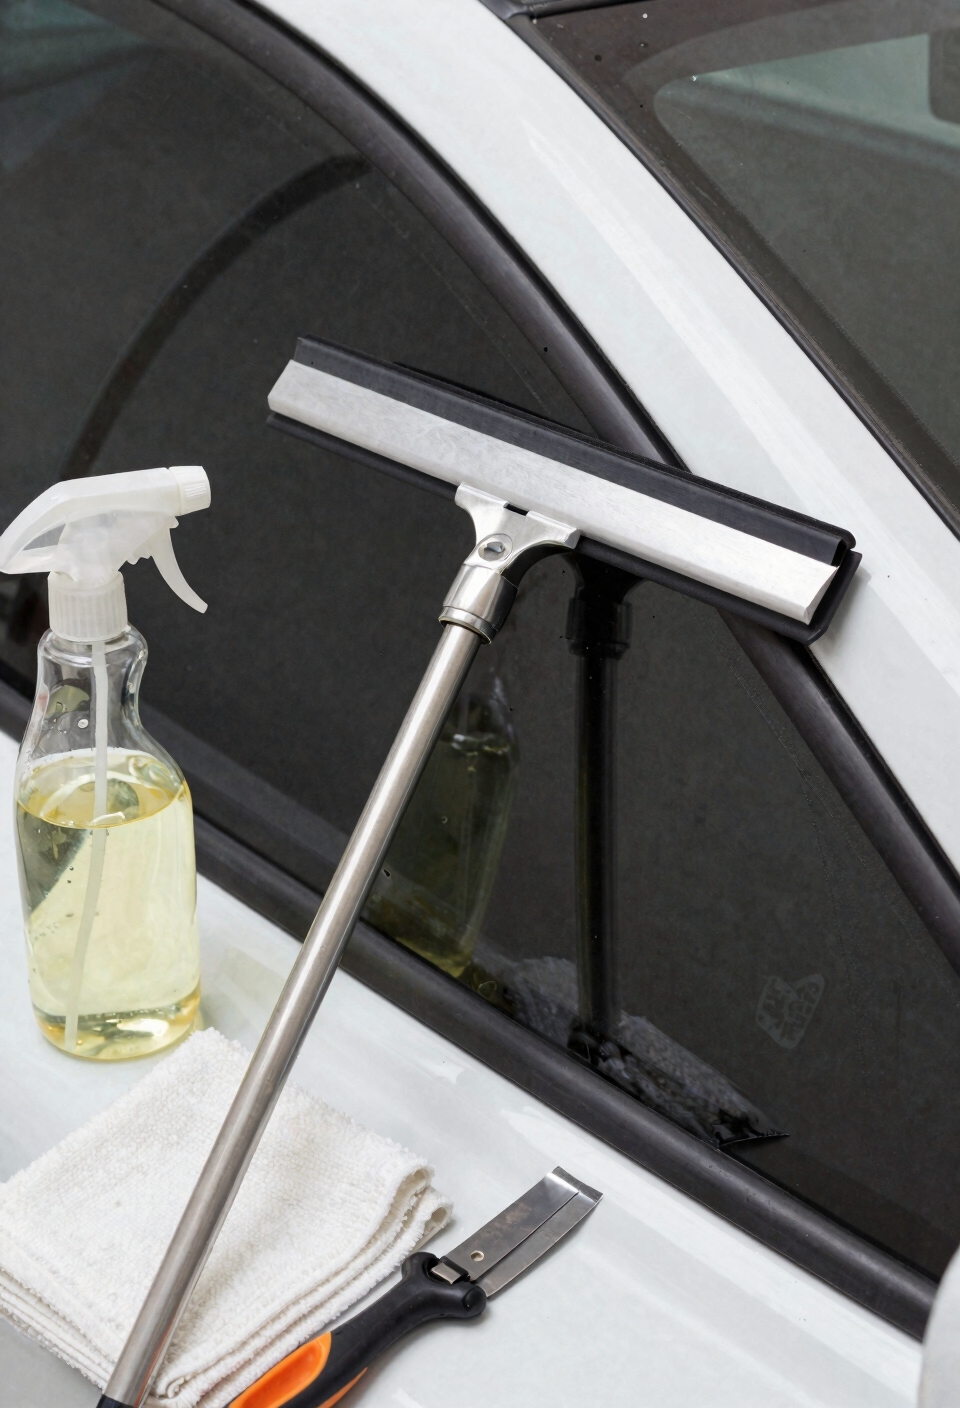
You’ve probably watched someone squeegee a window tint and thought it looked easy—just push the thing around and you’re done, right? Not exactly. Here’s the thing: your squeegee technique actually makes or breaks whether you’ll end up with bubbles.
I’m sure you’ve noticed that uneven pressure while squeegeeing leaves moisture trapped underneath. That’s your enemy. You’ve got to work from the center outward with consistent pressure, pushing moisture and air toward the edges systematically. Edge alignment matters too—if you’re sloppy at the corners, air pockets hide there and become visible bubbles later. Similar to how custom-fit windshield designs require precise placement to avoid gaps, tint application demands careful attention to edges and alignment during the squeegeeing process.
All right, the real skill is maintaining that pressure consistency the entire time. It’s not complicated, but it does require focus and patience. Get this part right, and you’re already halfway to bubble-free tint.
Five DIY Mistakes That Trap Bubbles Under Tint
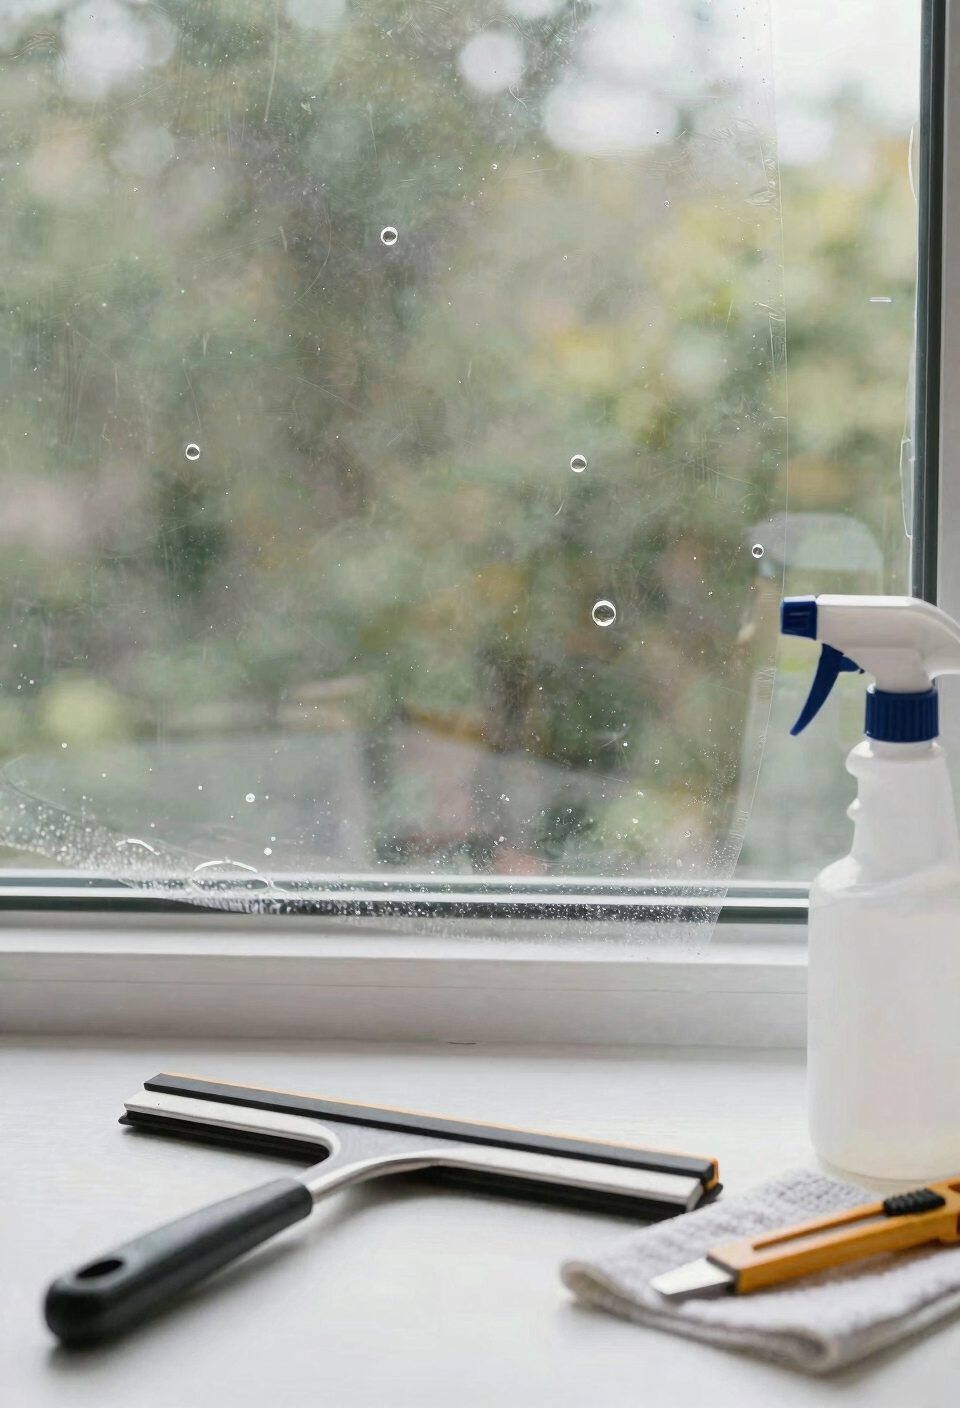
So here’s the thing—knowing the right squeegee technique gets you halfway there, but it won’t save you if you’re making mistakes earlier in the process. I’m sure you’ve thought about how tricky this tinting stuff seems, and honestly, most bubbles come from five common errors you can totally avoid.
First, using insufficient solution means your film grabs too fast, trapping air underneath before you can position it properly. Second, skipping thorough glass cleaning lets dust hide under the tint. Third, rushing through the application creates wrinkles and pockets. Fourth, poor edge alignment causes moisture to get trapped near corners. Finally, working in dusty or humid conditions basically guarantees contamination bubbles. Just as screen protectors require careful alignment to avoid bubbles during installation, window tint demands the same precision and attention to detail. Avoid these mistakes, and you’re already winning at DIY tinting.
Your Bubble-Prevention Checklist: Before, During, and After
Think of window tinting like a three-act play—mess up any of the acts and your whole performance falls apart with bubbles everywhere. I’m talking about before, during, and after installation.
Before you start, your workspace prep is everything. Clean your glass thoroughly with lint-free materials, and make sure your workspace is dust-free and temperature-controlled. Do adhesive testing on a small corner first—seriously, this saves headaches later. Just as proper installation space is critical in automotive work, your tinting environment requires careful planning and climate control to ensure optimal results.
During application, use the right amount of installation solution, squeegee systematically from center outward, and don’t rush. All right, now for after: let that tint cure for three to five days minimum before touching your windows. I know you’re keen to roll them down, but patience here prevents new air from sneaking underneath. Follow this checklist, and you’ll nail it.
Window Tint Curing: What’s Normal and What Isn’t
All right, so you’ve done the hard work—your windows are tinted, you’ve followed the checklist, and now comes the part that tests your patience: waiting for it to actually cure. Here’s the thing: you’ve got to give it time. Most installers recommend a 3-to-5-day cure period before you even think about rolling your windows down. I know that sounds forever, but trust me, it matters.
During those first few weeks, you might notice some haziness or small water pockets. That’s totally normal—your curing indicators are actually telling you the adhesive is bonding properly. Watch your edge adhesion especially. If bubbles are shrinking over time, they’re moisture-related and will disappear. But if they’re sticking around or getting worse after a month? That’s when you’ve got a real problem. Consider complementing your window tint with interior cabin air filtration to maintain overall cabin clarity and air quality during the curing process.
Can You Fix Bubbles, or Do You Need Replacement Tint?
Now that you know what’s normal during the cure phase, here’s the real question: can you actually fix those bubbles, or are you stuck replacing the whole thing?
Here’s the deal: small, fresh bubbles sometimes respond to heat repairs. If you catch them early, carefully applying gentle heat while using a squeegee can push out trapped moisture. For stubborn ones, some people try needle punctures—basically poking a tiny hole to release air, then sealing it back with heat.
But I’m not gonna sugarcoat it. If your tint’s covered in bubbles, they’re old, or the film’s already discoloring, you’re replacing it. Widespread bubbling usually means adhesive failure, not something you can patch up. Save yourself the headache and go full replacement.
How to Prevent Bubbles on Your Next Tinting Project
Master the basics before you even crack open that tint film, and you’ll dodge most bubble problems before they start. First, clean your windows like you’re preparing for inspection—use lint-free materials and get every speck of dust gone. When you’re applying the film, use the right amount of installation solution. Too little and you’ll trap air; too much creates a slippery mess. Work methodically, squeegeeing from the center outward to push moisture away. Temperature control matters too—don’t tint on scorching hot days or freezing cold ones. Finally, nail that edge sealing by pressing firmly around the perimeter. Similar to how non-slip backing prevents car seat protectors from shifting during installation, proper edge pressure keeps tint film firmly adhered to prevent bubble formation. Then comes the hardest part: patience. Let your tint cure for several days before rolling windows down. You’ve got this.
Frequently Asked Questions
Does Humidity Level During Installation Affect How Quickly Bubbles Form and Disappear?
Yes, installation humidity markedly affects bubble formation and disappearance. I’d recommend maintaining stable, moderate humidity because excessive moisture prolongs your drying time and delays adhesive bonding, while low humidity can cause premature film grab and trap air.
Can Poor-Quality Window Tint Film Contribute to Bubbling Even With Perfect Installation Technique?
You can’t polish a turd, and poor-quality film’s weak adhesive formulation and manufacturing defects will cause bubbling regardless of your flawless technique. Even perfect installation can’t overcome inferior film quality.
What Temperature Range Is Safest for Applying Window Tint to Avoid Adhesive Problems?
I’d recommend applying window tint between 50-85°F for ideal temps, maintaining peak humidity around 40-55%. You’ll avoid adhesive weakening and premature bonding issues that cause bubbles and poor adhesion during installation.
How Does Rolling Down Windows Too Soon After Tinting Cause New Bubbles to Form?
When you roll down windows too soon, you’re lifting the window edge, causing seal failure and glass flexing that shifts the adhesive layer, trapping new air bubbles beneath your fresh tint.
Will UV Exposure and Extreme Heat Cause Bubbles to Reappear Years After Installation?
Yes, UV degradation and thermal cycling can absolutely cause bubbles to reappear years later. I’ve seen adhesive bonds weaken over time, causing adhesive-failure bubbles that worsen progressively and typically require complete tint replacement.
Conclusion
Look, window tinting isn’t rocket science—it’s more like learning to cook. You’ll mess up your first attempt, maybe your second, but once you nail the technique, you’ve got a skill for life. Those bubbles? They’re just your learning curve talking. You’ve got this checklist now, you know what to avoid, and honestly, your next project’s going to look professionally done. That’s worth the effort.