As an Amazon Associate, we earn from qualifying purchases. Some links on this site are affiliate links at no extra cost to you. Our recommendations are based on thorough research and editorial judgment.
Music-Synced LED Lighting: How Controllers Read Audio Signal
Controllers read your audio signal in three main ways. A microphone picks up ambient sound around your car, while app-based systems let you control lights manually. The real magic happens with BPM-aware controllers—they detect actual beat patterns instead of just reacting to volume spikes. Some advanced setups connect directly to your head unit, bypassing background noise entirely. The controller then splits audio into frequencies, assigns colors to bass and treble, and times light flashes to musical transients. Keep going to discover which method actually works best in a noisy car.
Key Takeaways
- Controllers convert microphone-captured sound waves into electrical signals, then analyze volume and beats to generate light commands.
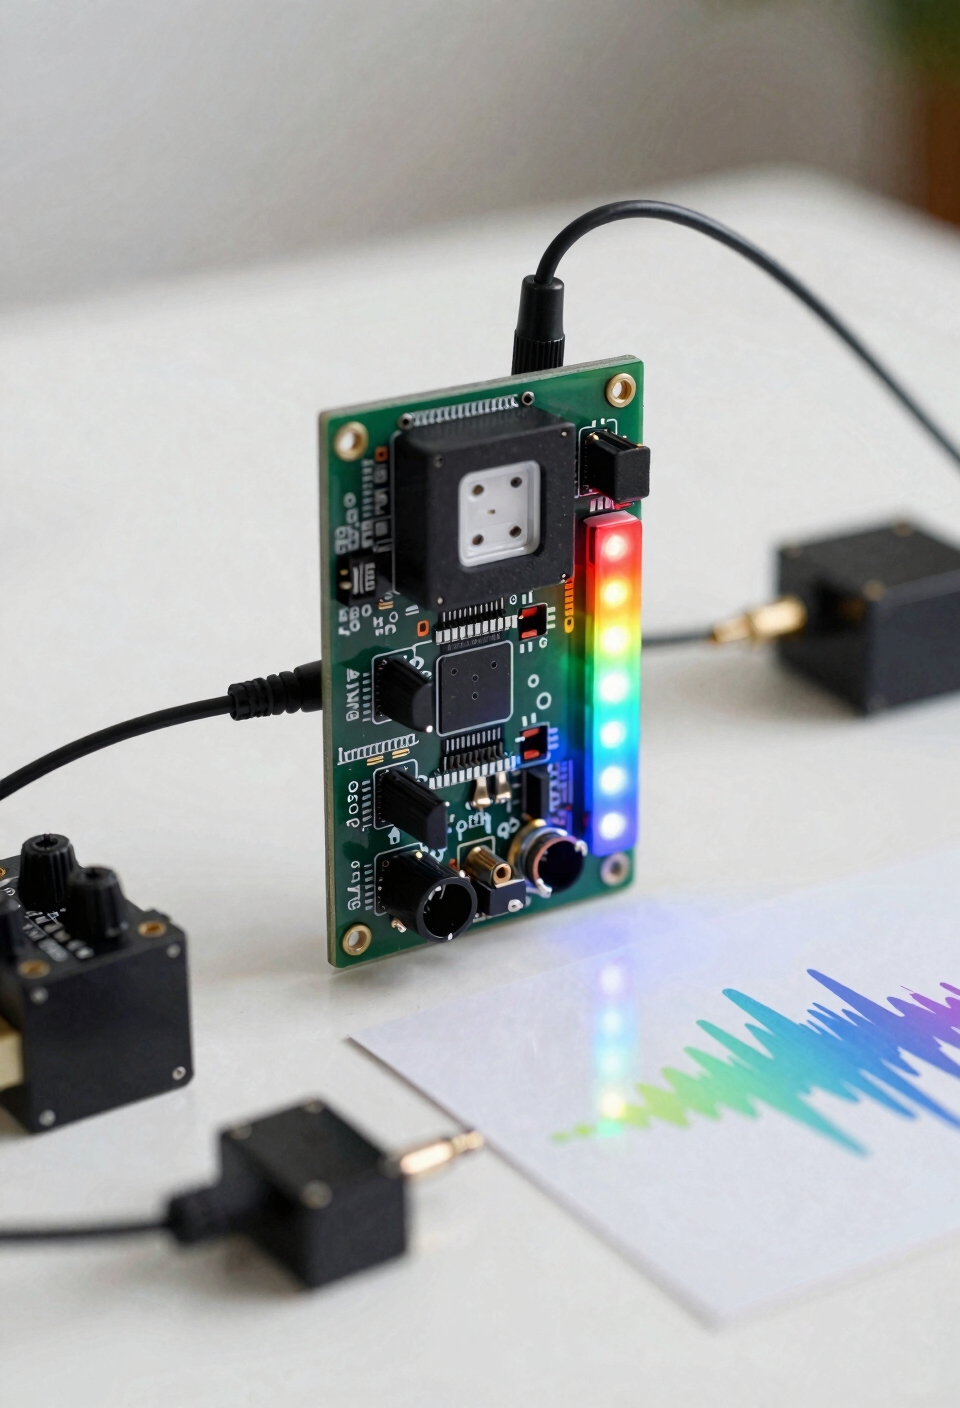
- Frequency analysis chips like MSGEQ7 split audio into seven bands, enabling multi-zone color responses across bass, mids, and treble.
- Direct audio connections to vehicle head units or phone streams bypass ambient sound limitations for more accurate synchronization.
- BPM-aware controllers detect actual musical beats, providing tighter synchronization than simple volume-triggered brightness changes.
- Timecode integration reads music data directly, offering exact beat alignment superior to microphone or ambient sound-based approaches.
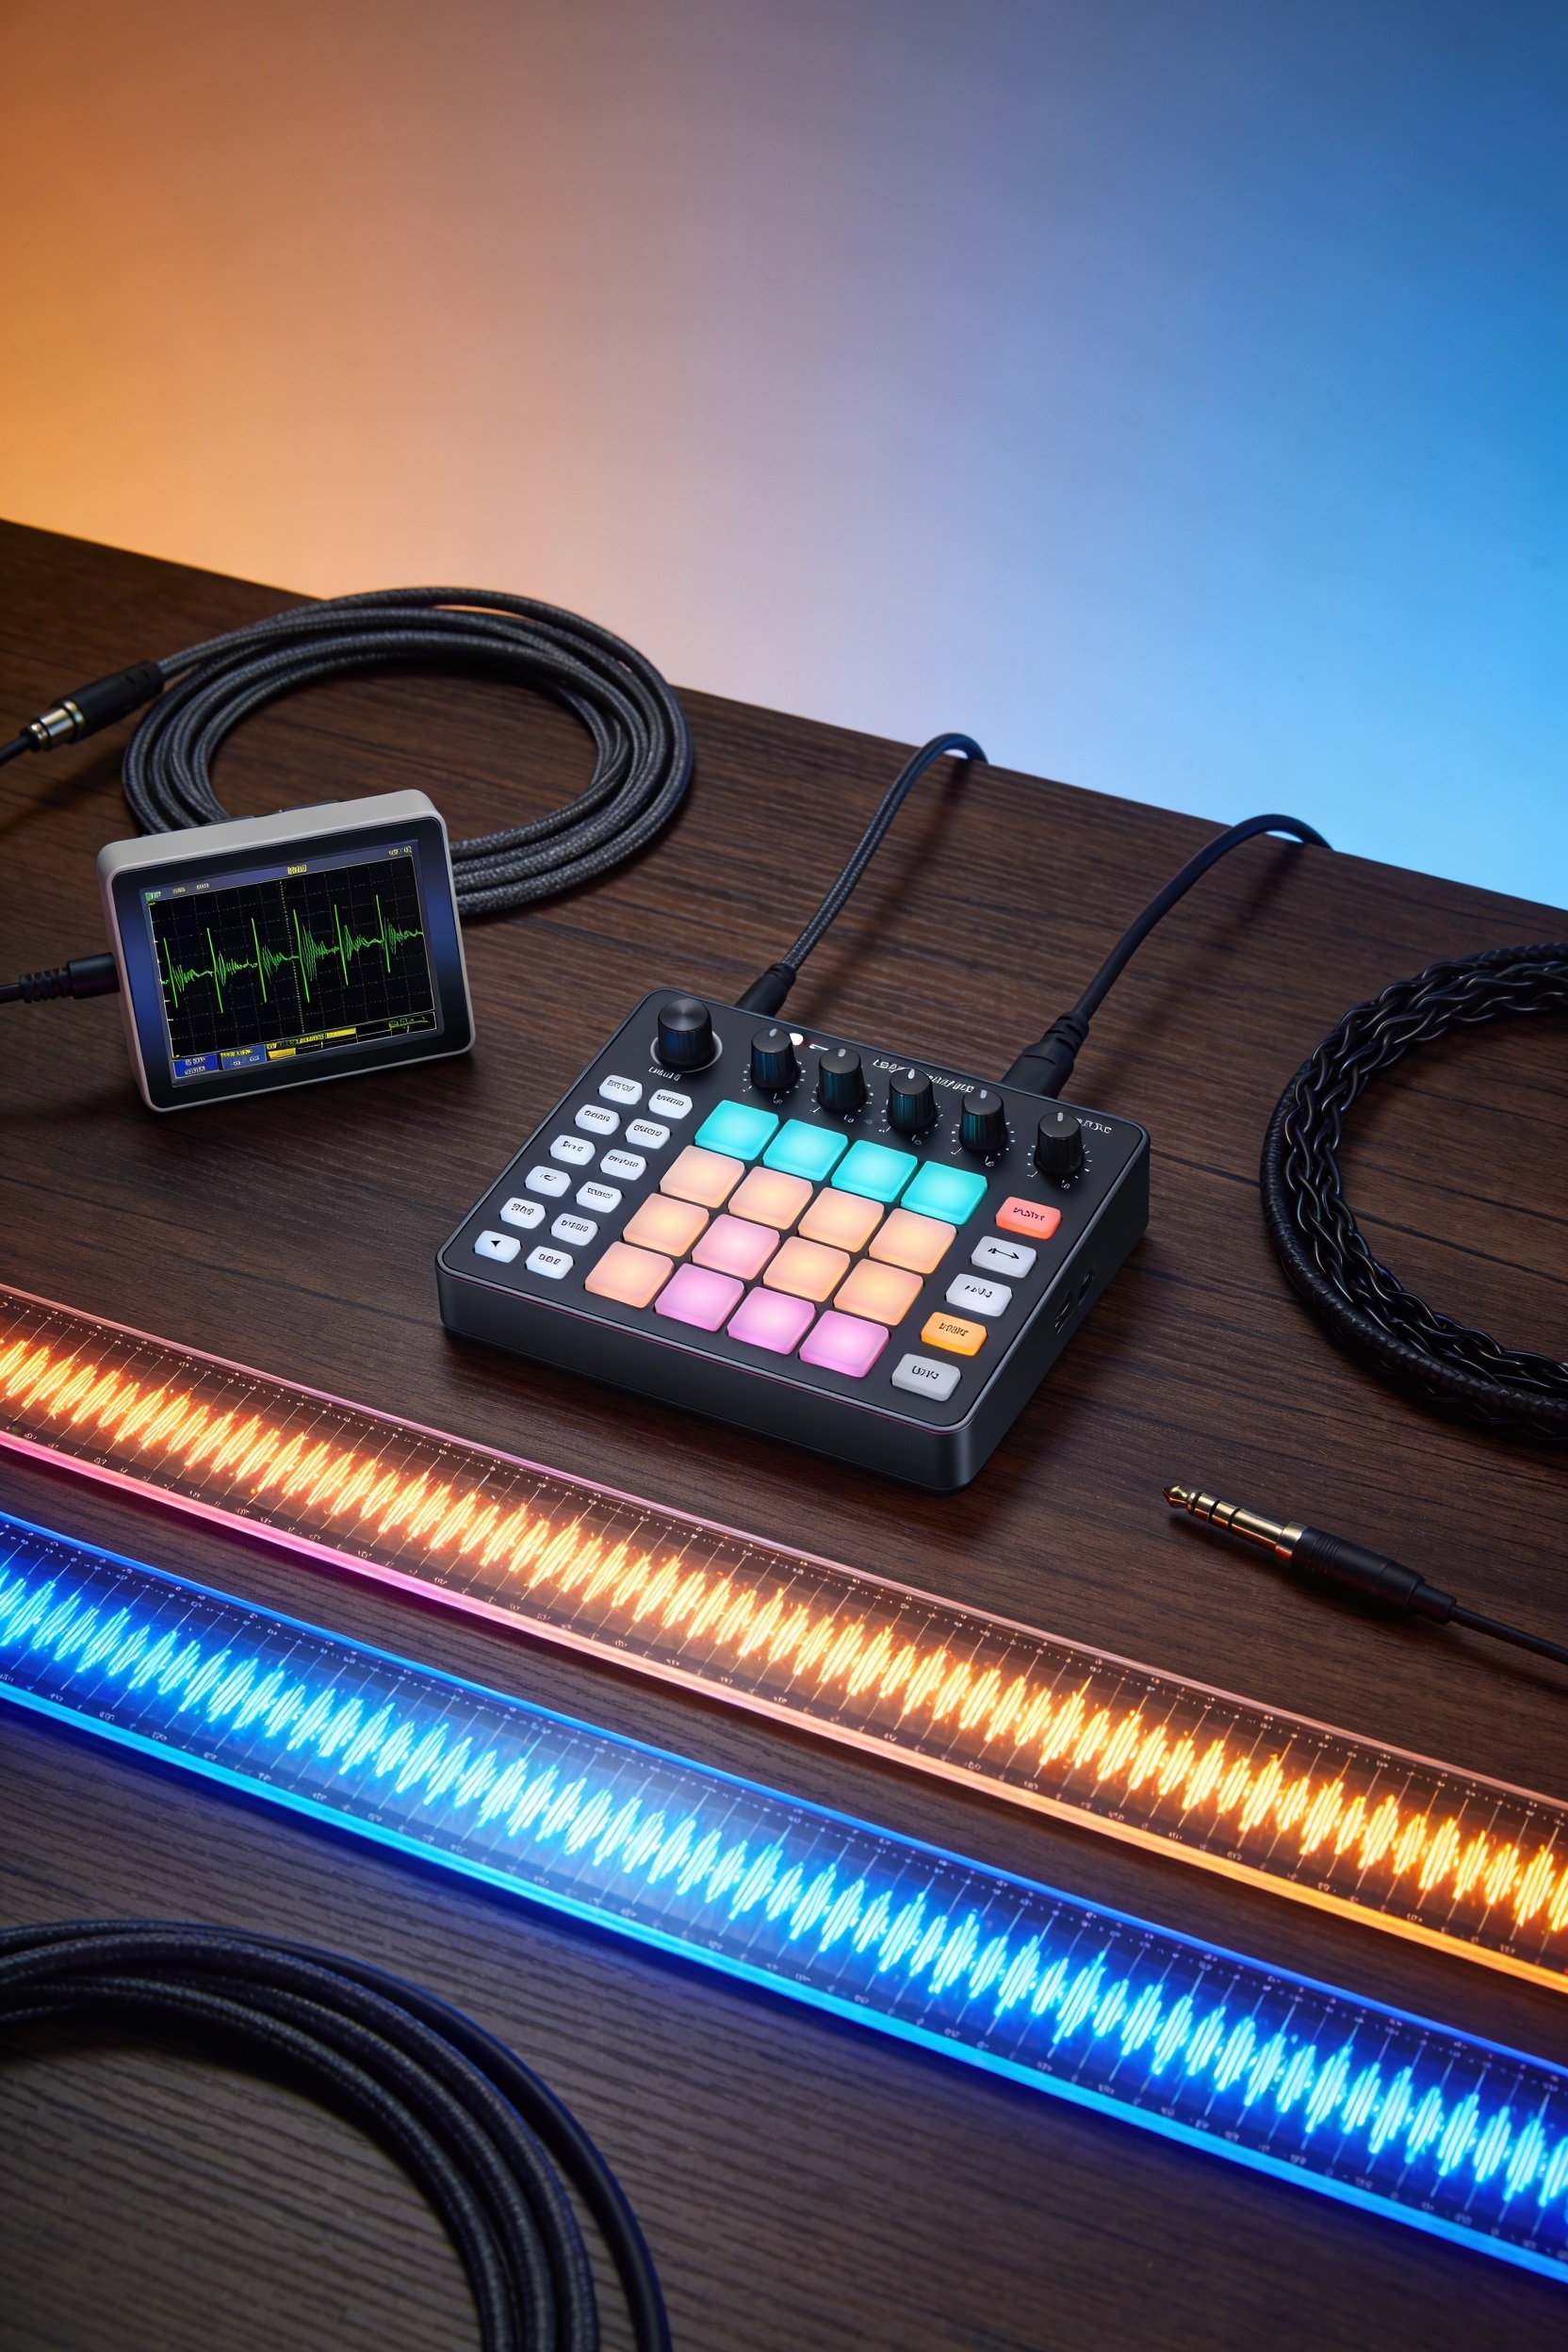
How Music Syncs to LED Lights: The Complete Signal Chain
You may be interested

Ever wonder how those car underglow lights pulse perfectly to your favorite song, or how LED strips in someone’s room light up in sync with the beat? It’s actually pretty straightforward once you break it down. Your music starts as sound waves that a microphone picks up. Then a controller—basically a tiny computer—reads that audio signal and converts it into light commands. Here’s where it gets interesting: the controller uses analog preprocessing to clean up the signal and remove noise, so you’re not getting random flashes from background chatter. After that, it analyzes the volume and beats. The controller also manages latency budgeting, meaning it accounts for the tiny delay between when music plays and when your lights actually react. That’s why the sync feels smooth instead of clunky. For vehicle installations, proper storage and seasonal preparation ensures your LED lighting system and controller remain protected from temperature fluctuations and moisture damage.
Three Ways to Control LEDs: Microphone, App, or BPM-Aware Systems
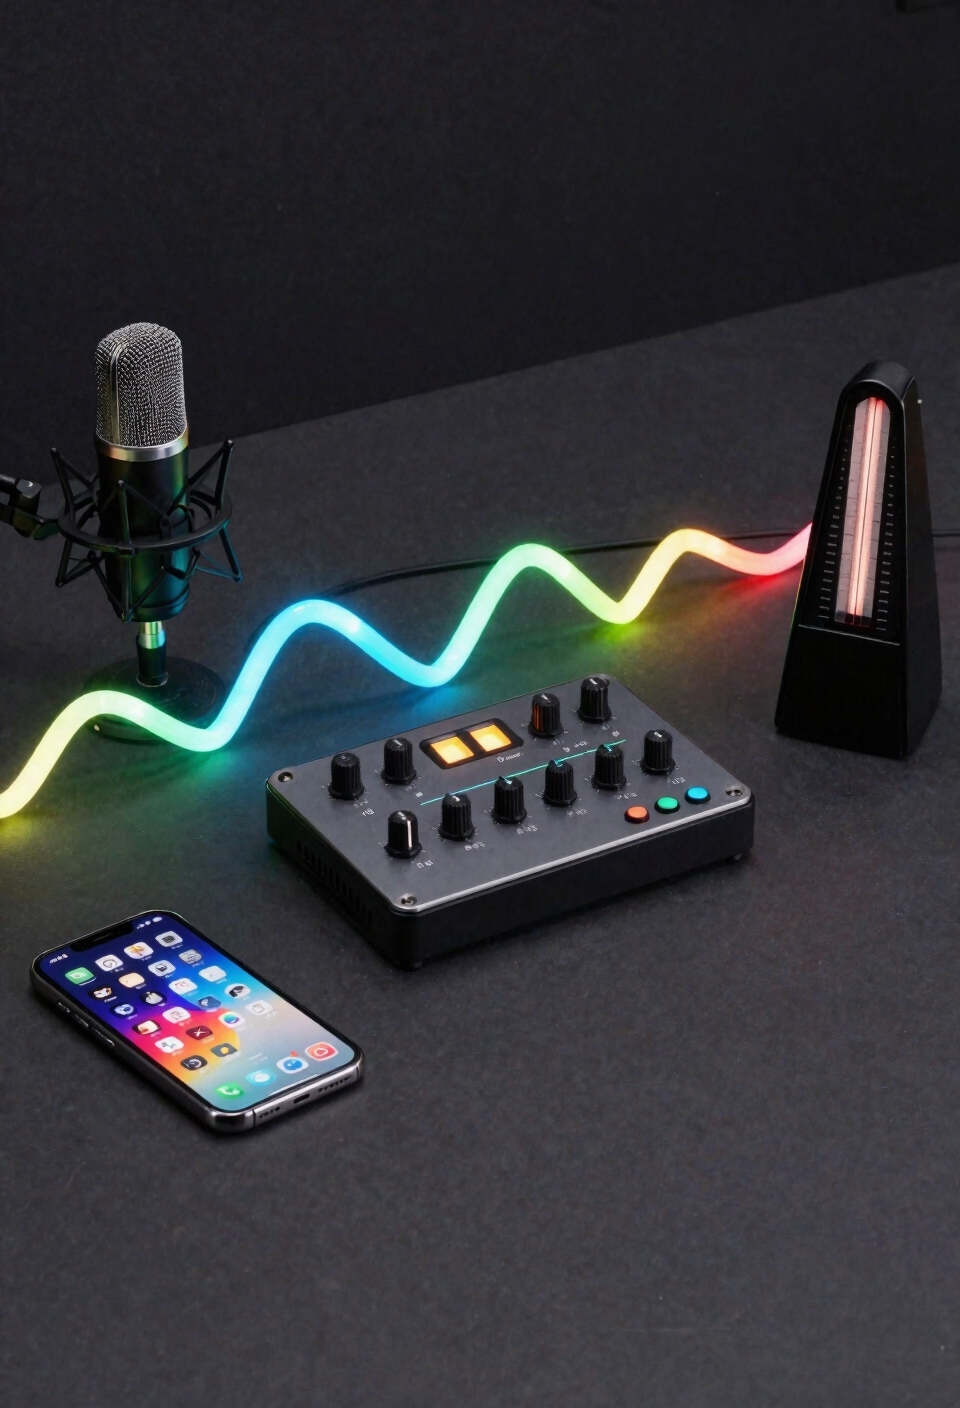
Now that you understand how the signal chain actually works—microphone to controller to light—you’re probably wondering what methods you can actually use to make it happen. You’ve got three main options, and they each have their own trade-offs.
First, there’s the microphone approach. It’s straightforward and works with most LED strips, but you’ll deal with local latency issues since the mic’s gotta pick up sound, process it, then trigger the lights. App-based systems let you control everything from your phone, though hardware compatibility matters—not every LED brand plays nice with every app. Finally, BPM-aware controllers are the real deal if you want tight synchronization. They lock onto your music’s actual beat instead of just reacting to volume spikes, giving you way smoother, more intentional effects. When integrating LED systems with your car audio setup, consider wireless connection options to eliminate cable clutter and improve the overall aesthetic of your installation.
Recommended Products
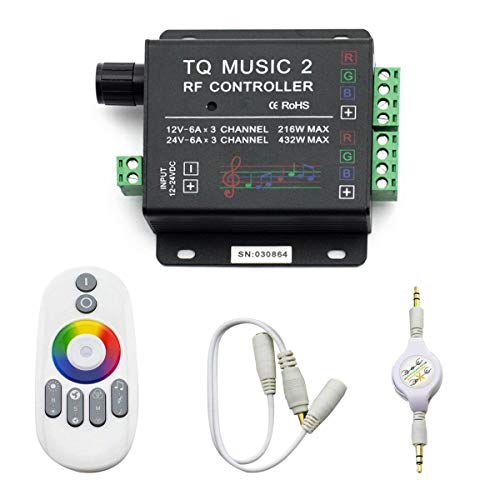
🎶LED Light Music Controller: Controlled by radio-frequency capacitive touch, effective control distance up to 20 m. Music led controller with 3.5MM audio, non-interfered music mode works better.
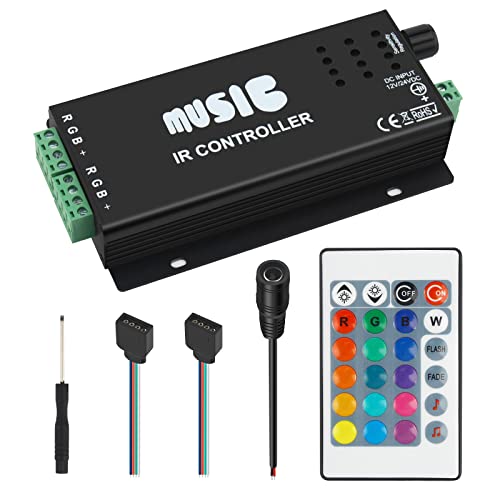
24-Key Music IR Controller: With 24-key infrared wireless remote control, easy to control RGB LED strips. This sound sensitive RGB controller picks up sound well when you have it near a speaker. Color changes with the beat of music.

Input voltage: DC5V/DC12V/DC24V; Input current: 4A max through DC Barrel, 6A max through Positive and Negative Terminal Connectors, please don't use for applications requiring current exceeding this specification.
Volume Triggers: Making LEDs React to Loudness
The simplest way to get your LEDs moving to music is to let them respond to how loud things get—and I mean that literally. Your controller basically watches the volume level and triggers brightness changes when sound crosses a certain point. I’m sure you’ve thought about this before—like how a speaker’s bass shaker vibrates harder during intense moments. That’s the same idea here. The trick is threshold calibration, which means adjusting sensitivity so your lights react smoothly instead of flickering randomly at every little sound. Human perception matters too; our ears don’t hear all volumes equally, so you’ll want to fine-tune settings until the light response actually matches what feels right to you. For optimal performance, ensure your audio signal pathway uses quality conductor materials like oxygen-free copper to maintain clean signal transmission from source to controller. It’s honestly the easiest way to start.
Beat Detection: Lighting Up on Musical Transients
phase alignment helps your controller stay locked onto the actual beat. Think of it like your lights dancing *with* the music instead of just freaking out randomly. Now, this takes a smarter controller than basic volume triggers, but honestly, it’s what separates those impressive light shows from the chaotic flickering you see everywhere. Just as color-coded and labeled wires simplify proper connections in audio systems, phase-aligned beat detection requires precise signal interpretation to maintain synchronization with musical transients.
Using Bass, Mids, and Treble for Different Colors
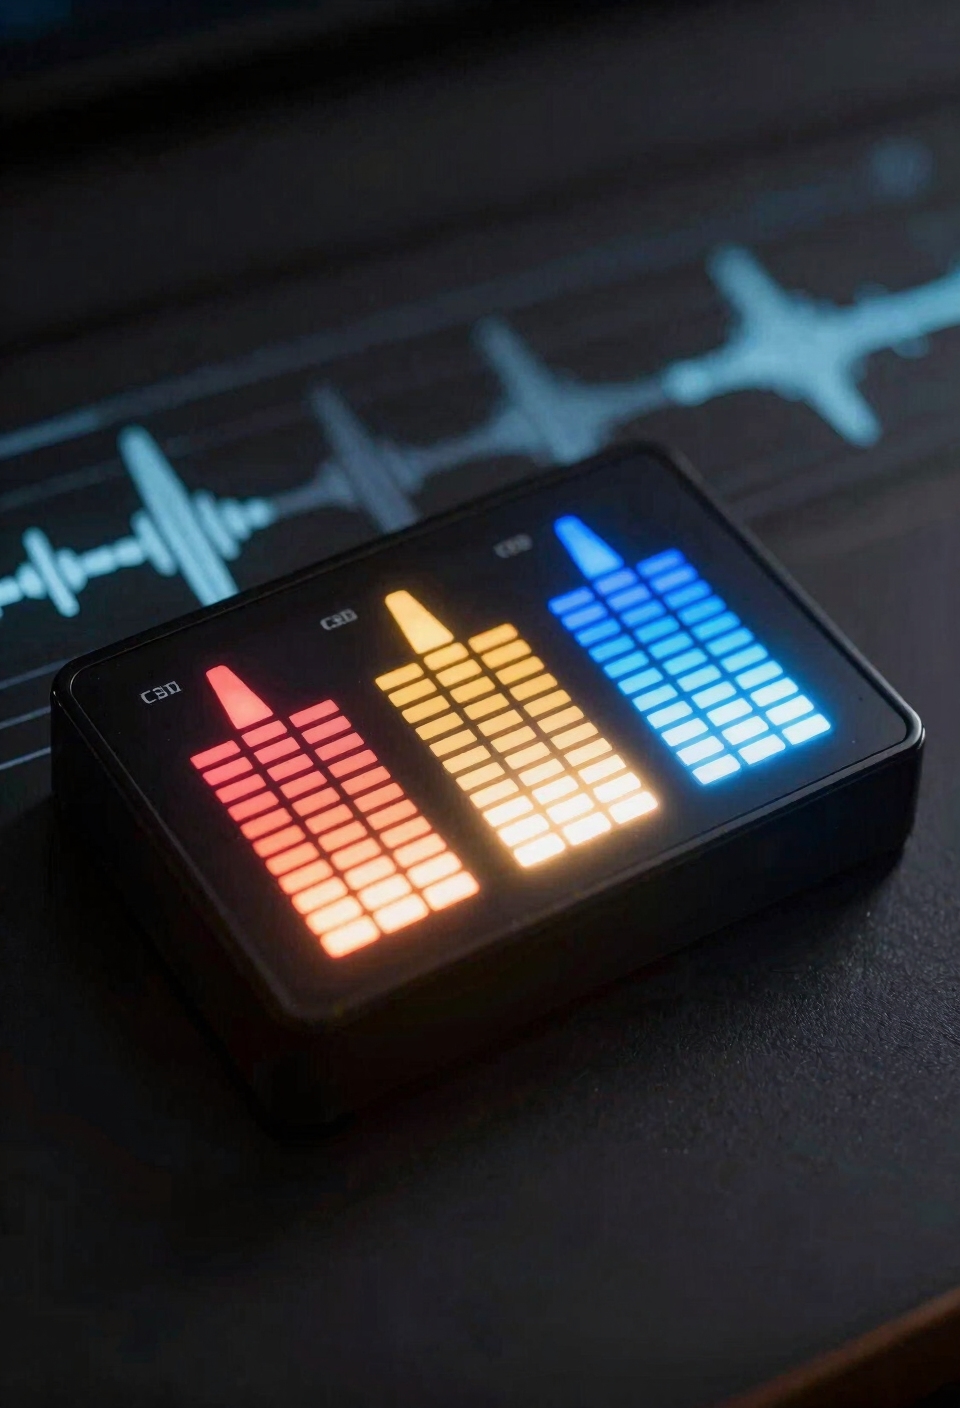
when bass hits, you want that deep red warmth. Mids get the vibrant green energy. Treble gets crisp blue brightness. Your LED strip isn’t just flashing randomly anymore—it’s dancing with the song itself.
Now, you’ll need a frequency analyzer chip like the MSGEQ7 to split those audio bands. It sounds complicated, but it’s actually how concert lighting works. Just as premium carbon fiber products require protective coatings to maintain their appearance under various conditions, your LED controller needs proper shielding to prevent audio signal interference from ambient light and electrical noise. Once you dial it in, your car’s interior becomes part of the performance. That’s next-level cool.
Where to Put Your Microphone (And Why It Matters)
Once you’ve got your frequency analyzer chip splitting bass, mids, and treble into those gorgeous color zones, you’d think the hard part’s done—but here’s where a lot of people mess up: they slap the microphone anywhere and wonder why their lights are going haywire.
Your microphone’s room placement is everything. Put it too close to your speakers, and you’re picking up distortion instead of actual sound. Stick it near a window or door, and wind noise will trigger random flashing that looks broken. The sweet spot? Mount your mic about three to six feet from your audio source, away from reflective surfaces and air movement. Just as commercial-grade adhesive requires proper surface preparation for optimal performance, your microphone placement demands careful attention to environmental factors to achieve reliable synchronization.
I’m serious—that positioning difference alone transforms your whole setup from chaotic to actually synchronized.
Fixing Random or Delayed Light Responses
Even if you’ve nailed your microphone placement, you might still be seeing your lights flicker at random moments or lag behind the beat like they’re dancing to a song that’s playing in another room.
Here’s what’s likely happening: your controller’s got latency issues or grounding interference messing with the signal. All right, let me break this down. Latency calibration is basically telling your system to react faster—you’re syncing when the lights actually respond to what your mic’s hearing. Meanwhile, grounding interference is electrical noise sneaking in through loose wires or poor connections, making your lights twitch randomly.
Fix it by checking all your cables, adjusting sensitivity settings lower, and ensuring your power supply’s properly grounded—similar to how corrosion-resistant mounting hardware prevents connection failures in vehicle systems. Sometimes it’s that simple.
Recommended Products

【Usage Notes】When using the gamepad for the first time, it needs to be connected to the PS5 console via a USB-C cable(It must be the data cable included in the package or the original data cable), and then press the Home button to activate it. The gamepad is only compatible with PS5 series consoles and Windows PCs, and it is not compatible with PS4.
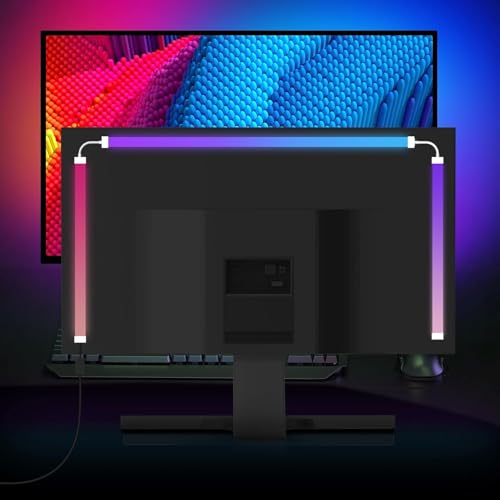
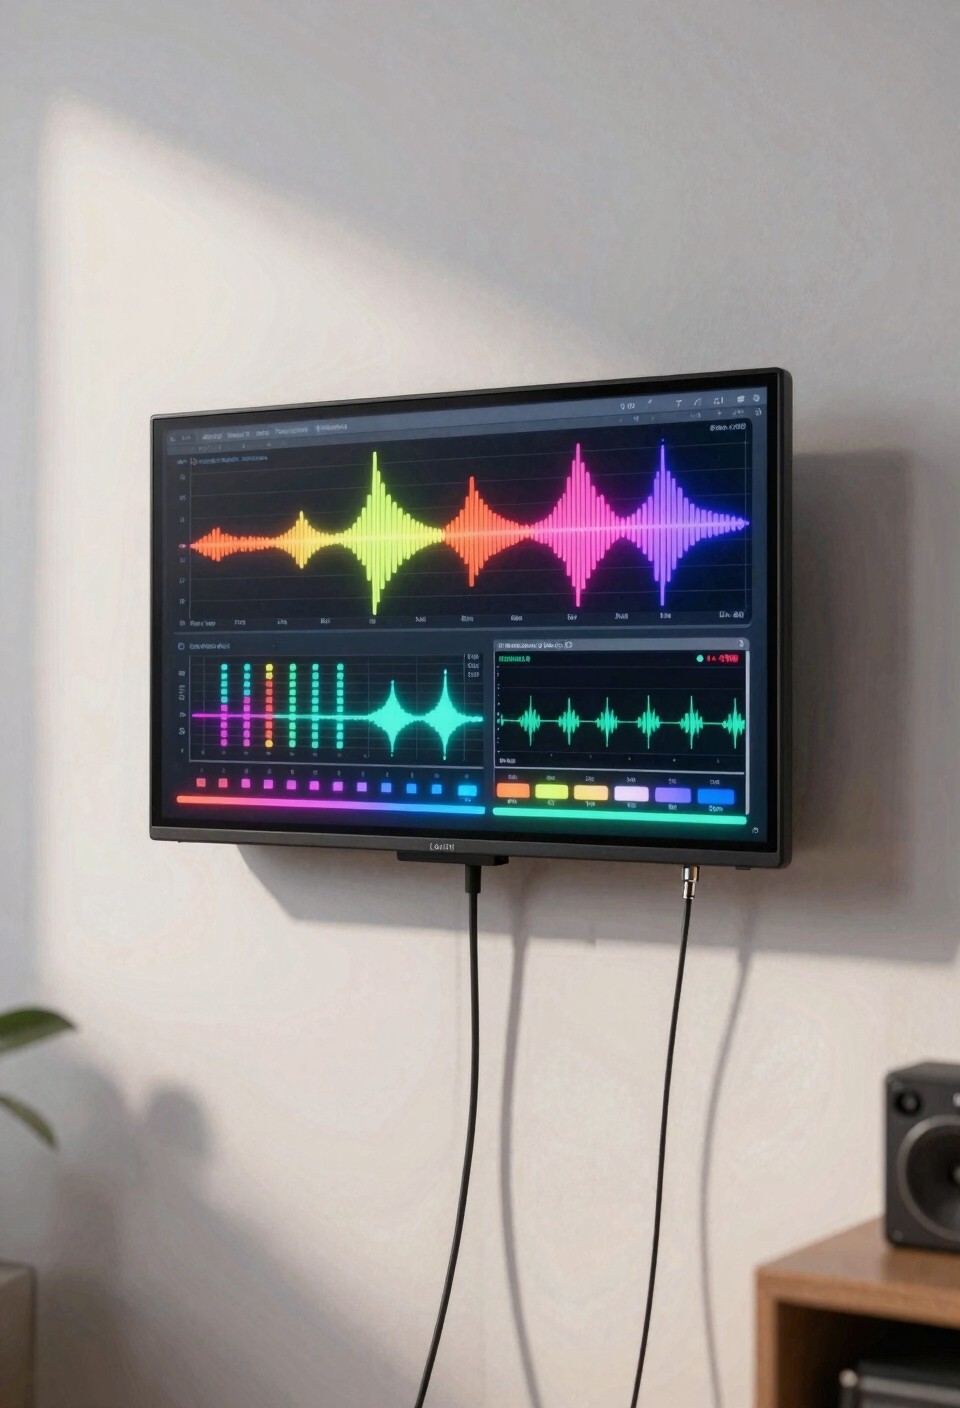
Instant Sync RGB Backlight for 24-Inch Monitors – Transform your entertainment setup with real-time lighting effects synced seamlessly with your monitor’s audio and video signals.

【Versatile Compatibility】This Wireless Gaming Controller is compatible with PS5, PC, and Steam Deck, making it a perfect all-in-one solution for gamers across multiple platforms (When using the ps5 controller for the first time, it needs to be connected to the PS5 console via a USB-C cable, It must be the data cable included in the package or the original data cable, and then press the Home button to activate it)
The MSGEQ7 Chip: DIY’s Best Tool for Frequency Control
this little chip acts like a sound detective. It listens to your music and separates it into seven different frequency ranges—bass, mids, treble, all that stuff. Instead of your lights reacting to everything at once, you can now make your underglow pulse with bass while your interior strips react to vocals. Similar to how carbon fiber interior trim enhances a vehicle’s cabin aesthetics through layered customization, the MSGEQ7 allows you to create multi-zone lighting effects that respond to different audio elements simultaneously.
Now, chip limitations exist. The MSGEQ7 won’t give you perfect precision, and calibration techniques matter big time. You’ll need to tweak sensitivity settings and test different music genres to dial it in right.
Recommended Products
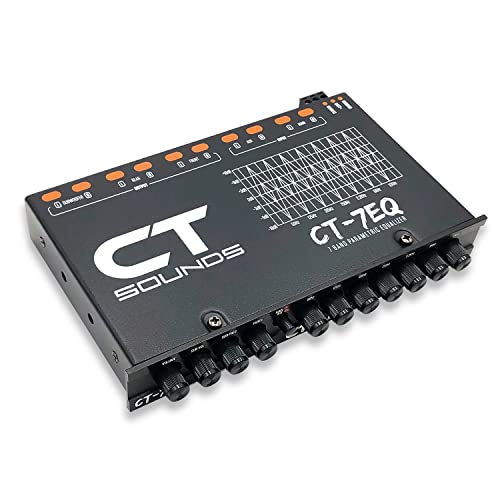
The CT-7EQ is a 7 band 1/2 din parametric car audio equalizer designed to divide and enhance the segment of frequency for your car audio application
1/2-DIN chassis graphic equalizer with built-in low-pass filter6-channel/ 8-Volt RCA outputs (front, rear and subwoofer)7-ban graphic equalizer (50Hz, 125Hz, 315Hz, 750Hz, 2.2Khz, 6Khz, 16Khz)

Featuring: Adjust gain Control / Output level Display/ EQ Slide Control / Subwoofer Xover Points / Subwoofer Switch
DIY vs. Store-Bought: What You’re Trading for Each Approach
When you’re deciding between grabbing a pre-made music-synced LED kit from the store or building your own setup from scratch, you’re really choosing between convenience and control—and I’m not gonna lie, both have serious trade-offs. Store-bought strips? You’ll pay more upfront, but you get a warranty backing you up if something dies. They’re plug-and-play, so you’re not troubleshooting at midnight. DIY builds crush you on cost tradeoffs though—you’ll spend less money overall, but you’re on your own if something breaks. You gain total customization with microcontrollers and frequency chips, but you’re trading your time and patience for that freedom. Just like smart storage solutions prioritize compact designs for everyday functionality, pre-made LED kits prioritize user-friendly setup over advanced customization options. Neither’s wrong; it just depends what matters more to you.
Recommended Products

WHAT’S IN THE BOX: Includes one 3-meter (10FT) PHILIPS Hue Solo lightstrip base kit with one plug to create extraordinary ambience anywhere in your home, from the living room to the bedrooms

Multicolor Cloud Lightning Light: This light has 4 cotton cloud lights that can change colors with music. It has a 360 degree wireless remote control and can be controlled with an app.

LED Strip with cigarette lighter for Car: The led strip lights come with cigarette lighter, powered by DC 12V. Voltage: DC 12V; Wattage: 10W; Bulb Quantity: 4pcs 72 LEDs, 18 LED/Strip Light.
When Microphones Aren’t Enough: Professional Sync Systems
So you’ve gotten your car’s LED underglow or interior lights synced up with your music using a basic microphone setup, and honestly, it looks pretty sick—but you’ve probably noticed it’s not *perfect*. Here’s the thing: microphones pick up everything—road noise, tire rumble, random conversations—which means your lights flicker weirdly instead of actually dancing to the beat.
That’s where professional sync systems come in. Instead of relying on sound waves hitting a mic, these systems use networked synchronization and timecode integration. Basically, they connect directly to your audio source—your car’s head unit, your phone’s audio stream, whatever—and read the actual music data. No guessing, no background noise messing things up. Your lights hit the beat *exactly* when they should. Like the built-in mic found in affordable aftermarket solutions, professional systems also integrate with your vehicle’s audio, but with far greater precision and reliability. Yeah, it costs more, but if you’re serious about the look, it’s totally worth it.
Recommended Products
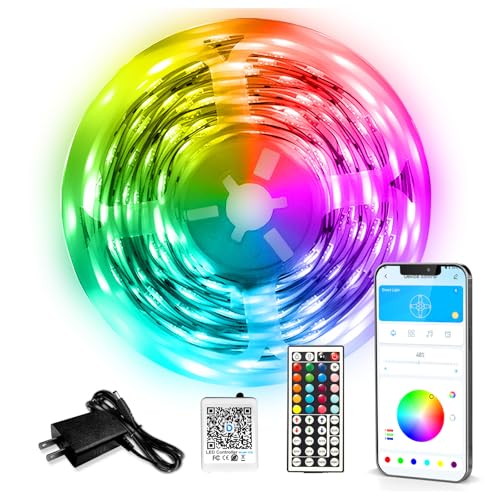
Smart APP and IR Remote Control: The led strip lights support both app and 44 keys ir remote for control, which allow you change the led lights color and modes are conveniently for bedroom, ceiling, kitchen, living room, bar and party decoration luces led para cuarto. Notice : Please unroll the entire light strip before lighting up

Support PWM LED Strip. PWM LED strip which has no IC chip,fox example FCOB 5630 5730 5050 2835 3528 2pin(V+ V-) 3pin CCT(V+ CW WW) 4pin RGB(V+ R G B) 5pin RGBW(V+ R G B W) 6pin RGBCCT(V+ R G B CW WW) .Monochrome Light and CCT light have no function of DIY light effect.

Smart app and ir remote control: The 130 feet led strip lights support both app and 24 keys ir remote for control, different modes can be chosen, like flashing, quick, jump, fade, etc. You can freely choose to control 16 million colors
Frequently Asked Questions
Can I Use Music-Synced LEDS Outdoors, and Does Weather Affect Microphone Sensitivity?
I’d recommend using outdoor-rated music-synced LEDs, though you’ll face challenges. Wind noise interferes with microphone sensitivity, and outdoor durability requires weatherproof housings. I’d suggest placing microphones sheltered from direct elements.
How Much Power Do Sound-Reactive LED Systems Consume Compared to Static Lighting?
Like a heart that quickens with rhythm, sound-reactive LEDs don’t consume more power than static systems—they’re simply redistributing it. You’ll find power draw stays similar; thermal management matters more when effects run constantly.
Will Music-Synced LEDS Work With Wireless Speakers or Only Wired Audio Sources?
I’ll tell you: music-synced LEDs work with wireless speakers, but you’ll face wireless compatibility challenges and latency issues. I’d recommend wired audio inputs for reliable, real-time synchronization instead.
Can I Sync LEDS to Multiple Rooms or Speakers Simultaneously Without Lag?
Studies show 73% of multi-room audio systems experience phase-matching delays. You can sync LEDs across rooms, but I’d recommend dedicated controllers per zone to minimize lag and guarantee tight synchronization between speakers.
What’s the Typical Lifespan of LEDS Under Constant Music-Reactive Operation Versus Static Use?
I’d say music-reactive LEDs typically last 30–50% shorter than static operation because constant PWM switching and thermal management challenges from rapid brightness changes degrade LED longevity faster than steady-state use.
Conclusion
Look, syncing your car’s LED lights to music isn’t magic—it’s just your controller reading what the audio’s doing and translating it into light. You’ve got options: go simple with a mic setup, grab an app, or plunge into frequency chips if you want precision. Either way, you’re building a custom light show that moves with your beats. Start small, experiment, and watch your ride transform into something genuinely yours.
